Easy Minced Chili-Garlic Vinegar Sauce
This post may contain affiliate links, which means I’ll receive a commission if you purchase through my links, at no extra cost to you. This helps keep the content on my site free. please read my disclosure here
If you love adding a bright, spicy kick to your meals, this Minced Chili-Garlic Vinegar Sauce is going to become a permanent fixture in your fridge. With just 5 ingredients, you can whip up a massive one-litre jar of this pickled chili sauce condiment that lasts for months!
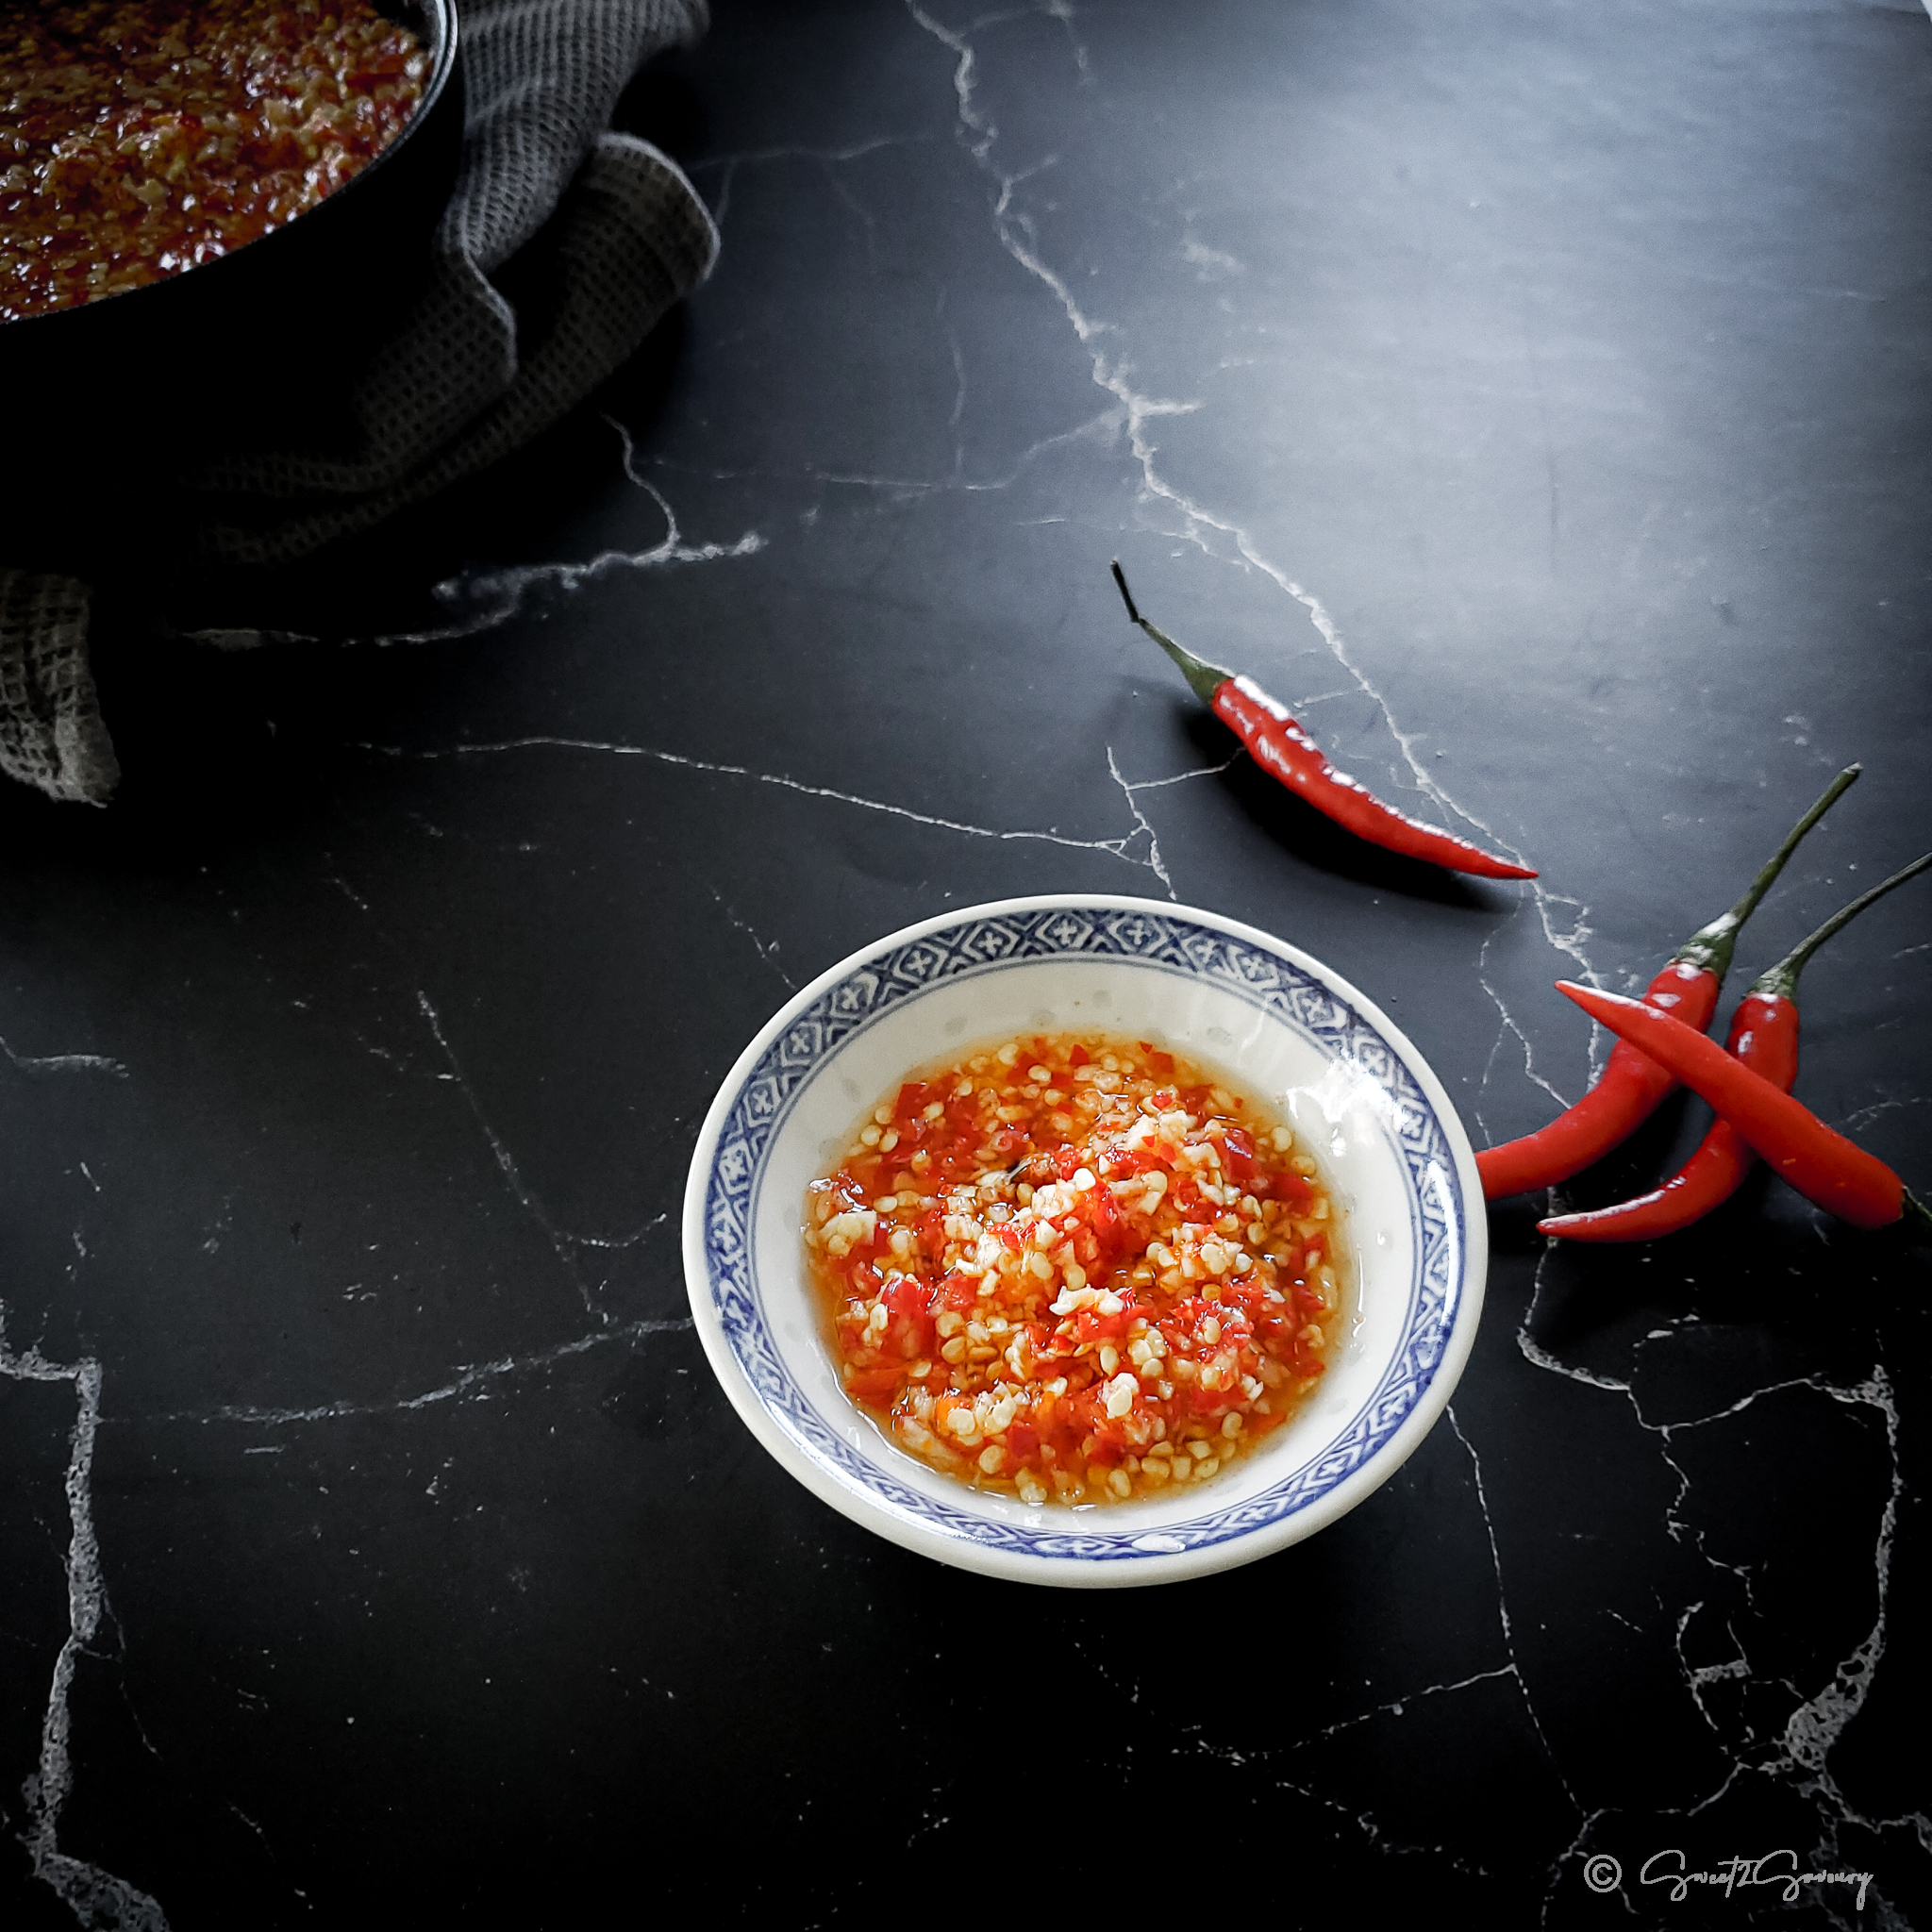
Unlike heavy oil-based chili crisps, this vinegar-based sauce is light, sharp, and incredibly refreshing. The bright acidity of the white vinegar mellows the raw bite of the garlic while perfectly carrying the heat of the chilies. Best of all? We skip the tedious chopping and let the food processor do 90% of the work.
Why You’ll Love This Recipe
- Instant Flavour Upgrade: A small spoonful instantly brightens up noodles, rice, soups, and barbecued meats.
- Work Smarter, Not Harder: The food processor handles all the mincing in seconds.
- Long Shelf Life: Thanks to the preserving power of the vinegar, this large-batch sauce keeps beautifully in the fridge for up to 6 months!
Ingredients You Will Need
Skip the store-bought sweet chili sauces. This authentic condiment requires just 5 pantry staples to build a fire-cracking flavour profile!
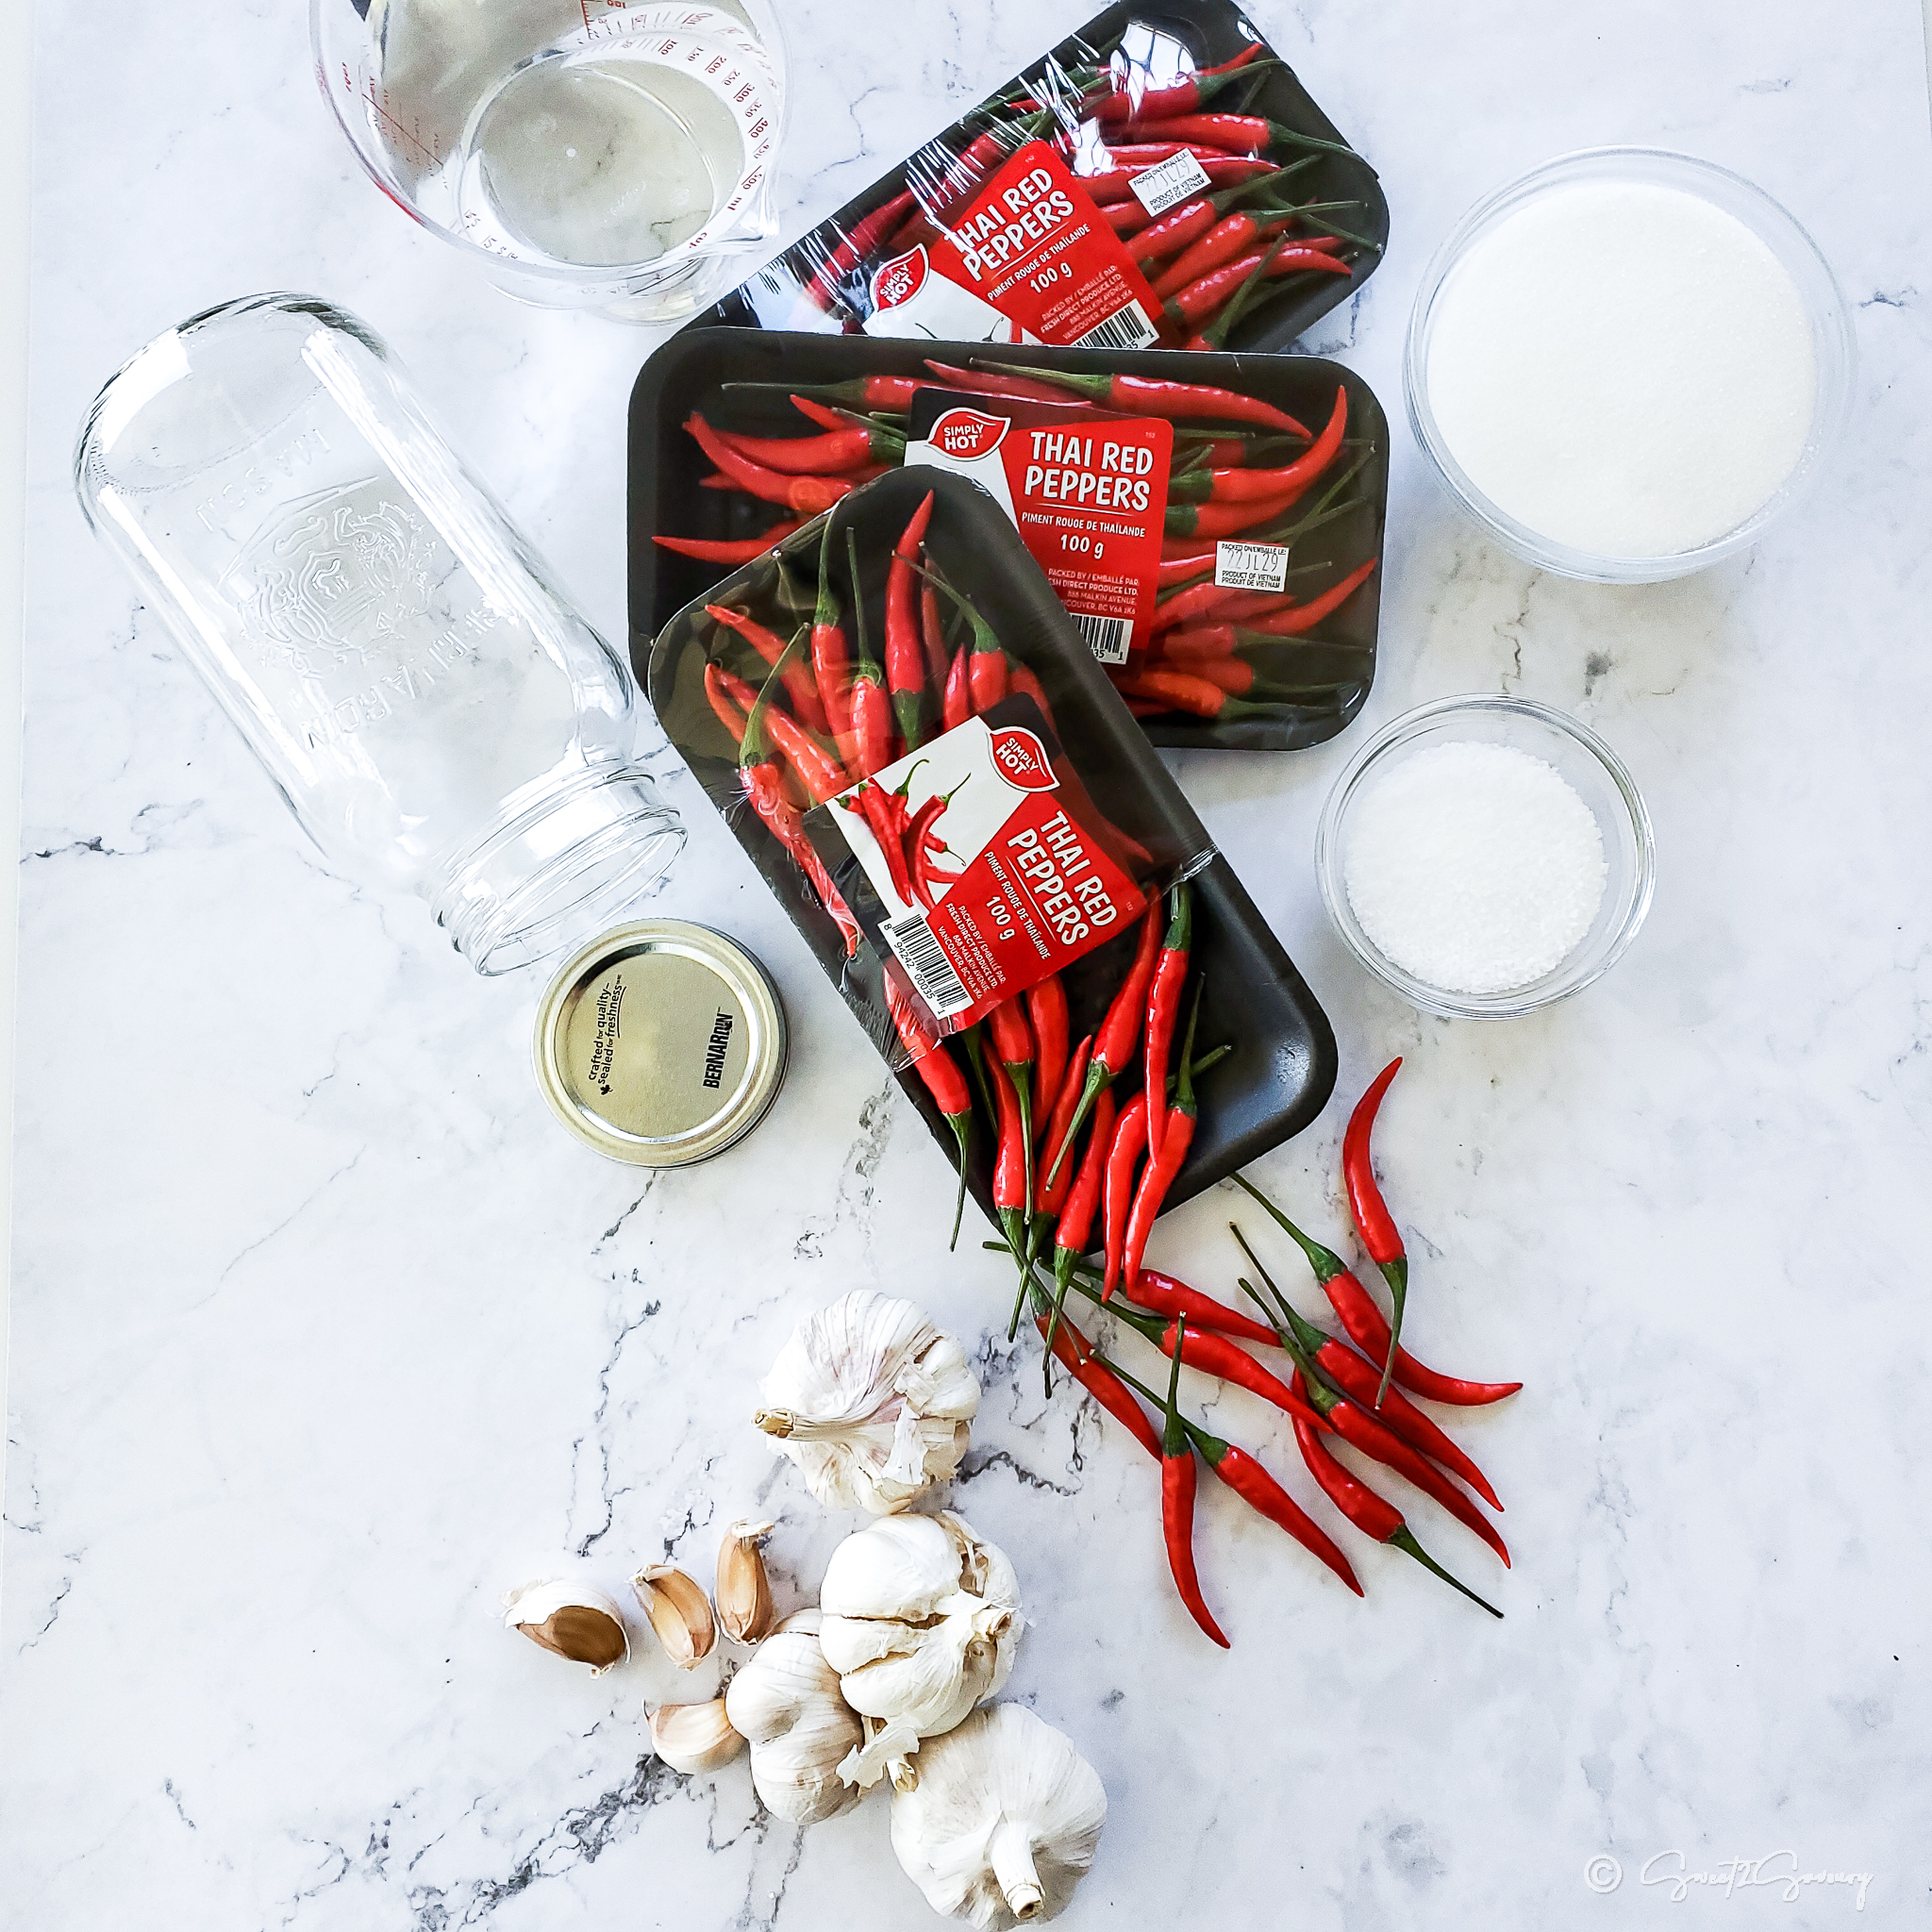
- Fresh Thai Chilies: 2 cups of fresh Thai bird’s eye chilies. (You can use red for a slightly milder, developed flavour, or green for a sharper, spicier punch).
- Garlic: 4 whole bulbs, trimmed and peeled. Fresh garlic is absolutely mandatory here!
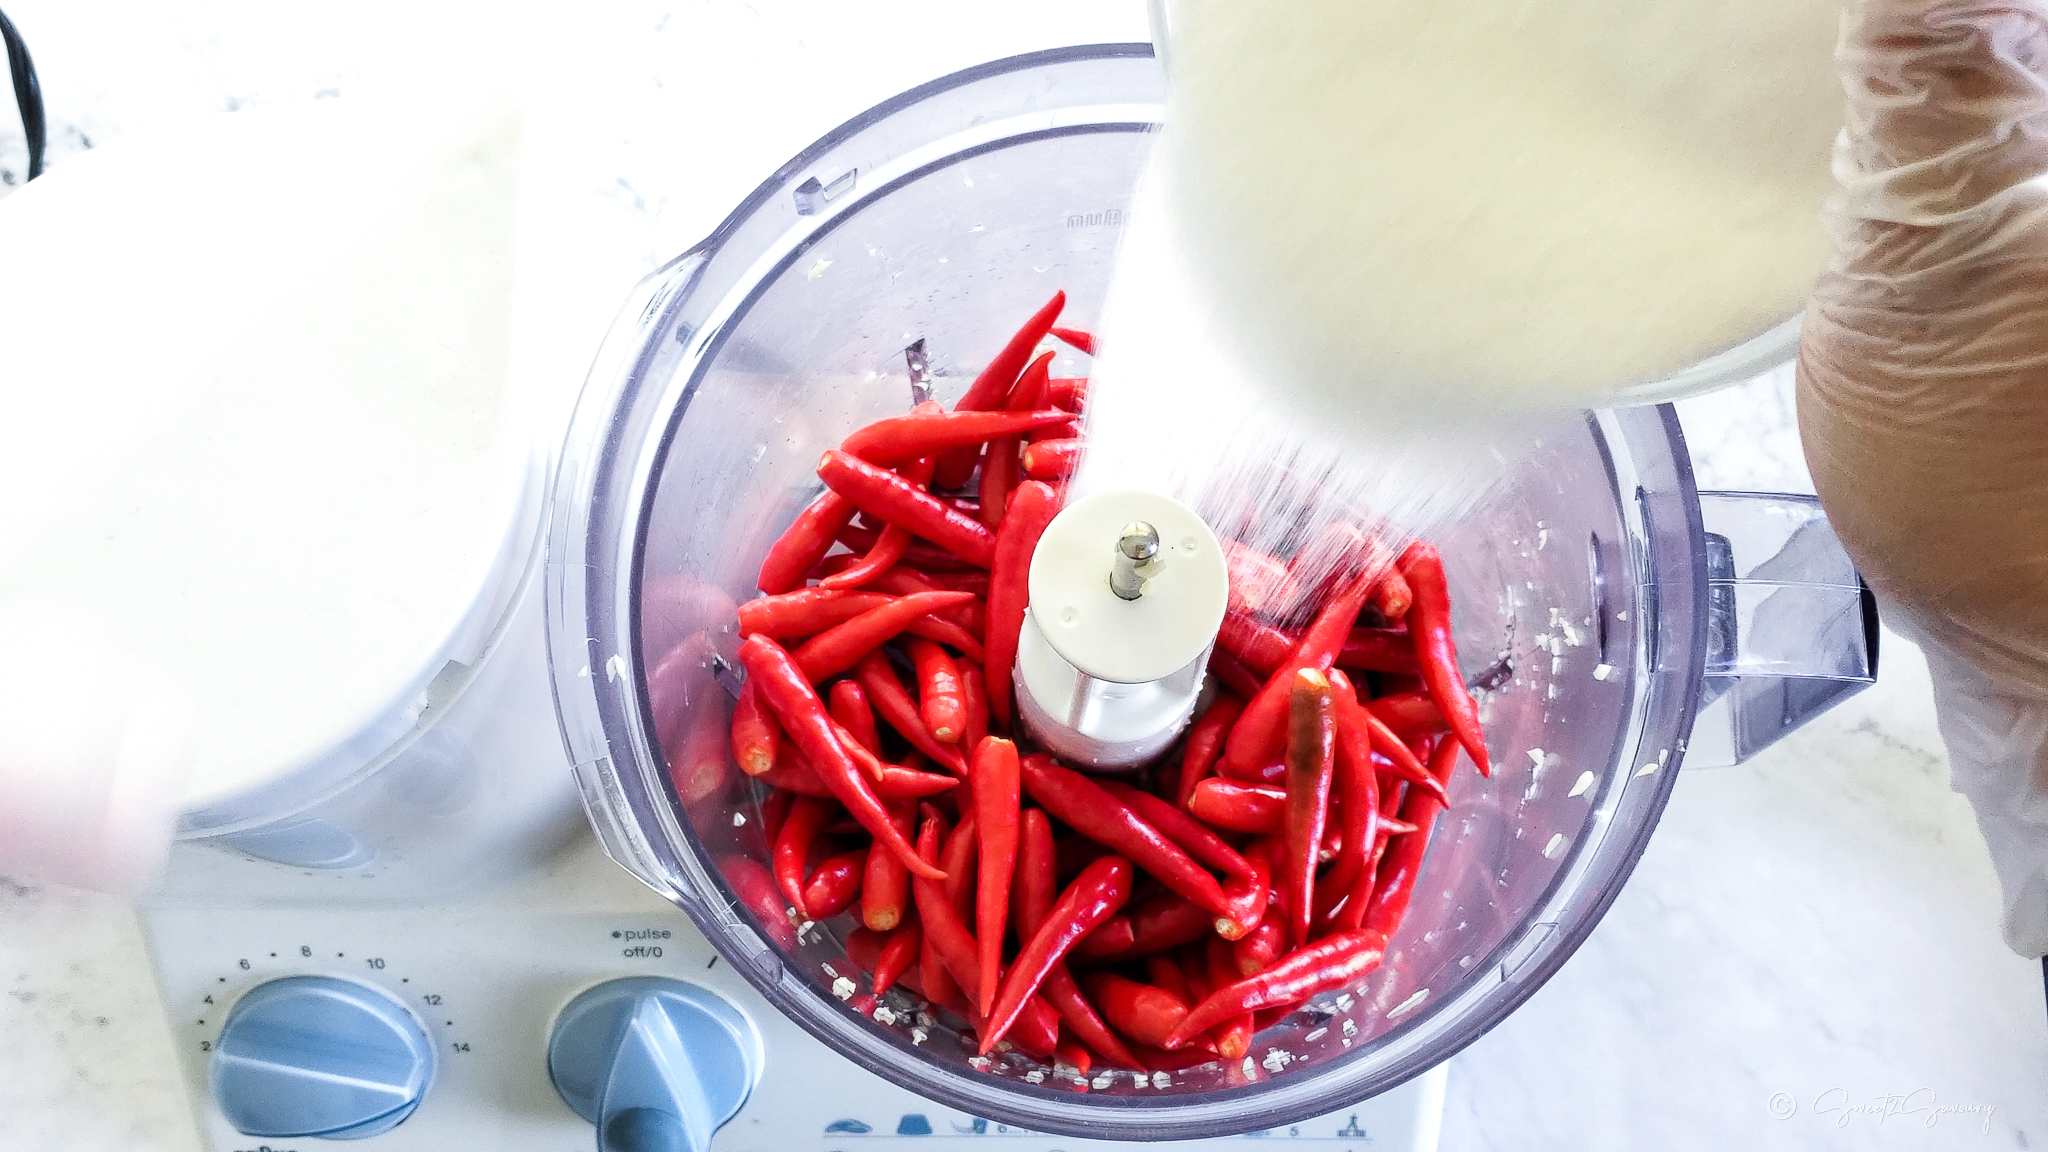
- White Sugar: 1 cup of white granulated sugar. This doesn’t make the sauce overly sweet; it balances the salt and vinegar’s harshness.
- Kosher or Sea Salt: 3 Tablespoons to enhance all the flavours and aid in the pickling process.
- White Vinegar: 1½ cups. White vinegar provides a sharp, clean tang that cuts through rich, savoury dishes beautifully.
How to Make Minced Chili Garlic Vinegar Sauce (Step-by-Step)
Phase 1: Prepare the Chilies
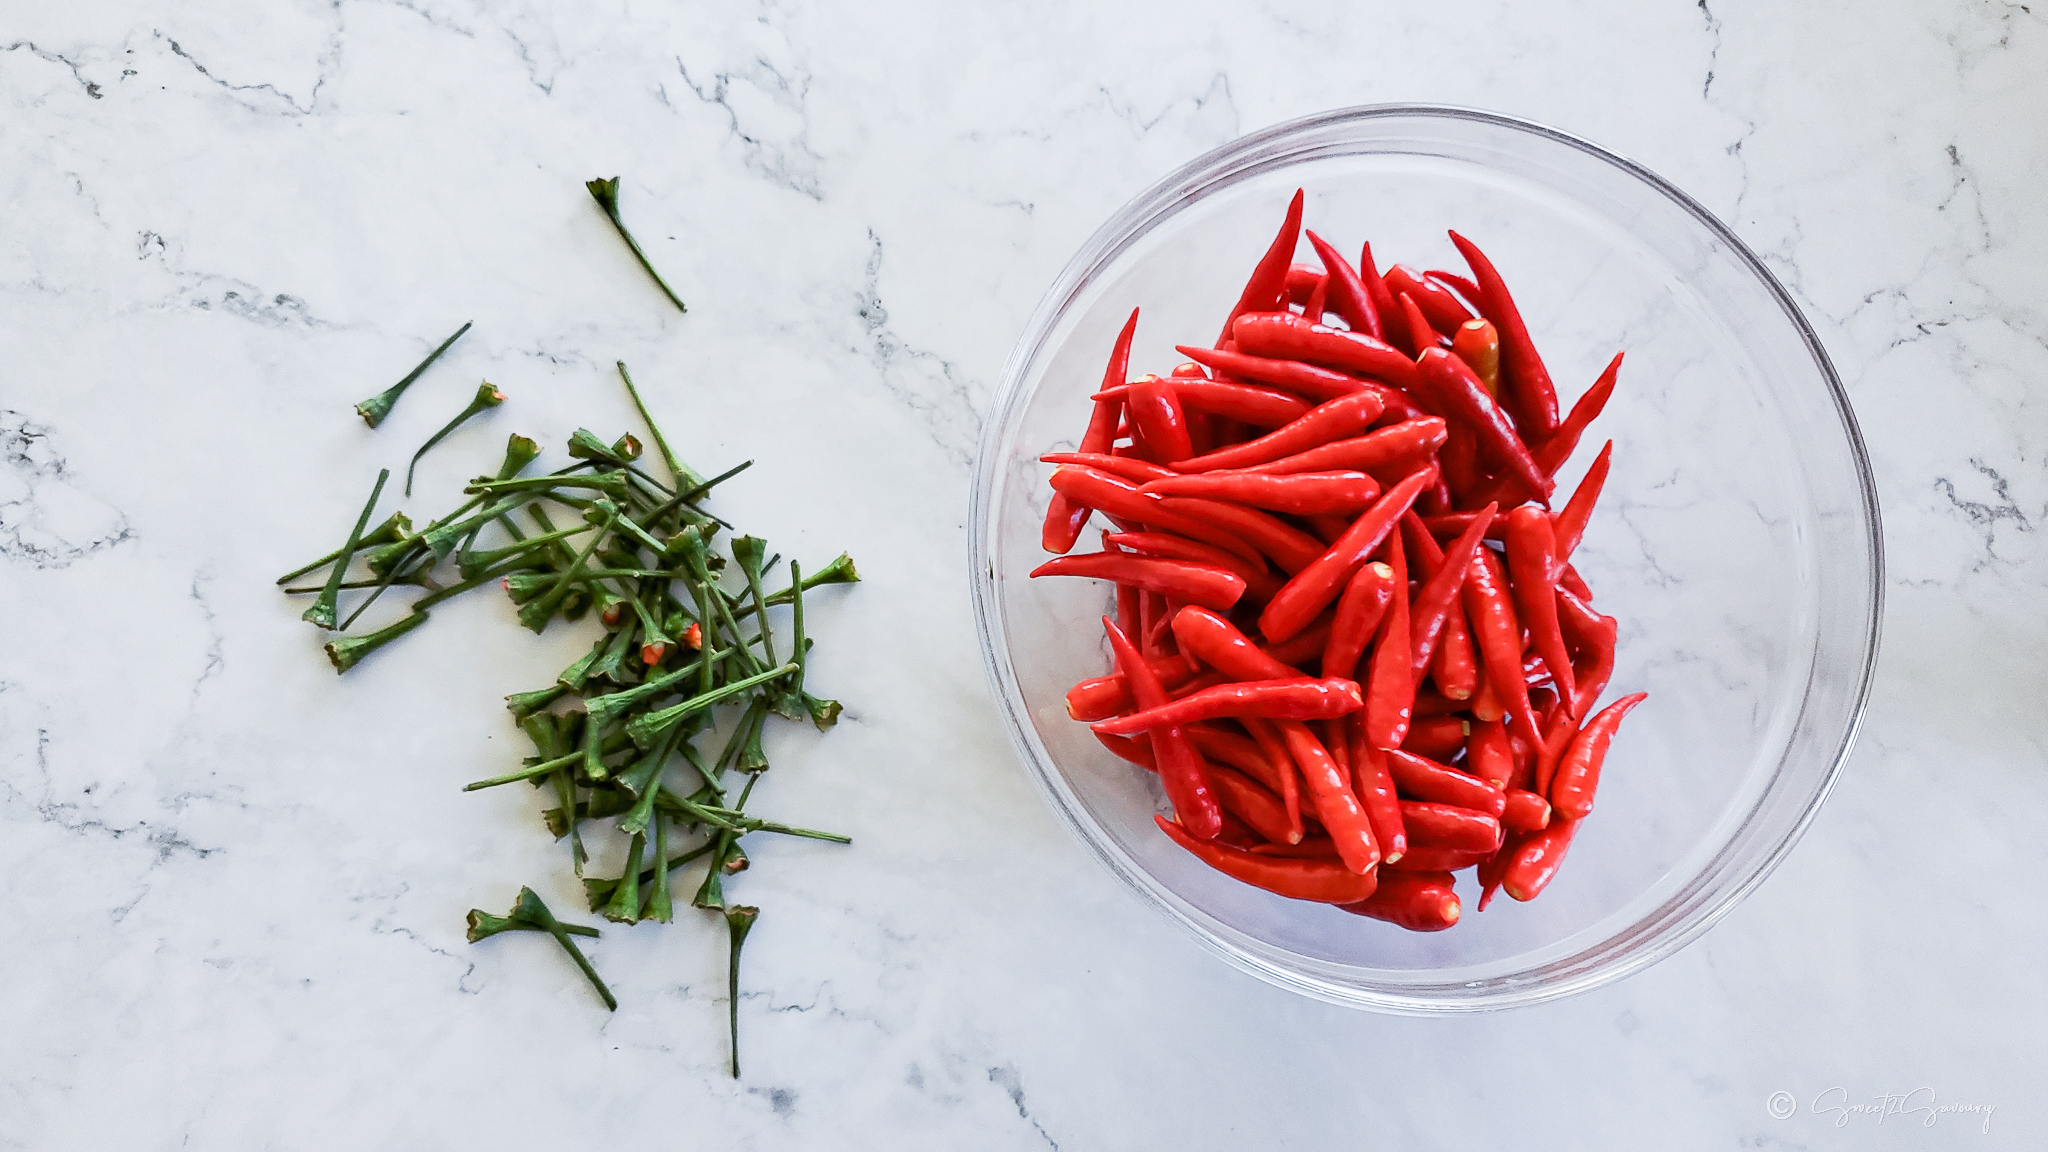
- Rinse and Stem: Rinse the chilies under cold running water in a colander. Wearing disposable kitchen gloves, break off and discard the green stems. Place the stemmed chilies in a bowl.
Phase 2: The Food Processor Magic
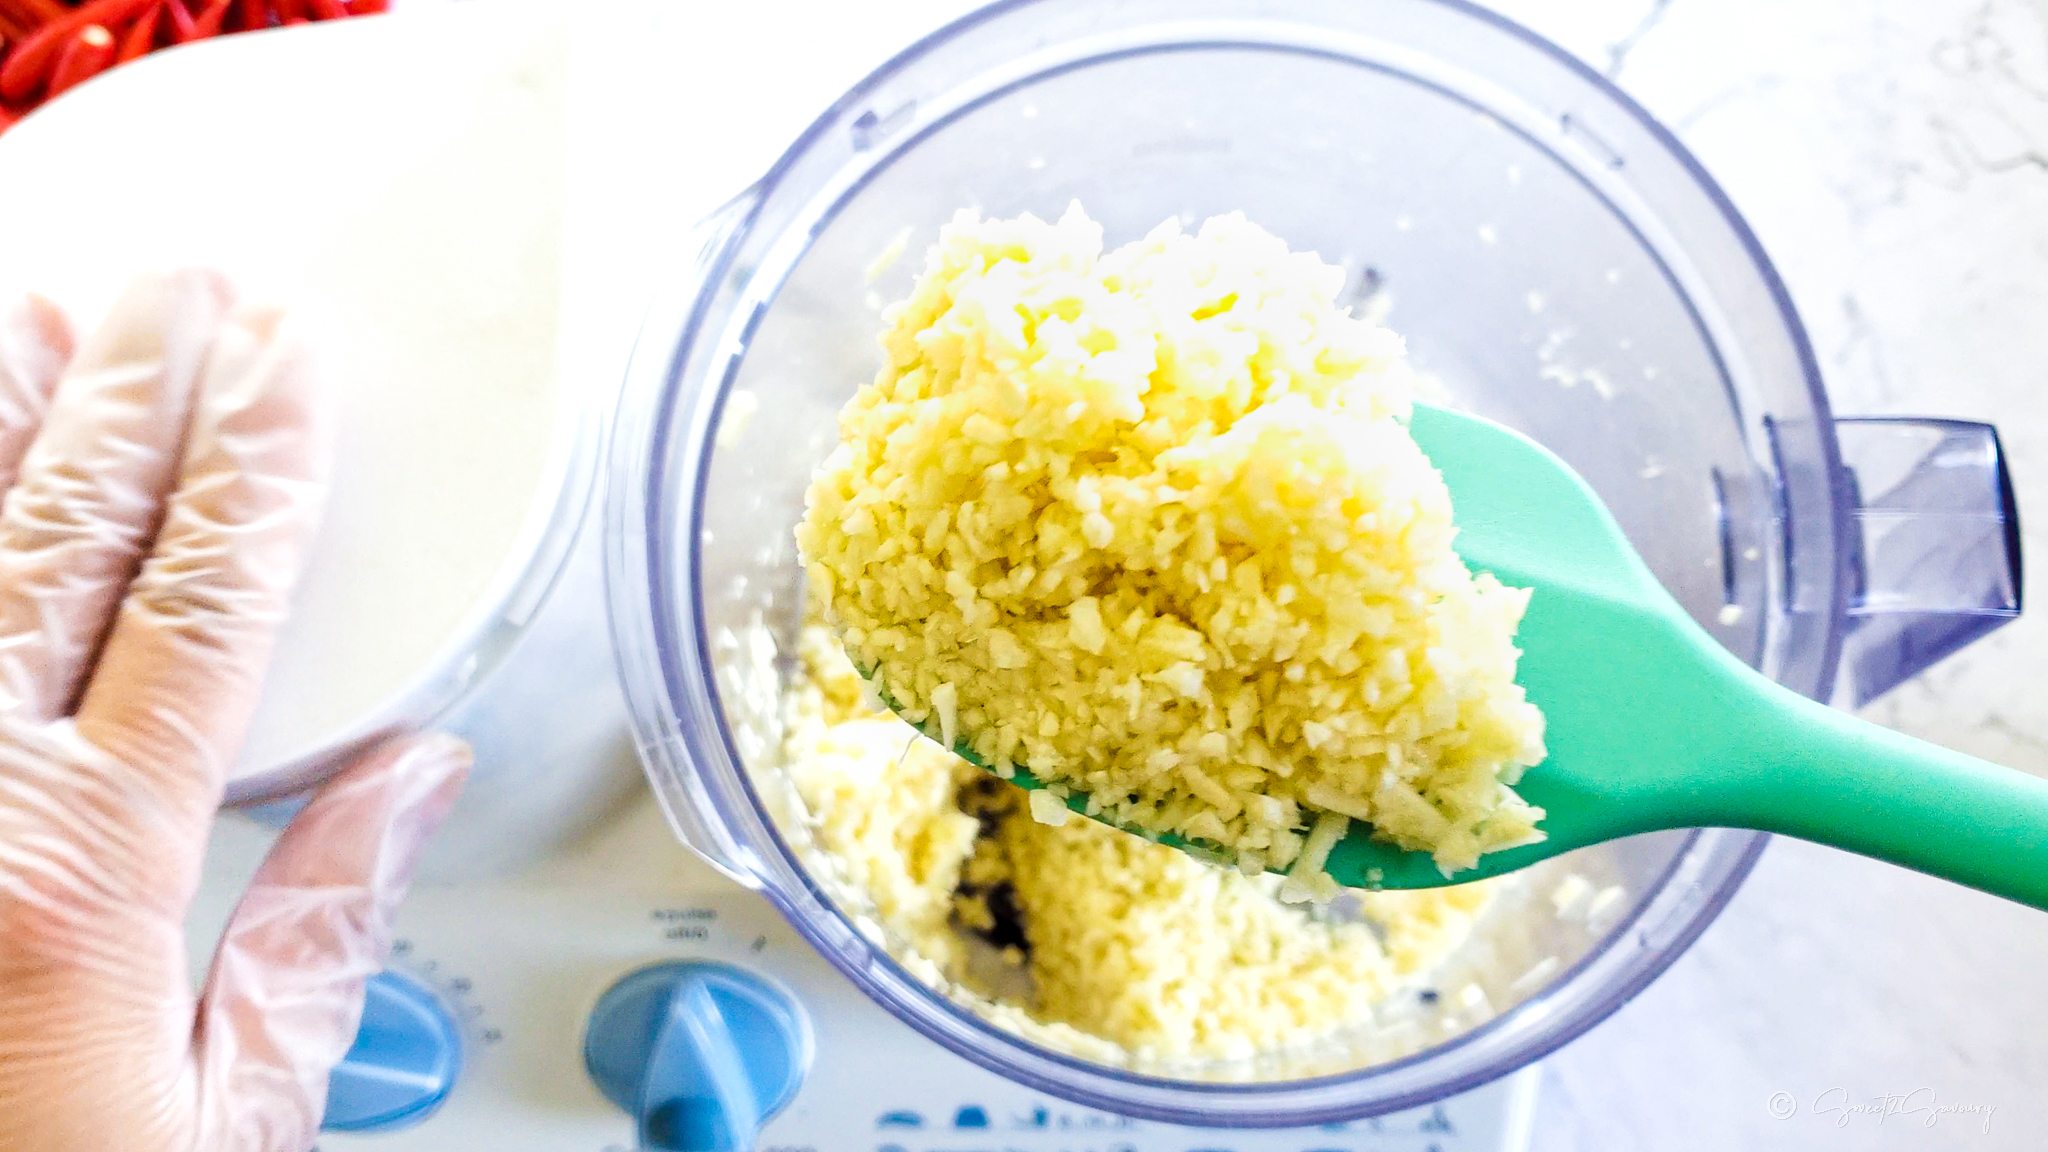
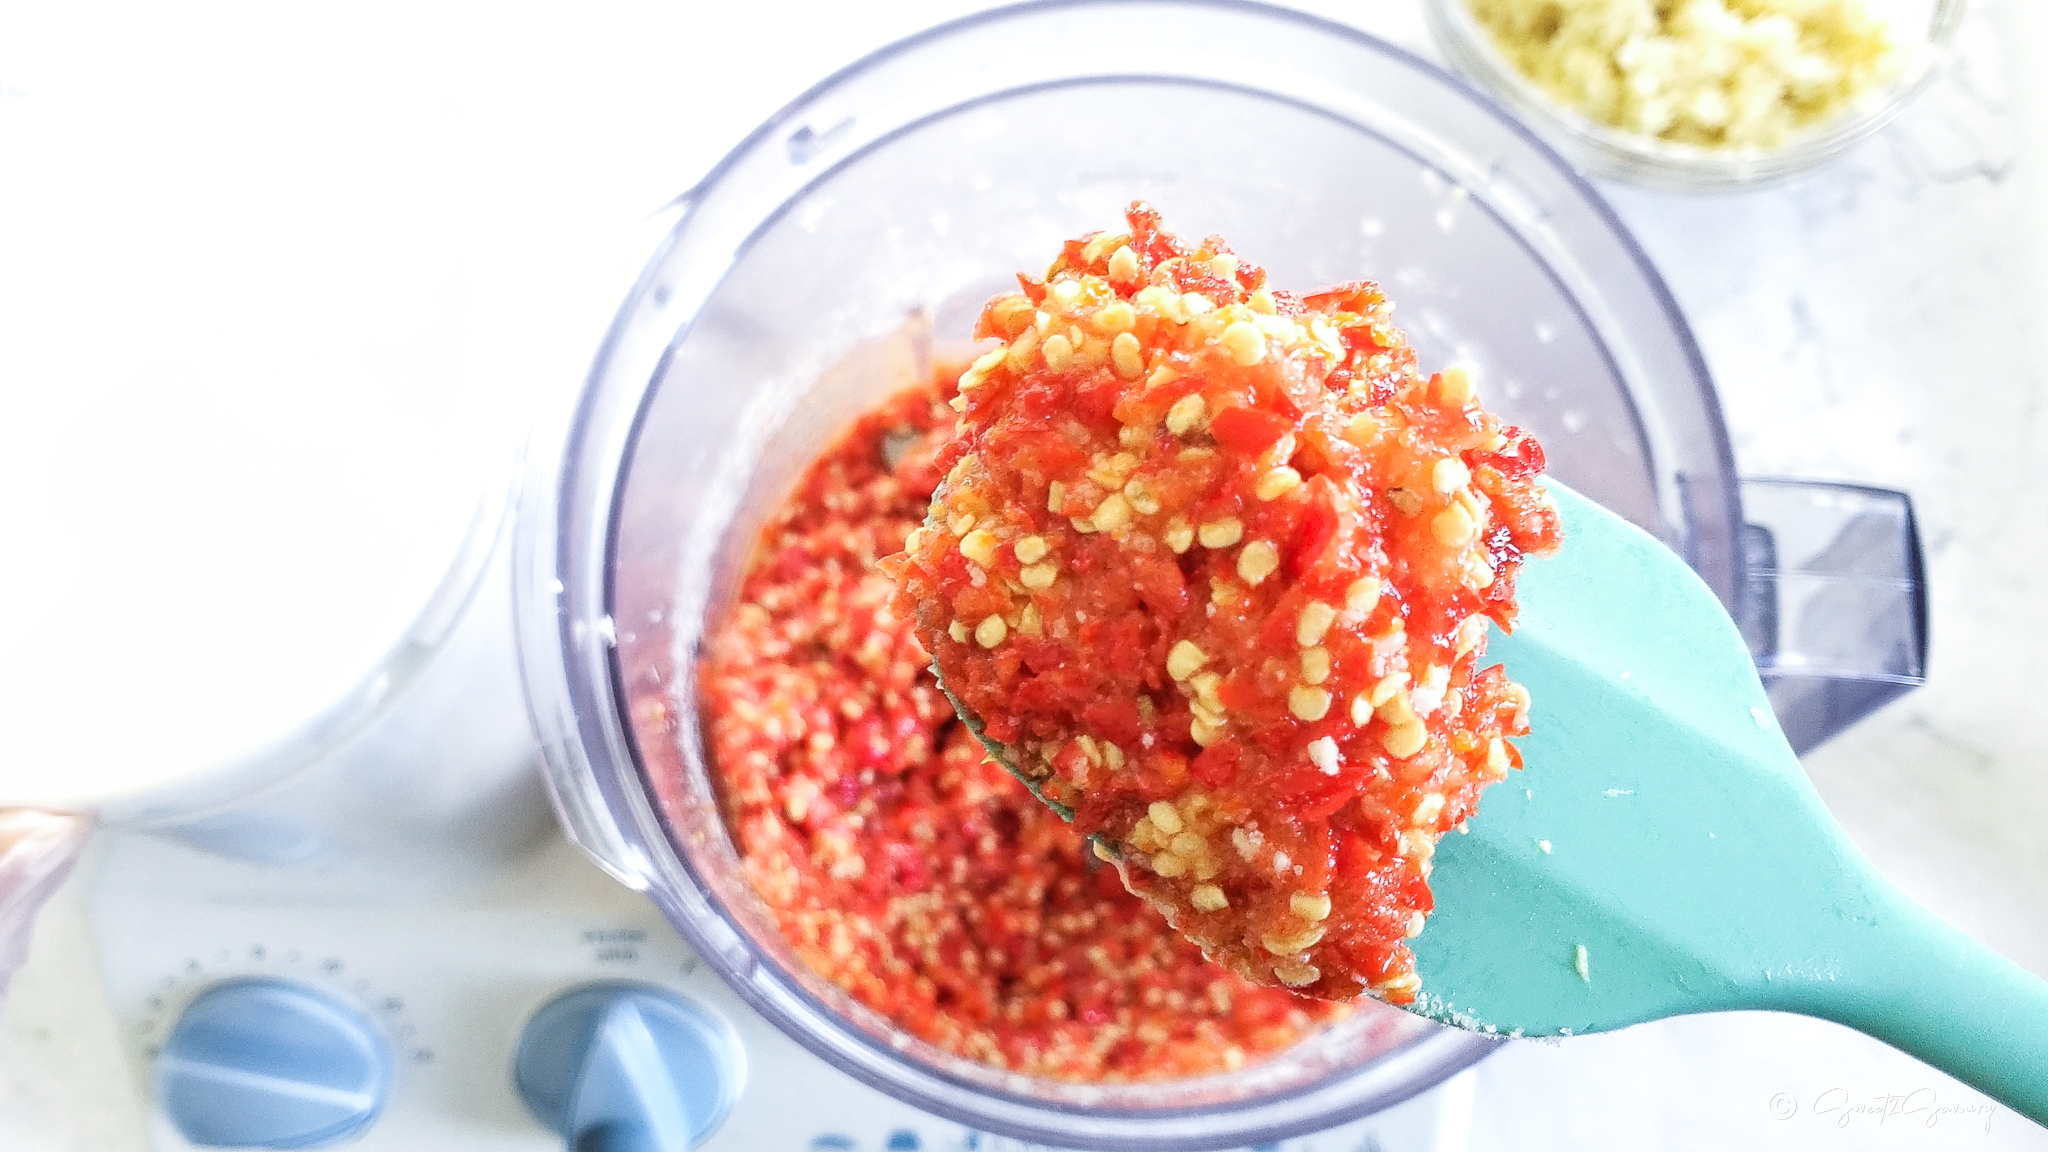
- Mince the Garlic: Add all of the peeled garlic cloves to your food processor bowl. Pulse exactly 16 times to mince the garlic perfectly. Transfer the garlic to a separate bowl and set aside.
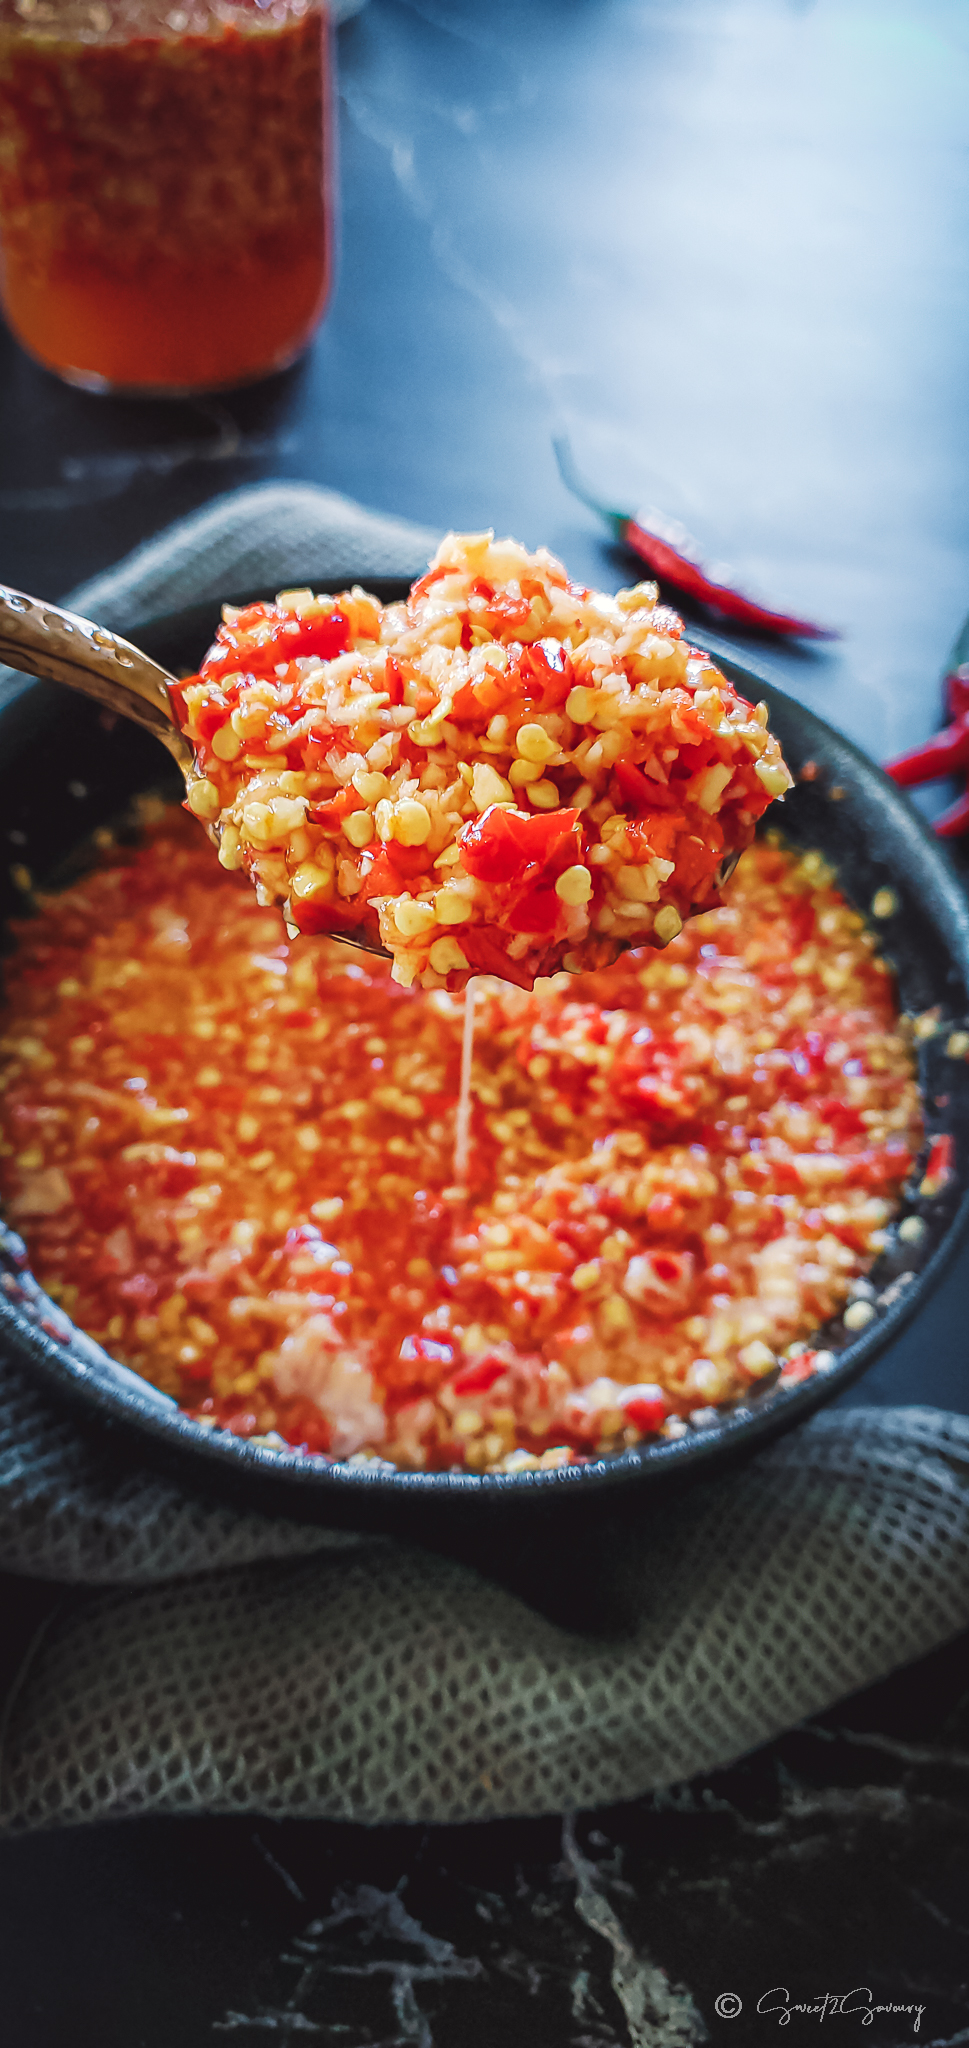
- Mince the Chilies: There is no need to rinse the processor bowl! Add the stemmed chilies, sugar, and salt. Pulse 20 times to mince the chilies and incorporate the seasoning.

Phase 3: Combine and Store
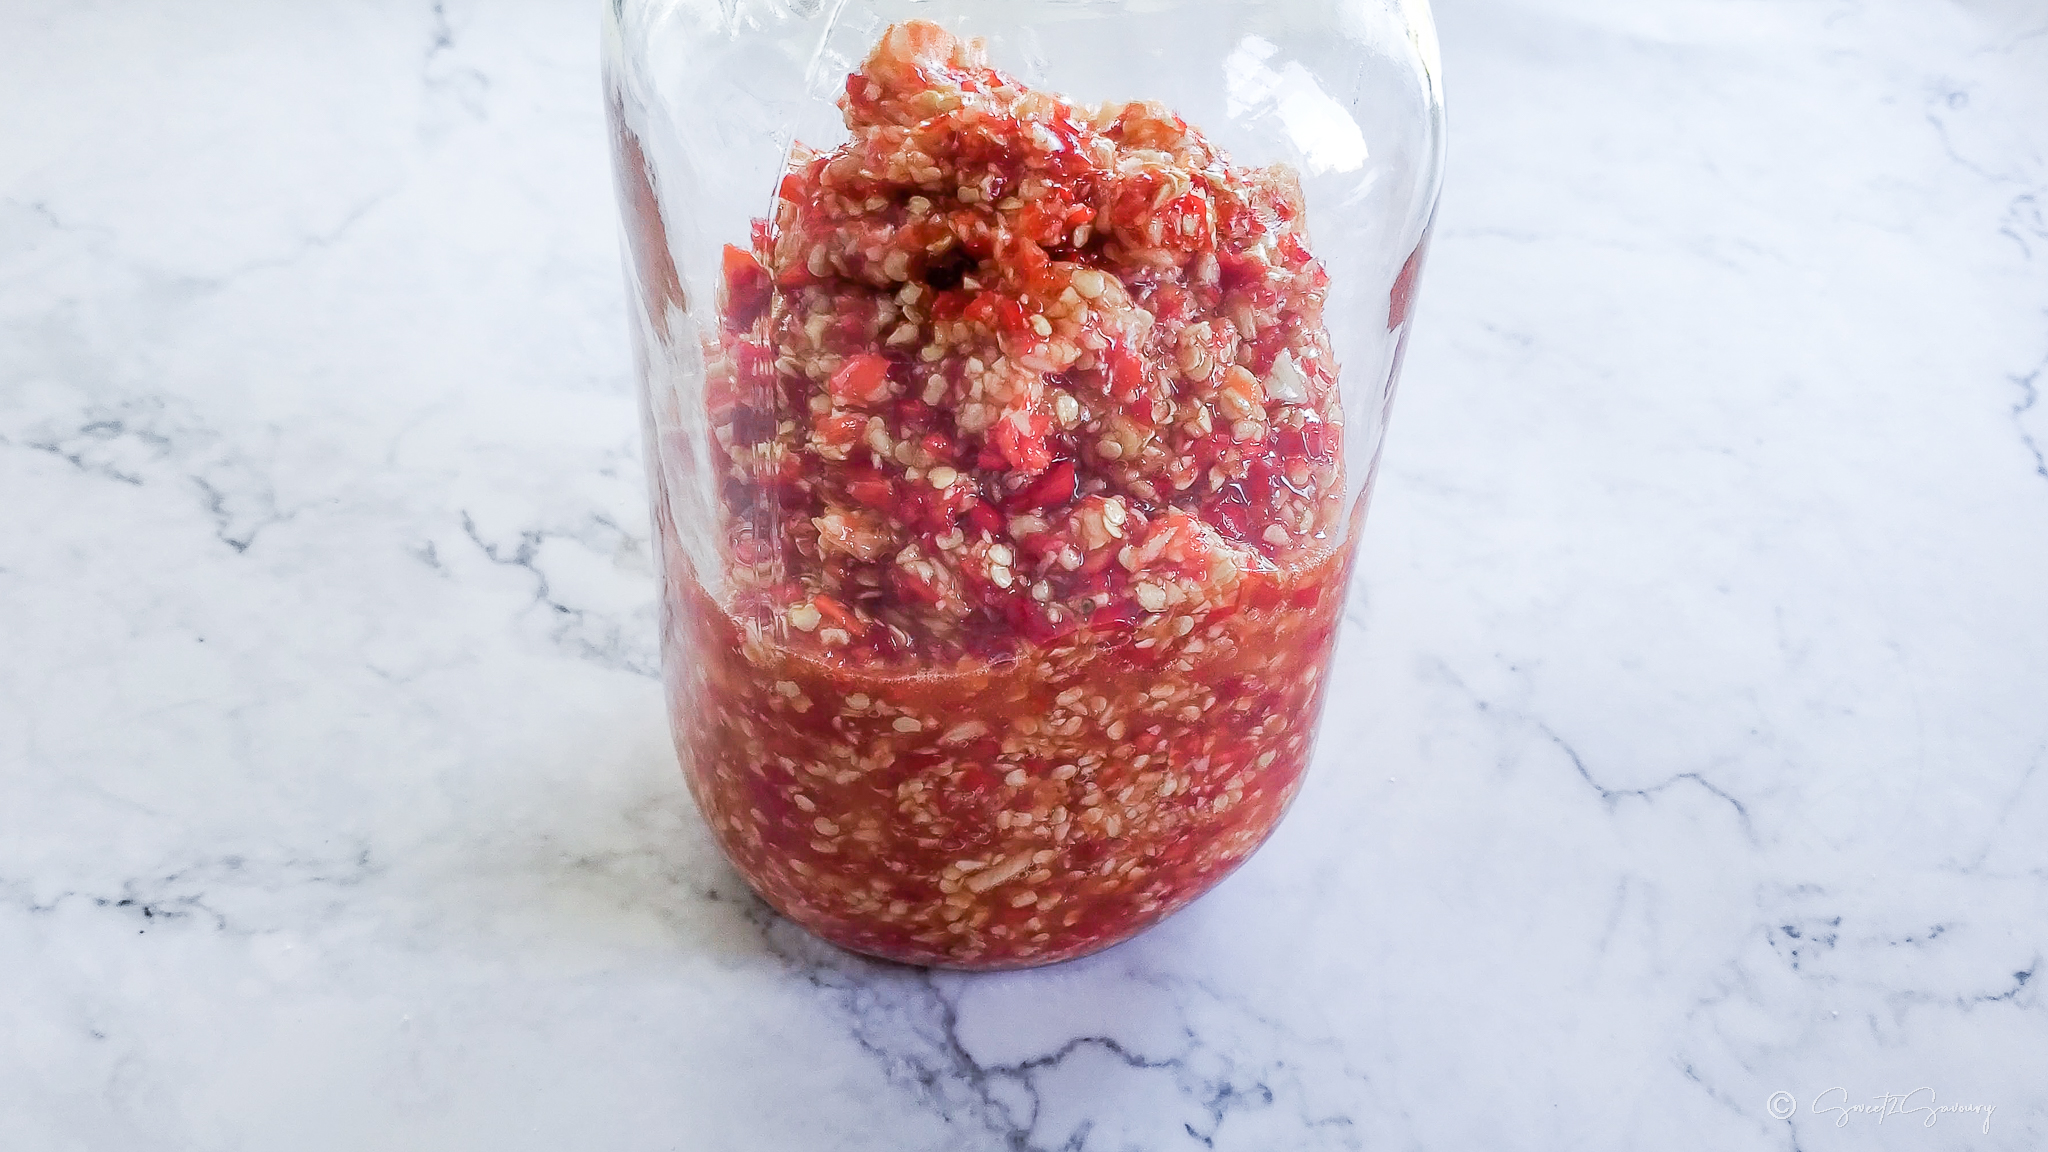
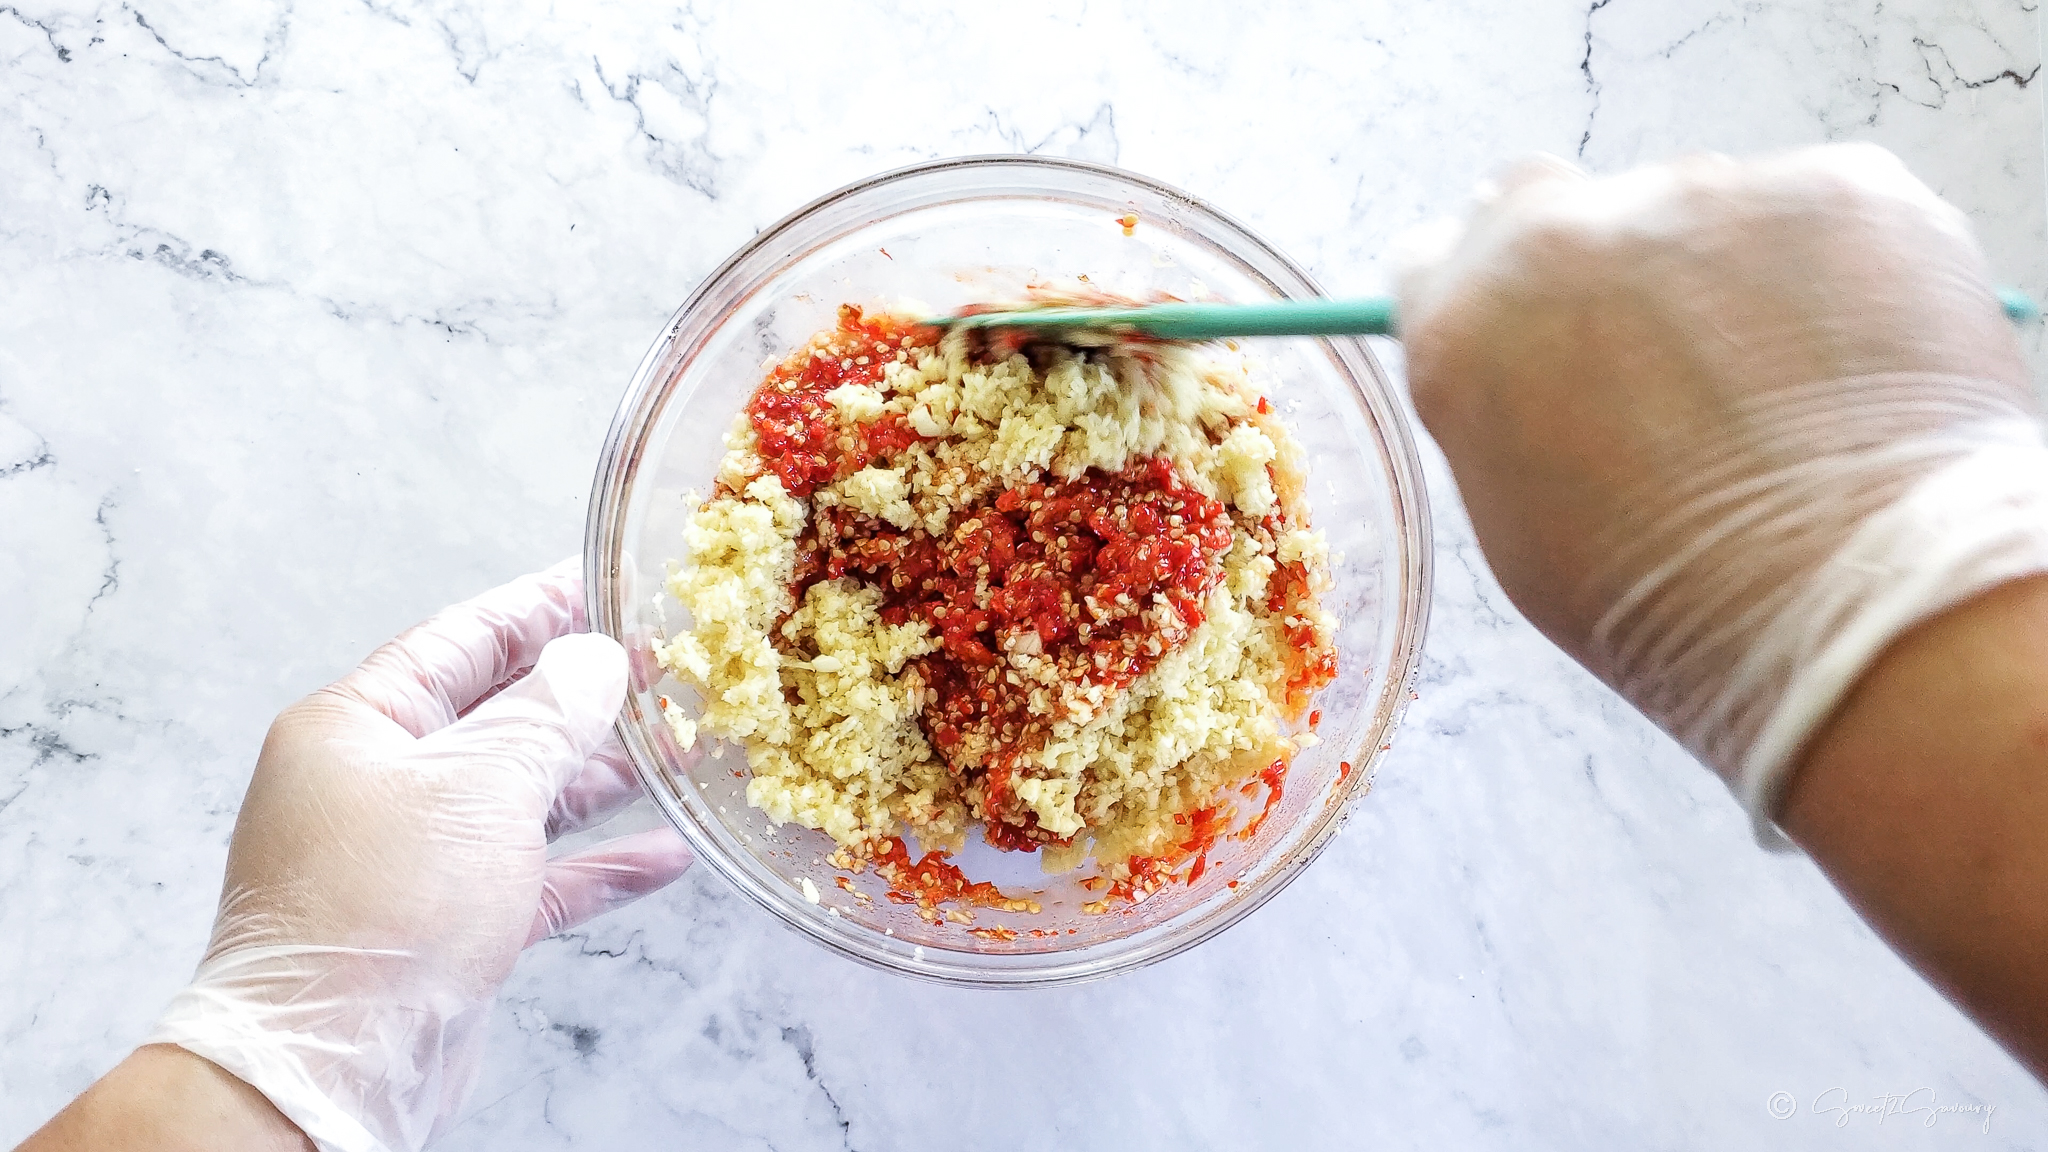
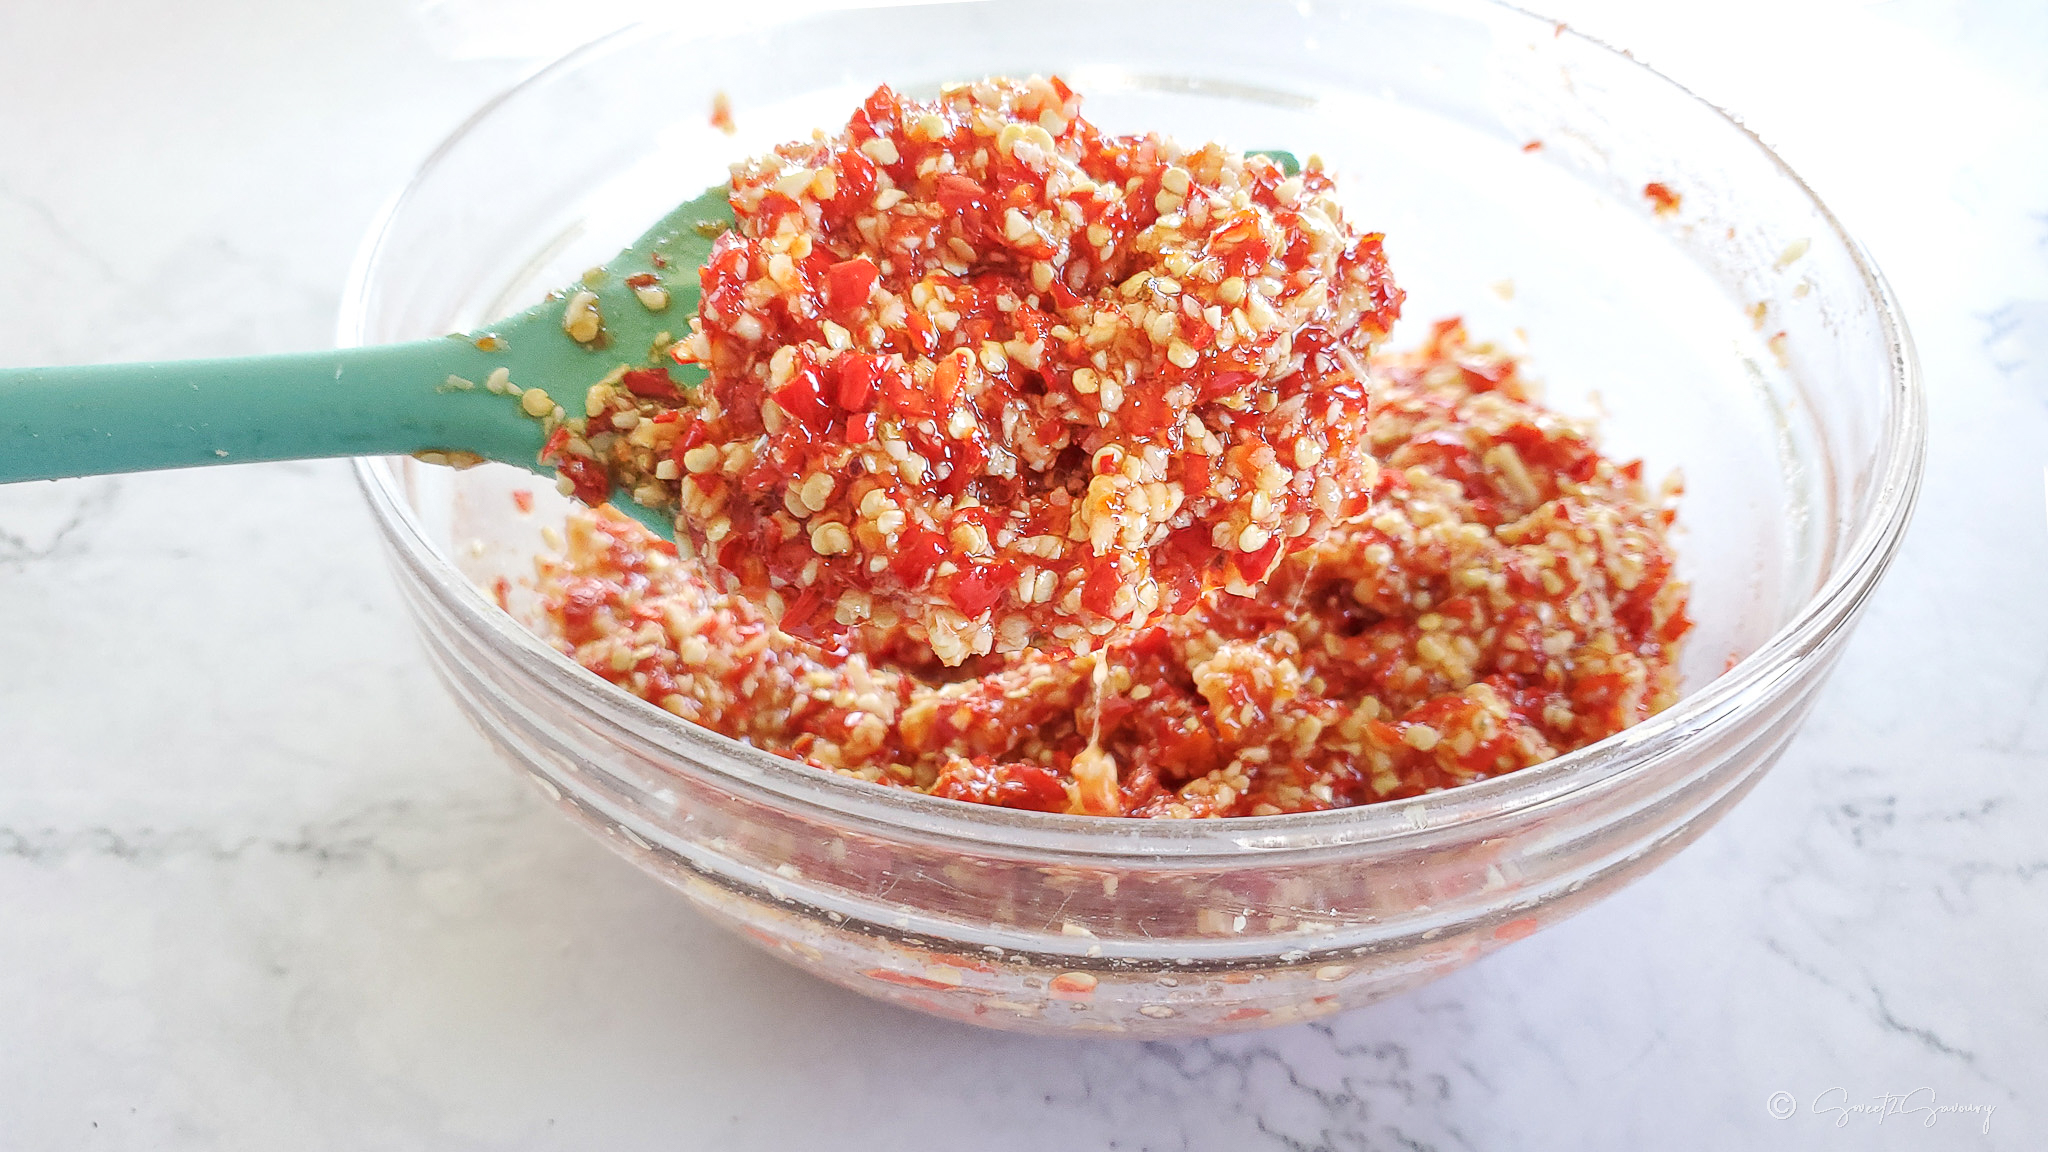
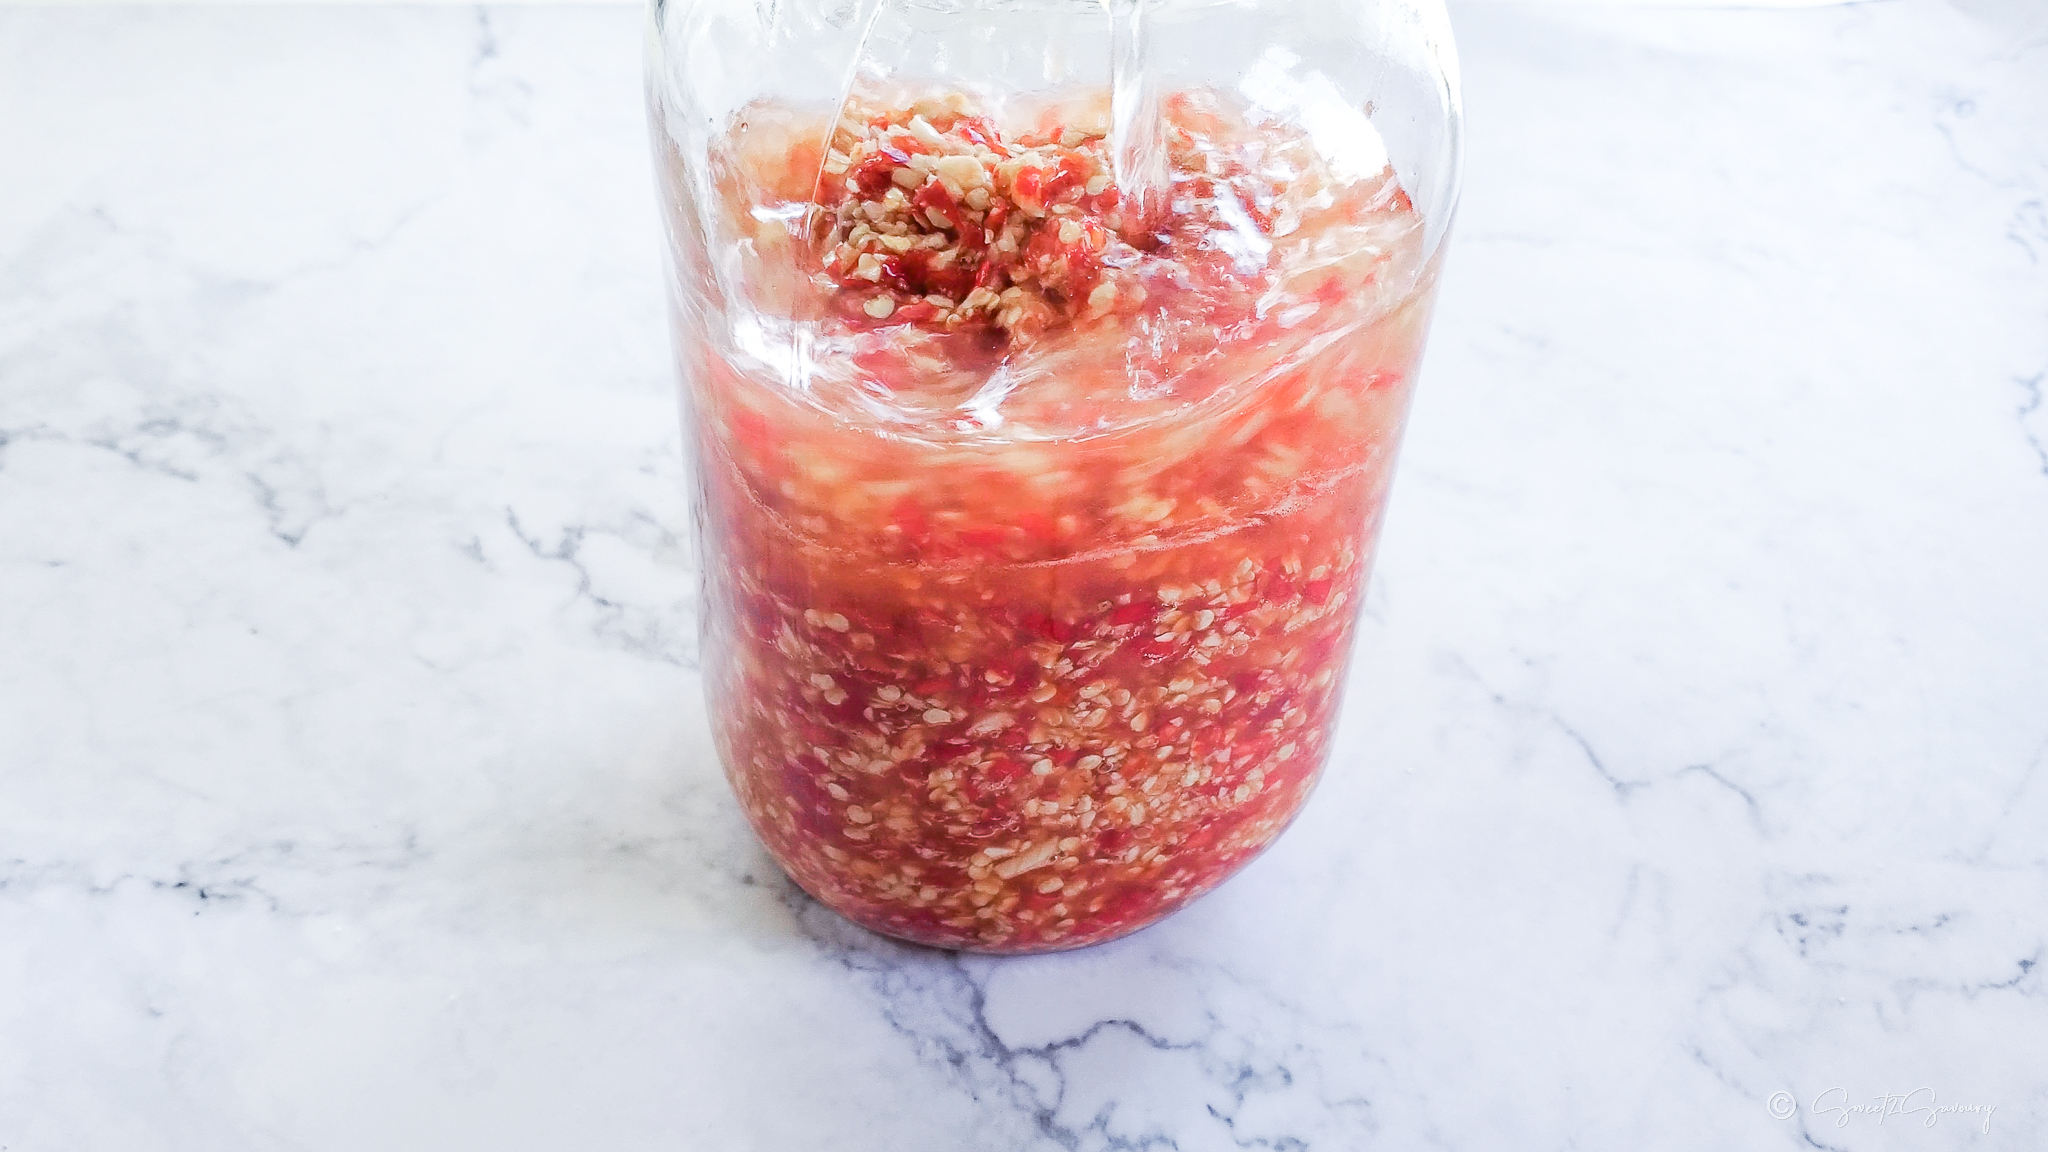
- Mix: Transfer the minced chili mixture into a large mixing bowl. Fold the minced garlic into the chilies using a spatula.
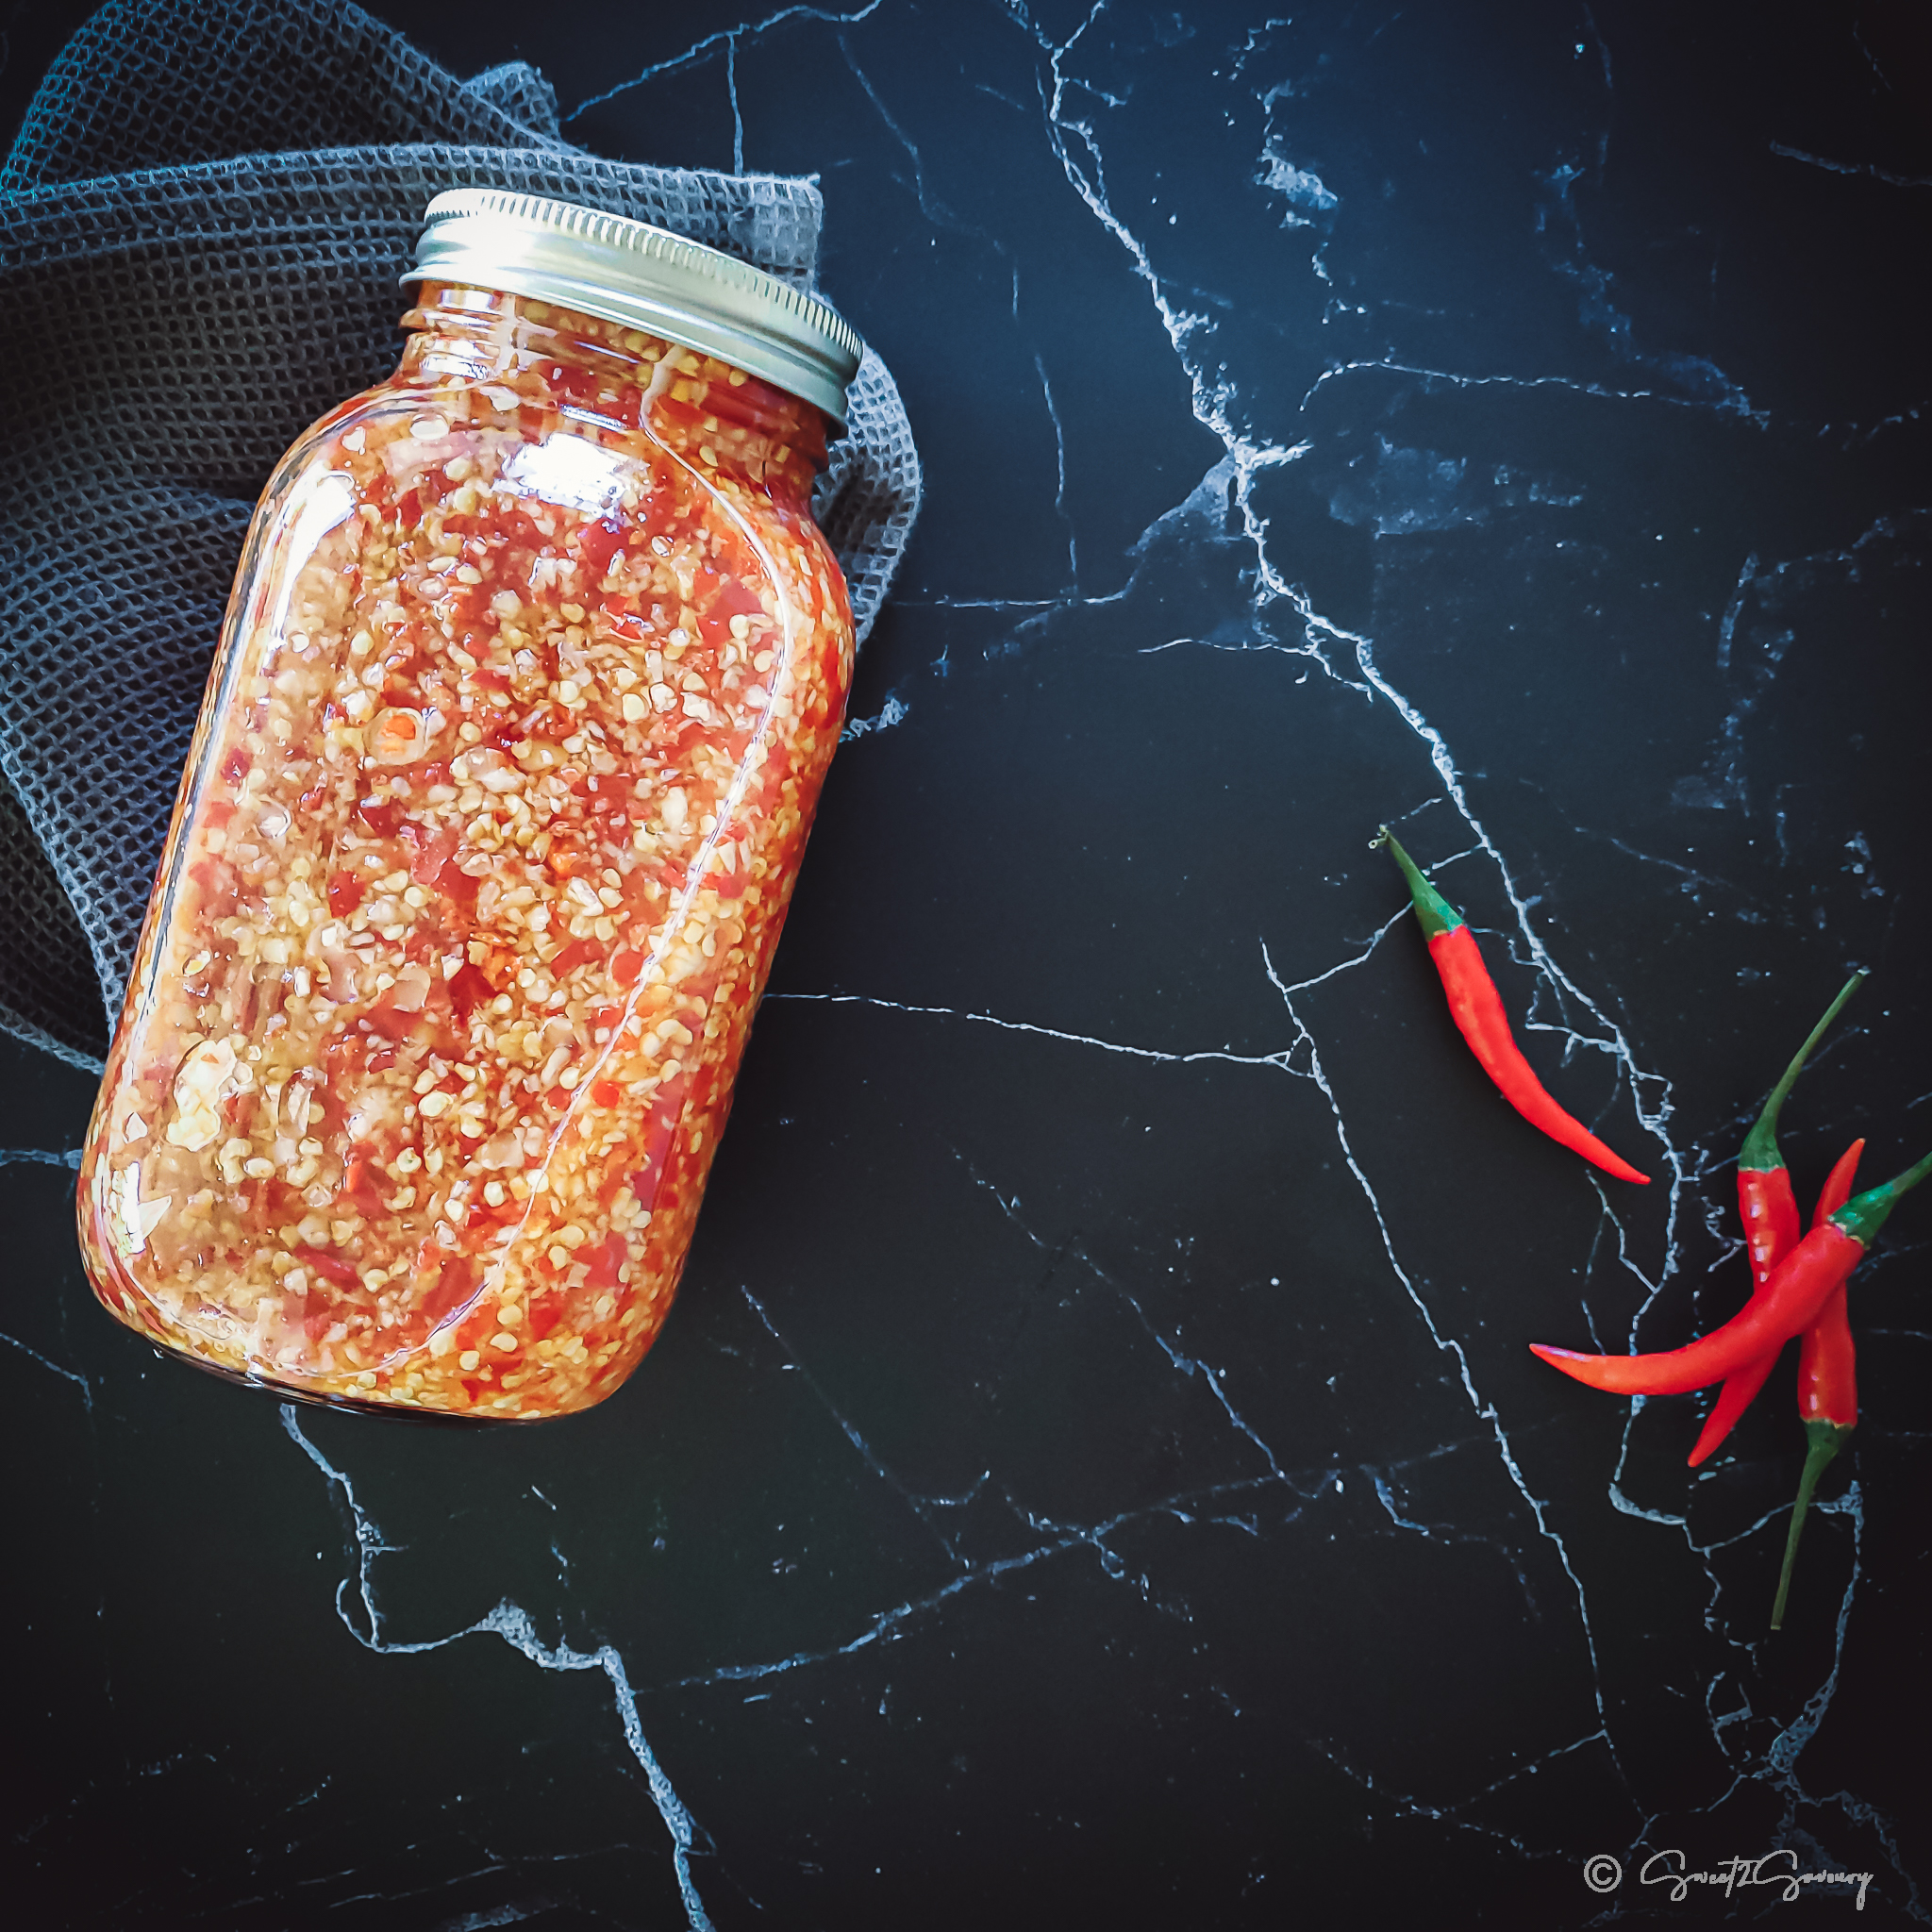
- Jar It: Spoon the chili-garlic mixture into a clean 1-Litre glass jar (like a Bernardin canning jar).
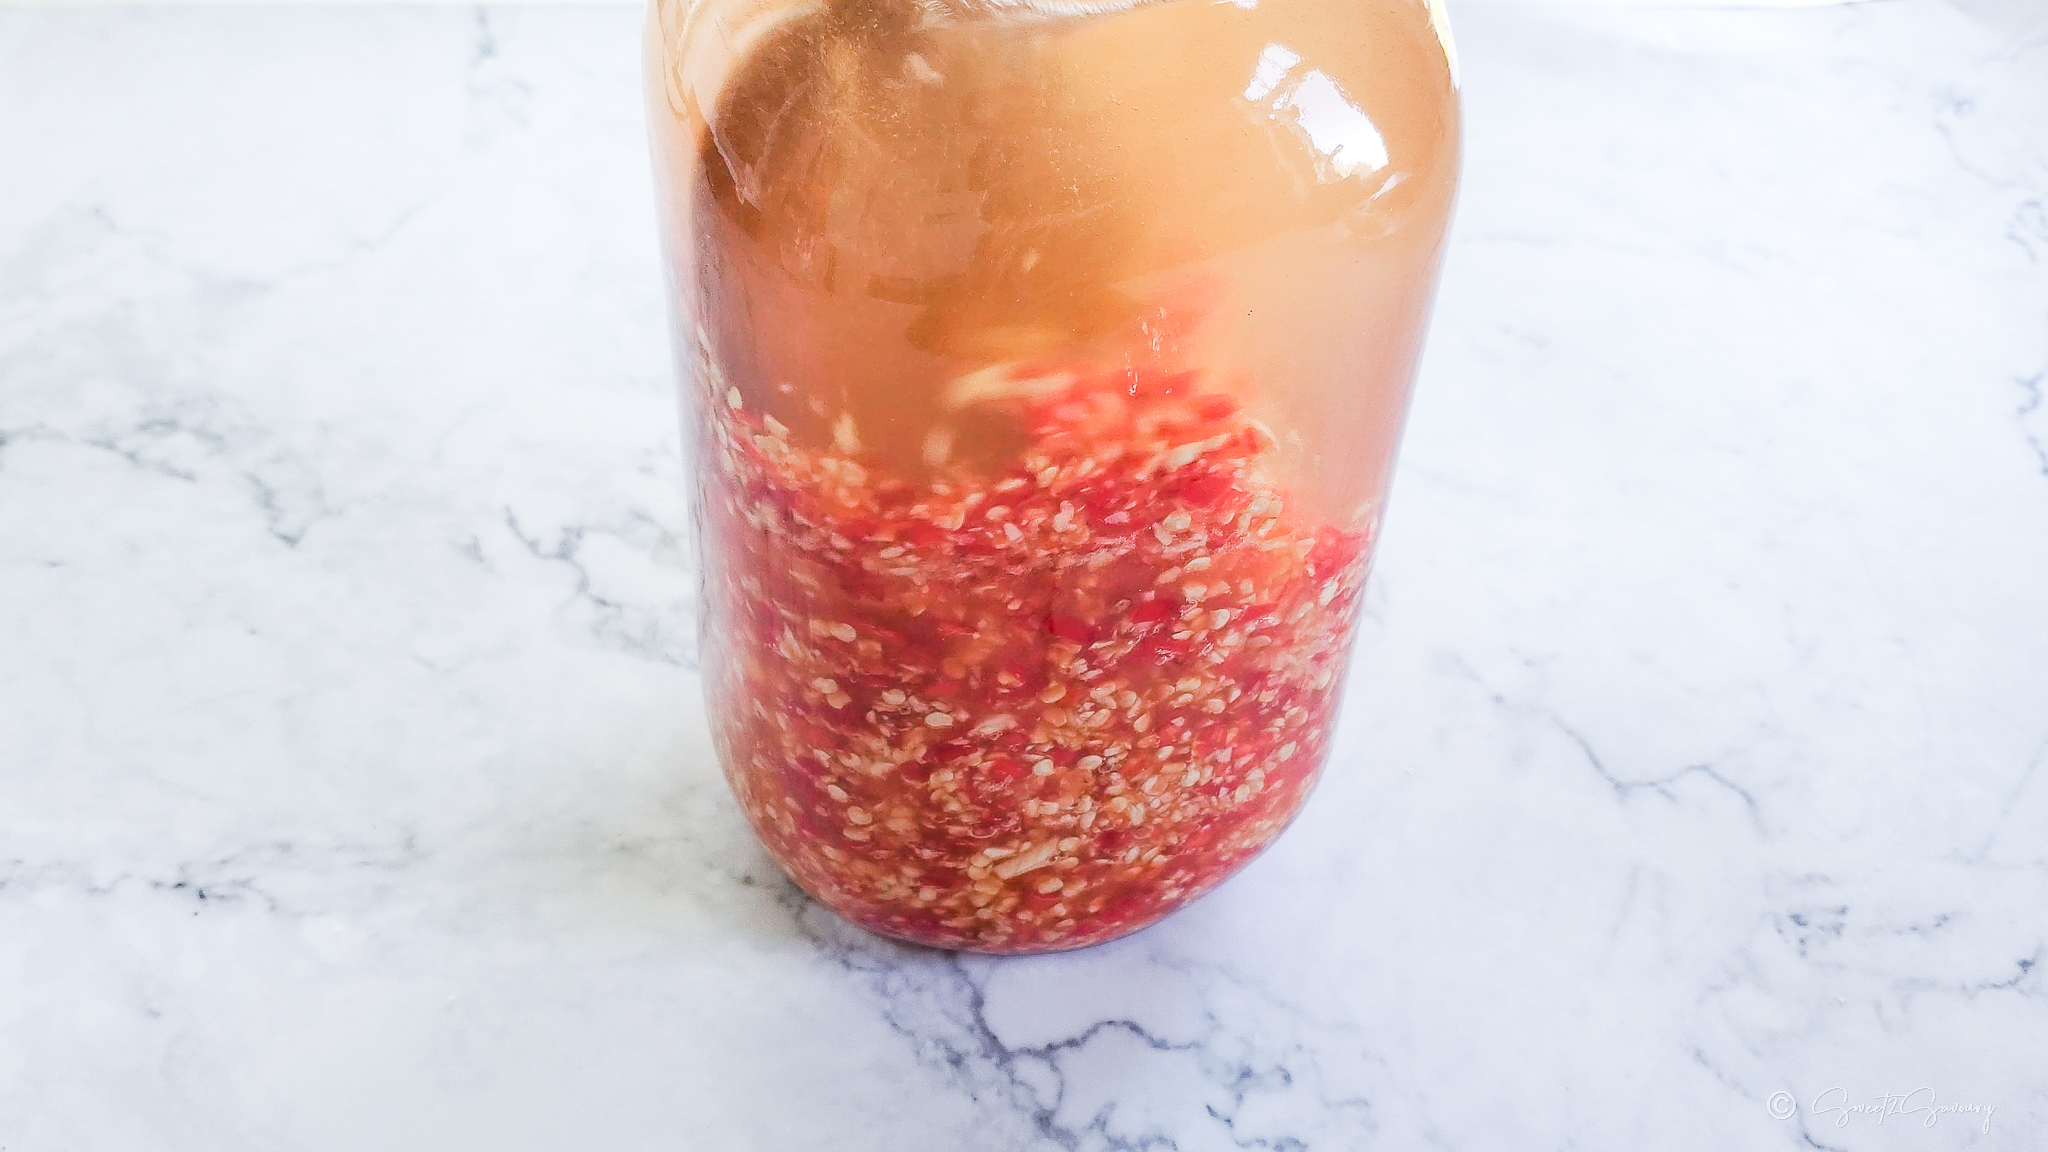
- Add the Acid: Pour the white vinegar directly into the jar and stir well with a spoon.
- Clean and Store: Close the lid tightly. Rinse the outside of the jar under warm tap water or wipe it clean. Store in the refrigerator!
💡Pro Tips for the Best Sauce
- Tame the Heat: Want a milder sauce? Before processing, remove the seeds from the chili pods and soak them in a room-temperature water and vinegar solution for 30 to 60 minutes.
- Wear Gloves: The oil concentration in chili seeds (capsaicin – “cap-SAY-sin”) is what causes that burning sensation. Always wear gloves when handling Thai chilies to protect your skin and eyes!
- Use a Glass Jar: Vinegar is highly acidic and can react with metal or stain plastic containers. Always mix and store this pickled sauce in a glass jar.
Complete Your Pairing
This sauce is a flavourful, spicy sidekick. Spoon it over or dip into these blog favourites:
- Authentic Vietnamese Fried Spring Rolls – When mixed with Nước chấm for an extra flavour kick, the acidity cuts right through the richness of the fried rolls!
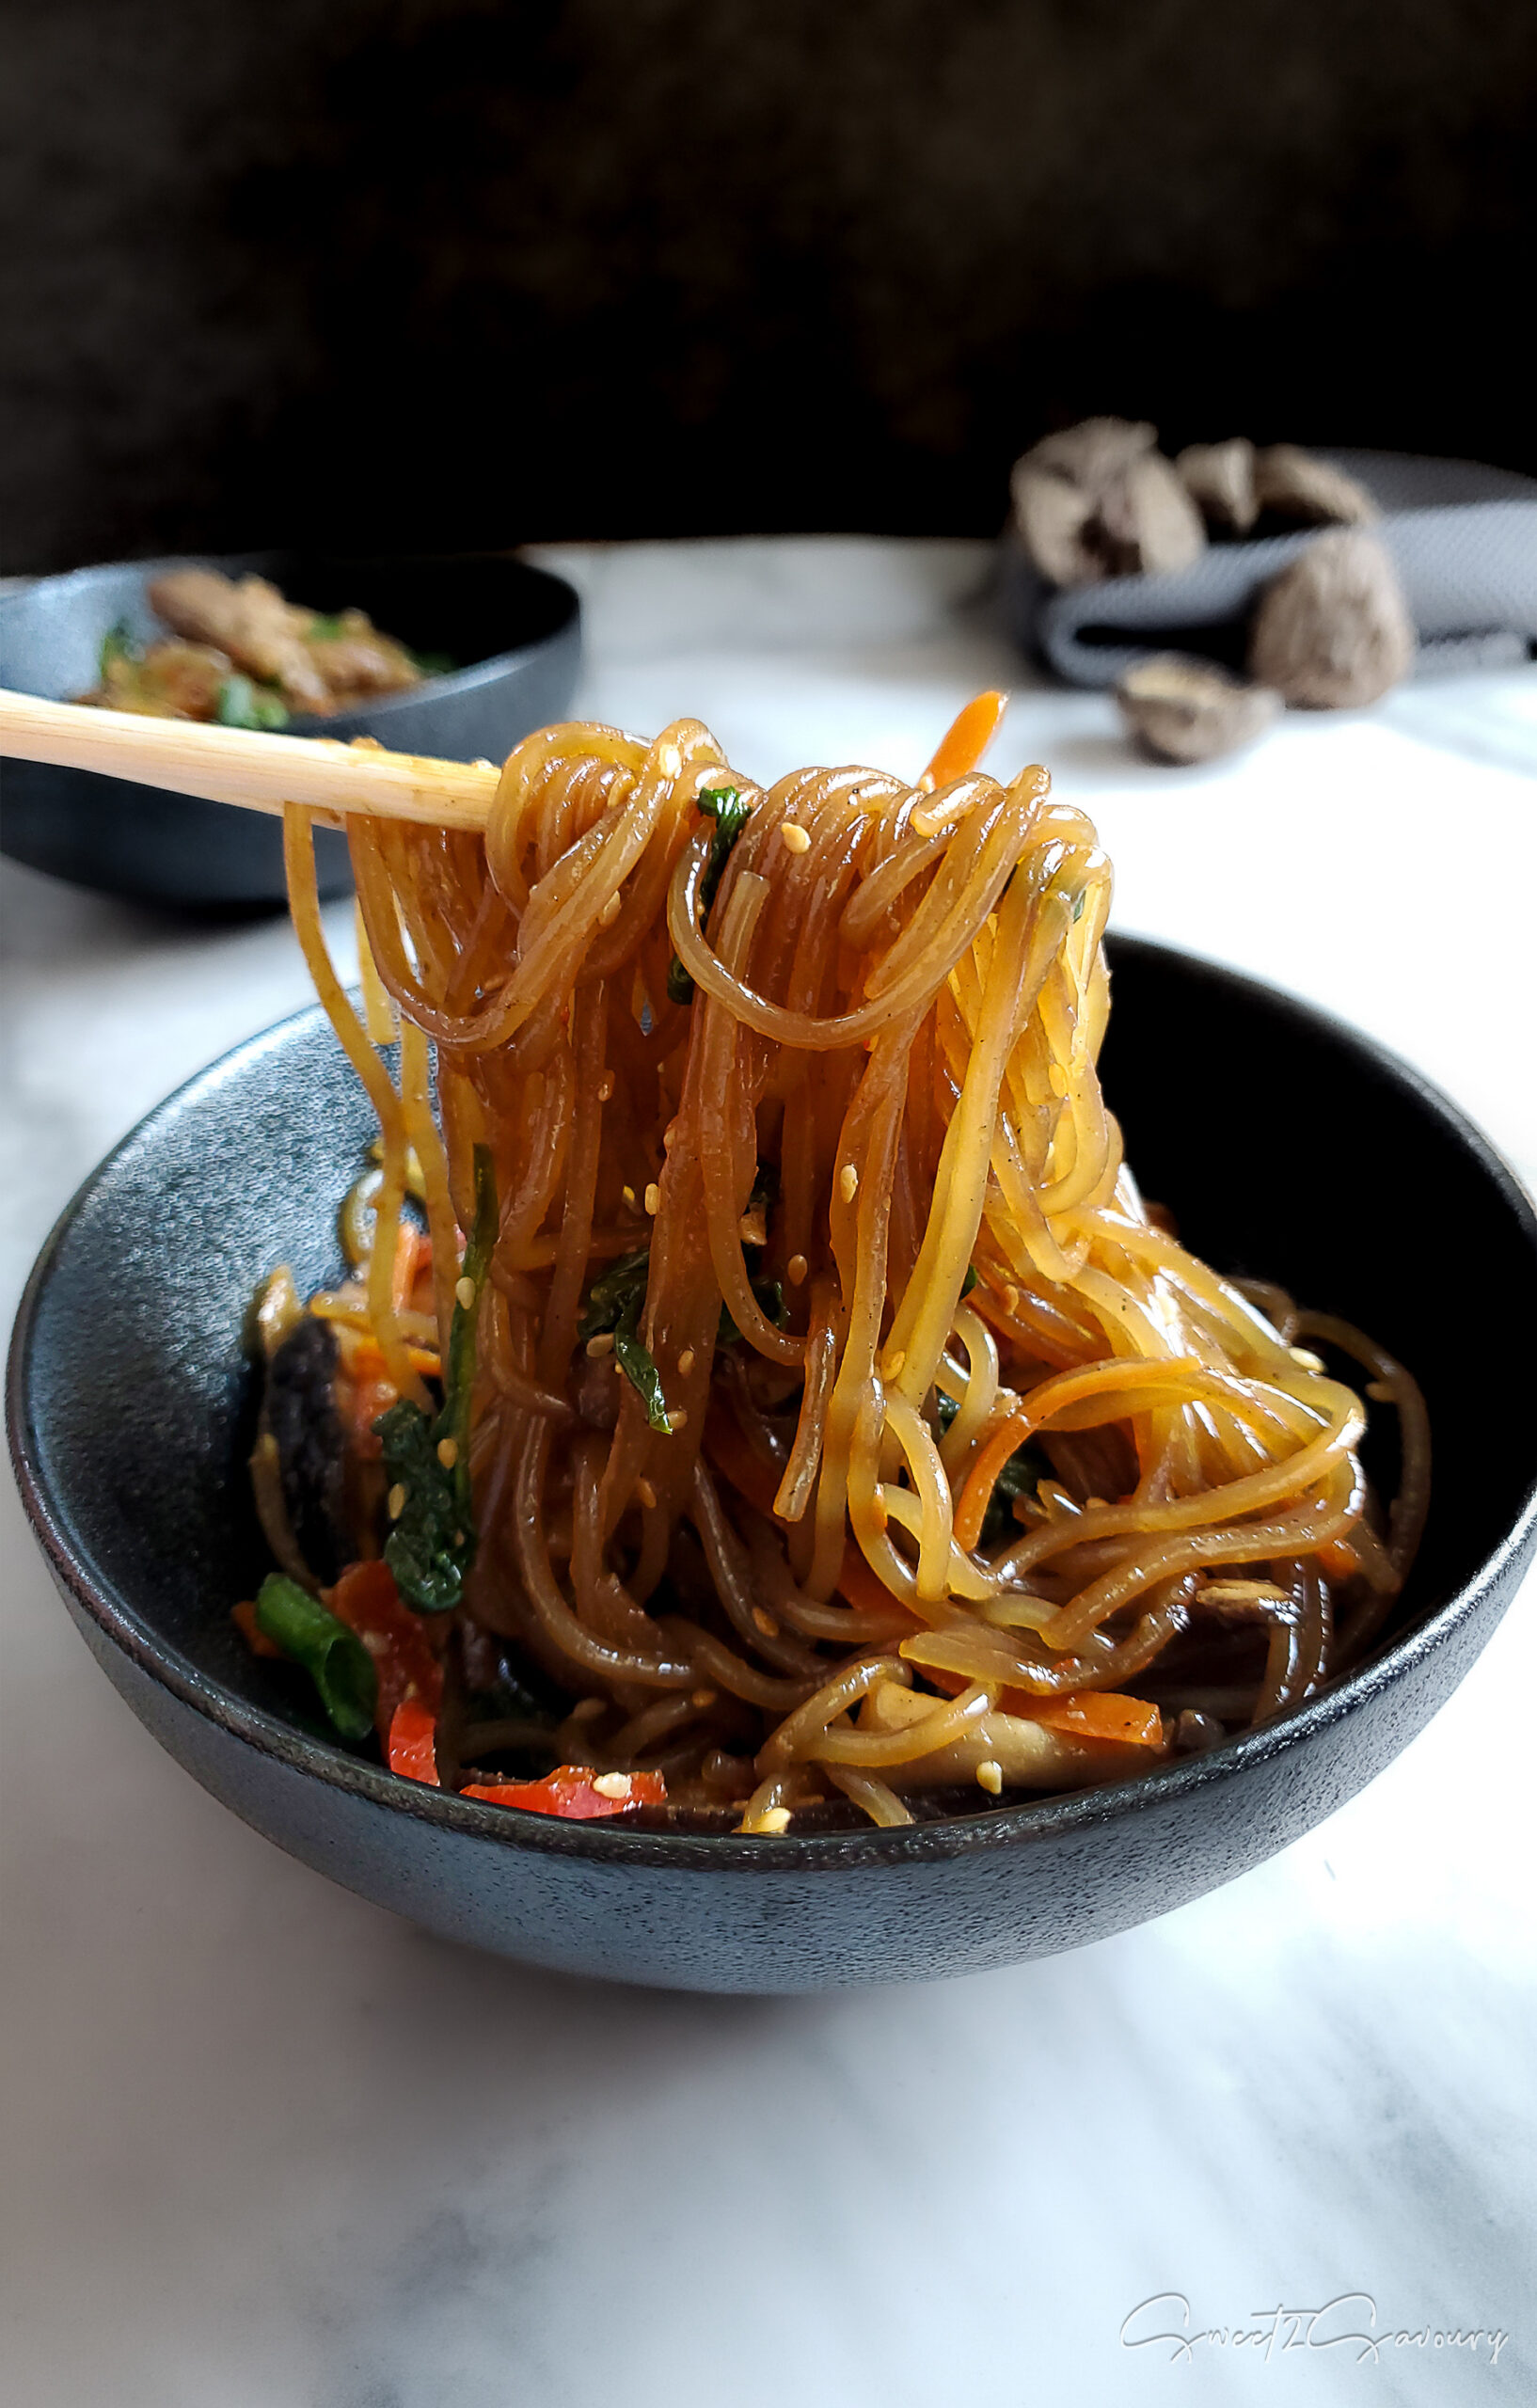
- Spicy Gochujang Noodles with Pork – Spoon a little over your noodles for a bright, tangy finish.
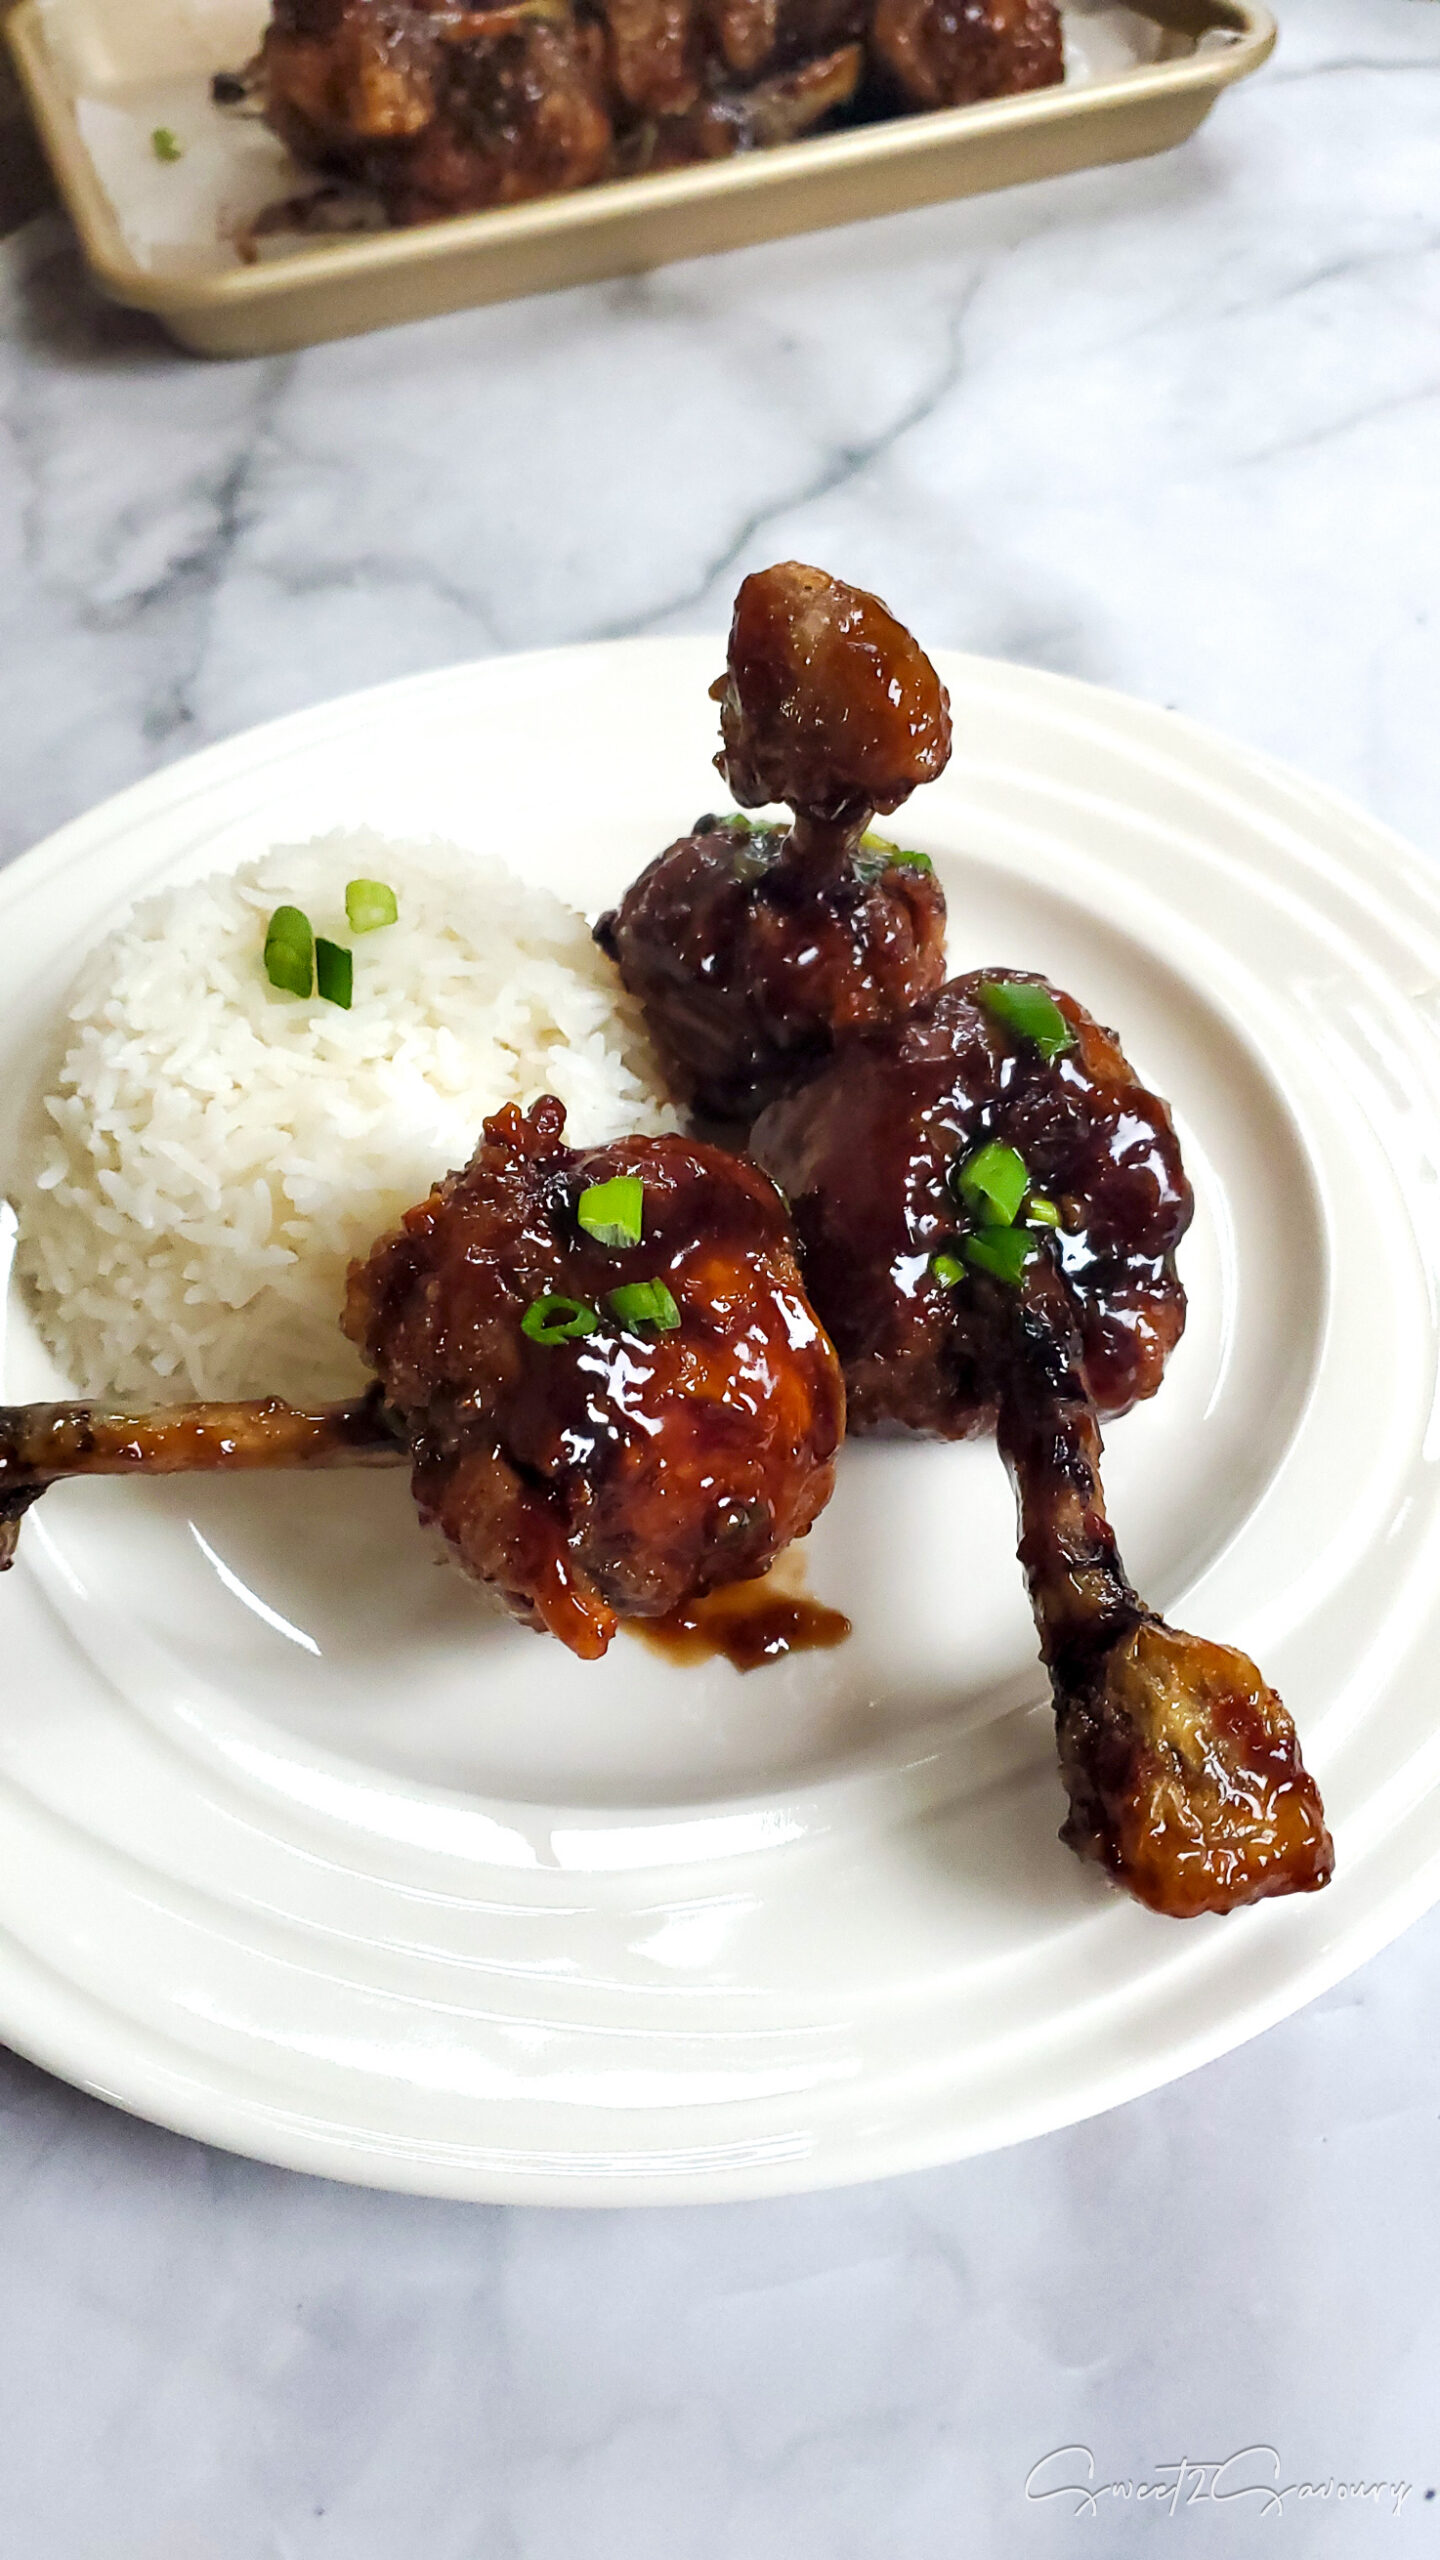
- Teriyaki Sesame Beef Skewers – A perfect dipping companion for grilled meats
Frequently Asked Questions
Why add sugar to a pickled chili sauce?
Other than the vinegar, sugar helps tame the heat in the chilies. It makes the sauce much more palatable and creates a highly favourable balance between the salt and the sharp acidity of the vinegar.
I can’t find red Thai chilies, can I use green?
Yes! Green Thai chilies tend to be sharper and spicier, while red chilies are slightly milder with a more developed flavour. You can use either one depending on your preference. For context, Thai chilies range between 50,000 to 100,000 on the Scoville scale, placing them a few spots above Jalapeños!
How long will this pickled chili sauce last?
If kept tightly sealed in a glass canning jar in the refrigerator, this sauce easily lasts up to 6 months with moderate use.
Pin it for later
Minced Chili-Garlic Vinegar Sauce (1-Litre)
Ingredients
- 2 cups fresh red Thai chili peppers rinsed & stems removed
- 4 bulbs garlic trimmed & peeled
- 1 cup white granulated sugar
- 3 Tablespoons kosher or sea salt
- 1½ cups white vinegar
Method
- Prep Chilies: Rinse the chilies under cold running water in a colander. Wearing kitchen gloves, break off and discard all the green stems.
- Process Garlic: Add the trimmed, peeled garlic bulbs to a food processor. Pulse 16 times to mince. Transfer the minced garlic to a bowl and set aside.
- Process Chilies: Without washing the processor bowl, add the stemmed chilies, sugar, and salt. Pulse 20 times to mince the chilies and mix the seasoning.
- Combine: Transfer the chili mixture to a large bowl and fold in the minced garlic with a spatula.
- Jar It: Spoon the chili-garlic mixture into a clean 1-Litre glass jar.
- Add Vinegar: Pour the white vinegar directly into the jar and stir with a spoon to combine.
- Store: Seal the jar tightly, wipe the outside clean, and store in the refrigerator for up to 6 months. Enjoy over noodles, rice, soups, and barbecued meats!