Pie Pumpkin vs. Carving Pumpkin: How to Make Homemade Puree
This post may contain affiliate links, which means I’ll receive a commission if you purchase through my links, at no extra cost to you. This helps keep the content on my site free. please read my disclosure here
What is the Difference Between Pie and Carving Pumpkins?
Pie Pumpkins (also known as Sugar Pumpkins)
- Appearance: Small, heavy for their size, with a deep orange rind. They usually weigh between 2 to 4 pounds.
- Flavour & Texture: The flesh is naturally sweet, dense, and produces a thick, creamy puree.
- Best For: All baking and cooking! Use this for pumpkin pie, sweet breads, soups, and curries.
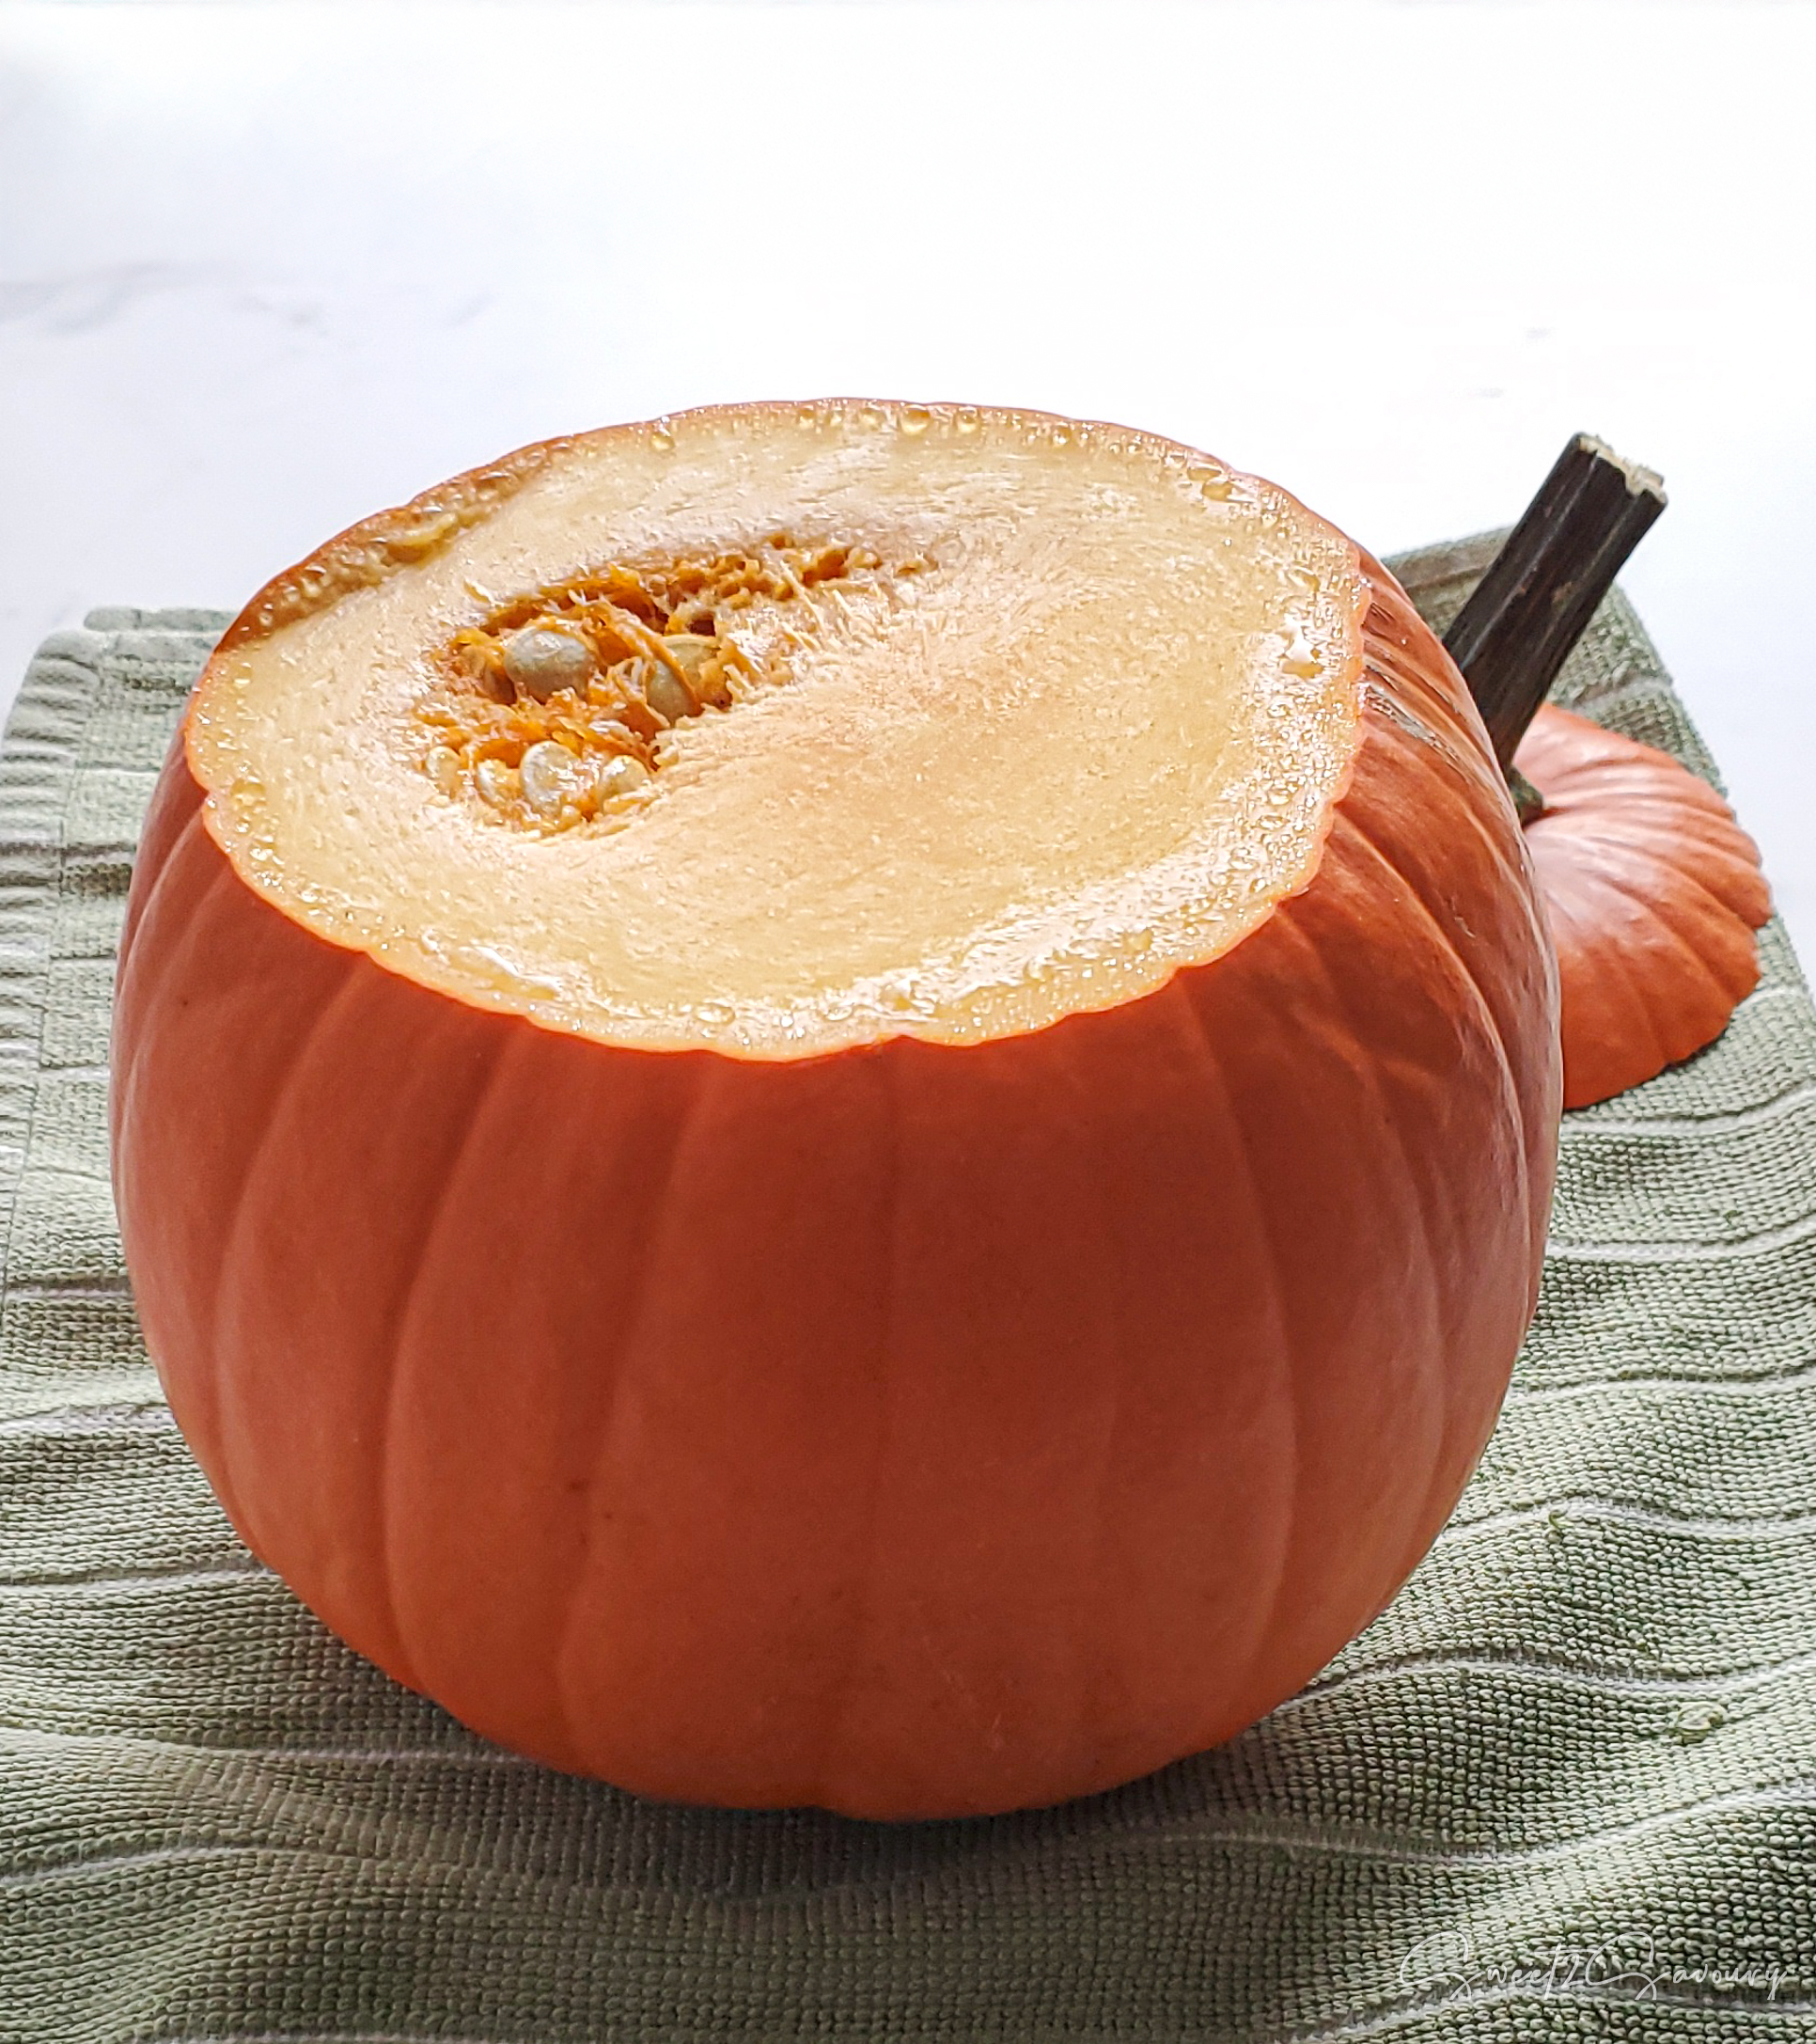
Carving Pumpkins (Field Pumpkins)
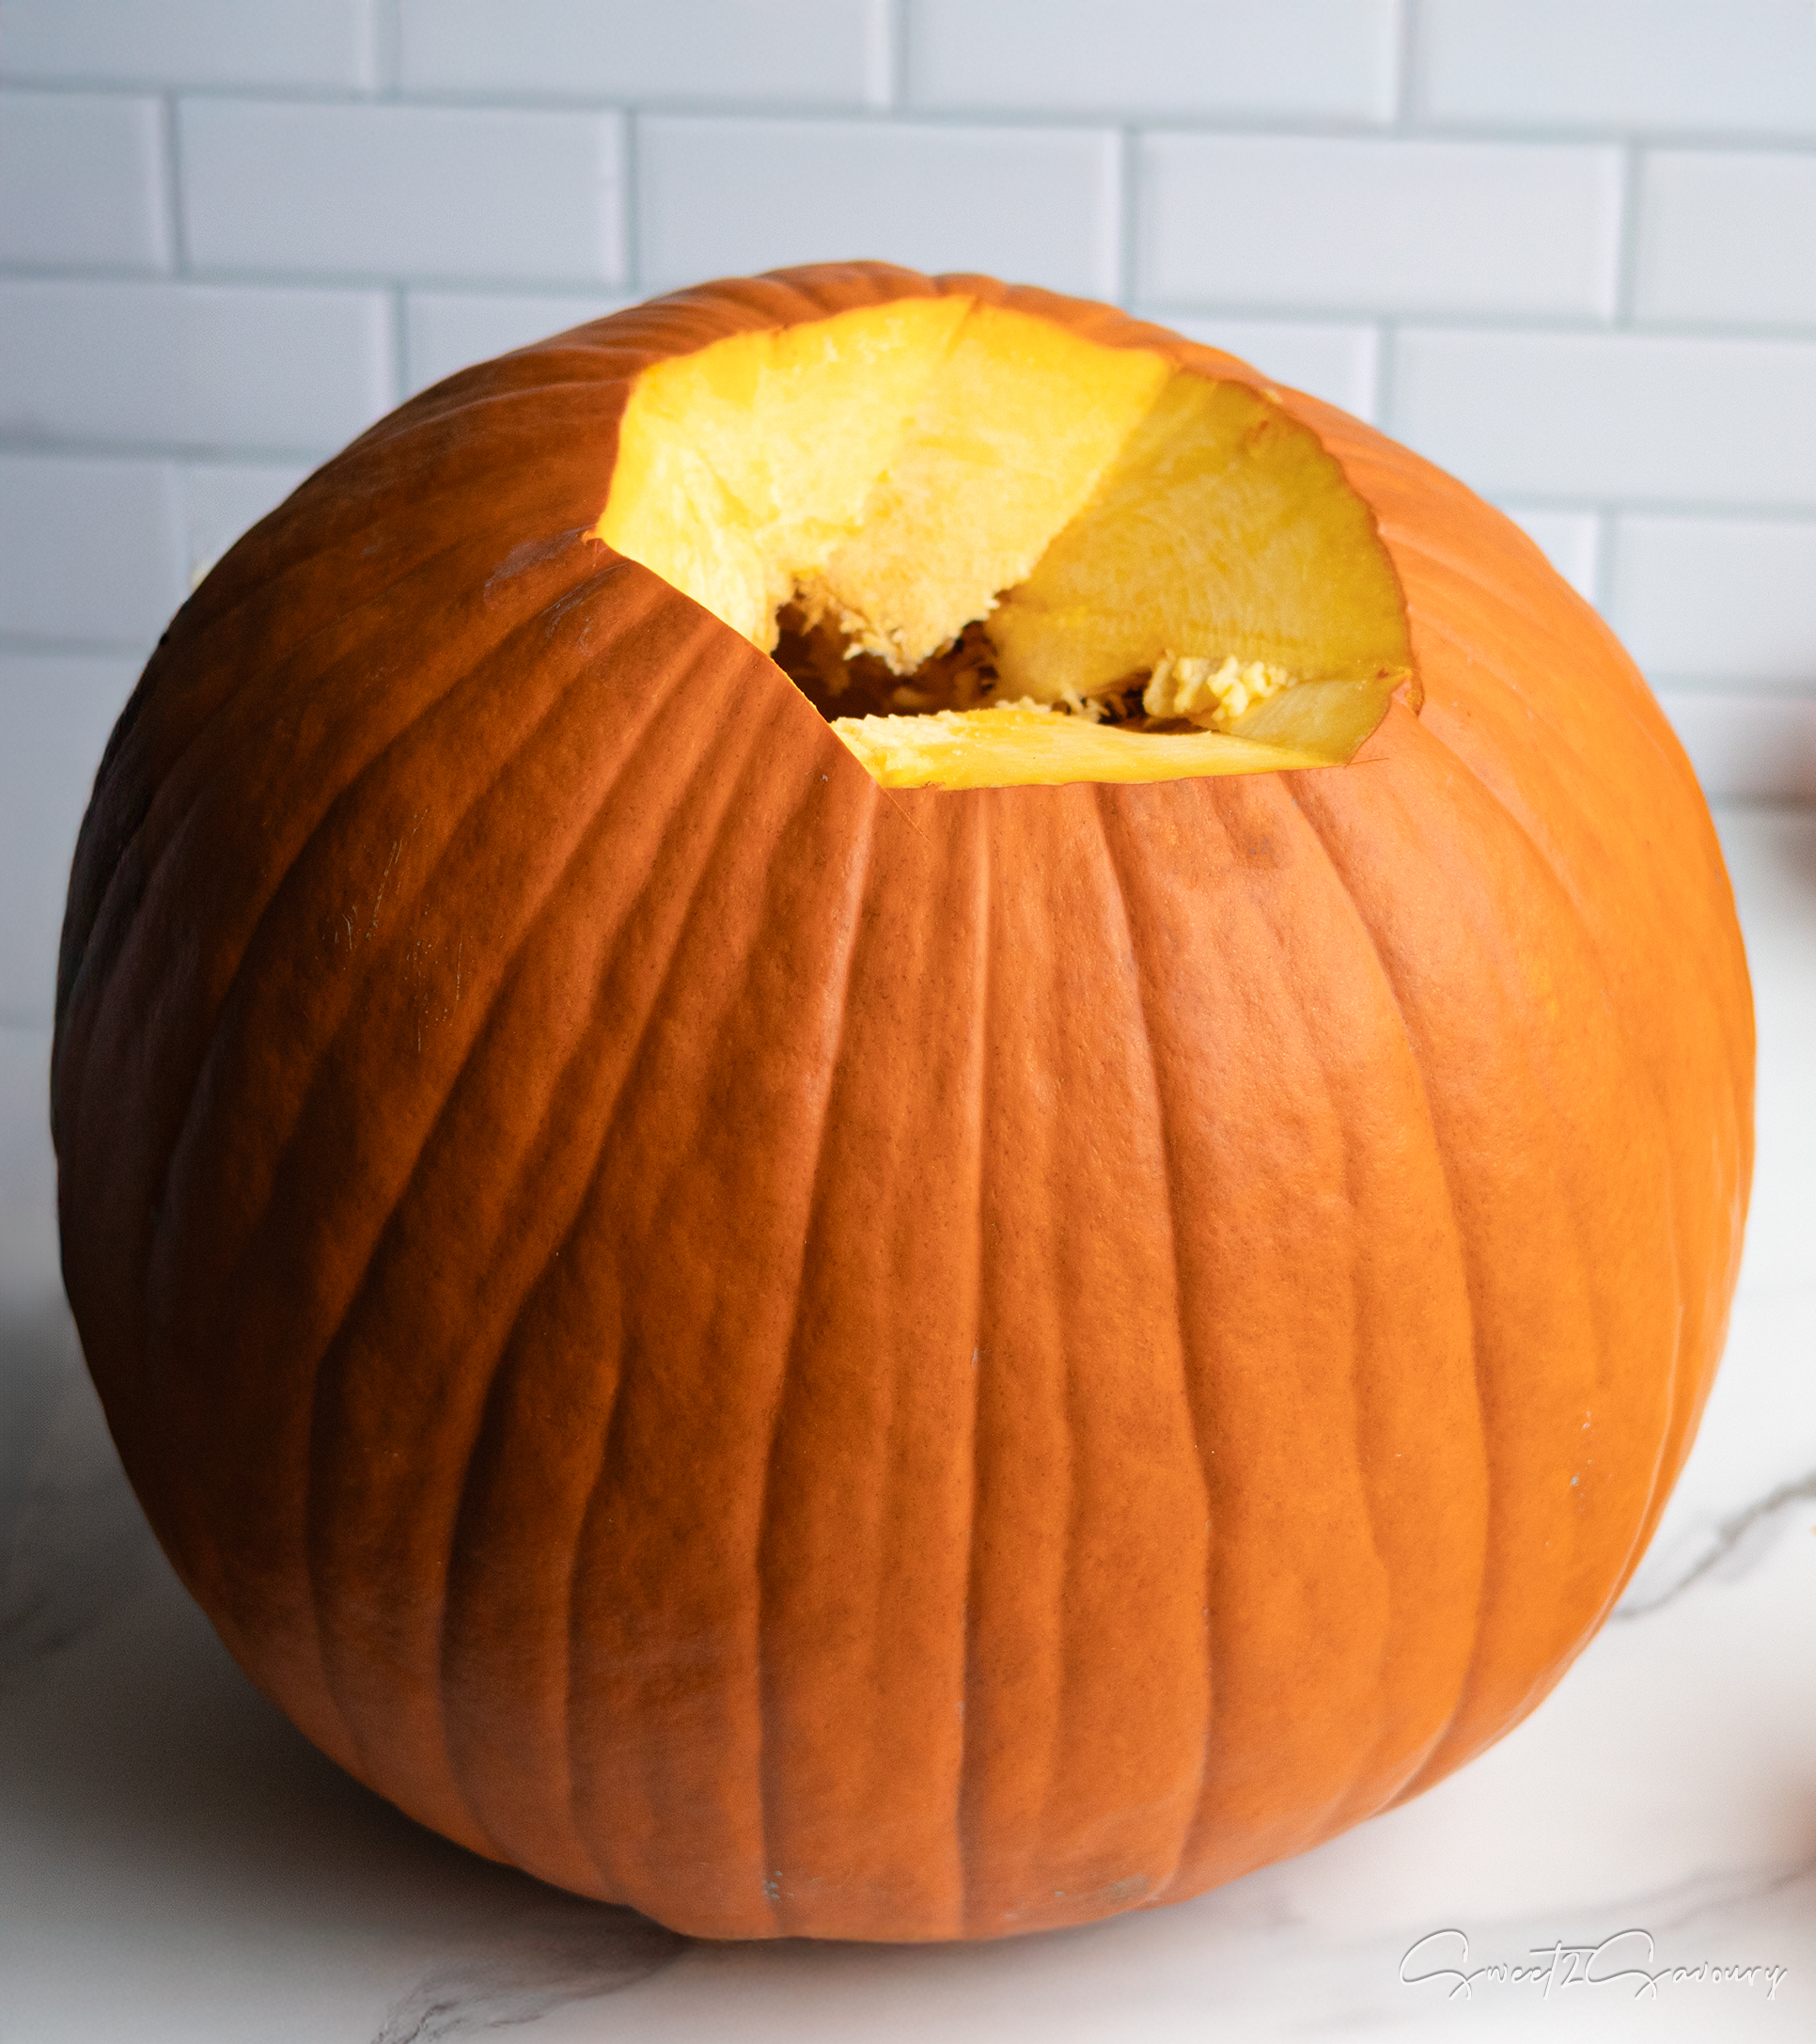
- Appearance: Large, hollow, and lighter for their size. Usually 10+ pounds.
- Flavour & Texture: The flesh is much more watery, stringy, and lacks natural sweetness.
- Best For: Jack-o’-lanterns and porch decorations! However, you can still turn them into a puree to avoid food waste by using the straining trick mentioned below.
How to Make Pumpkin Puree from Scratch
Phase 1: Prep and Clean
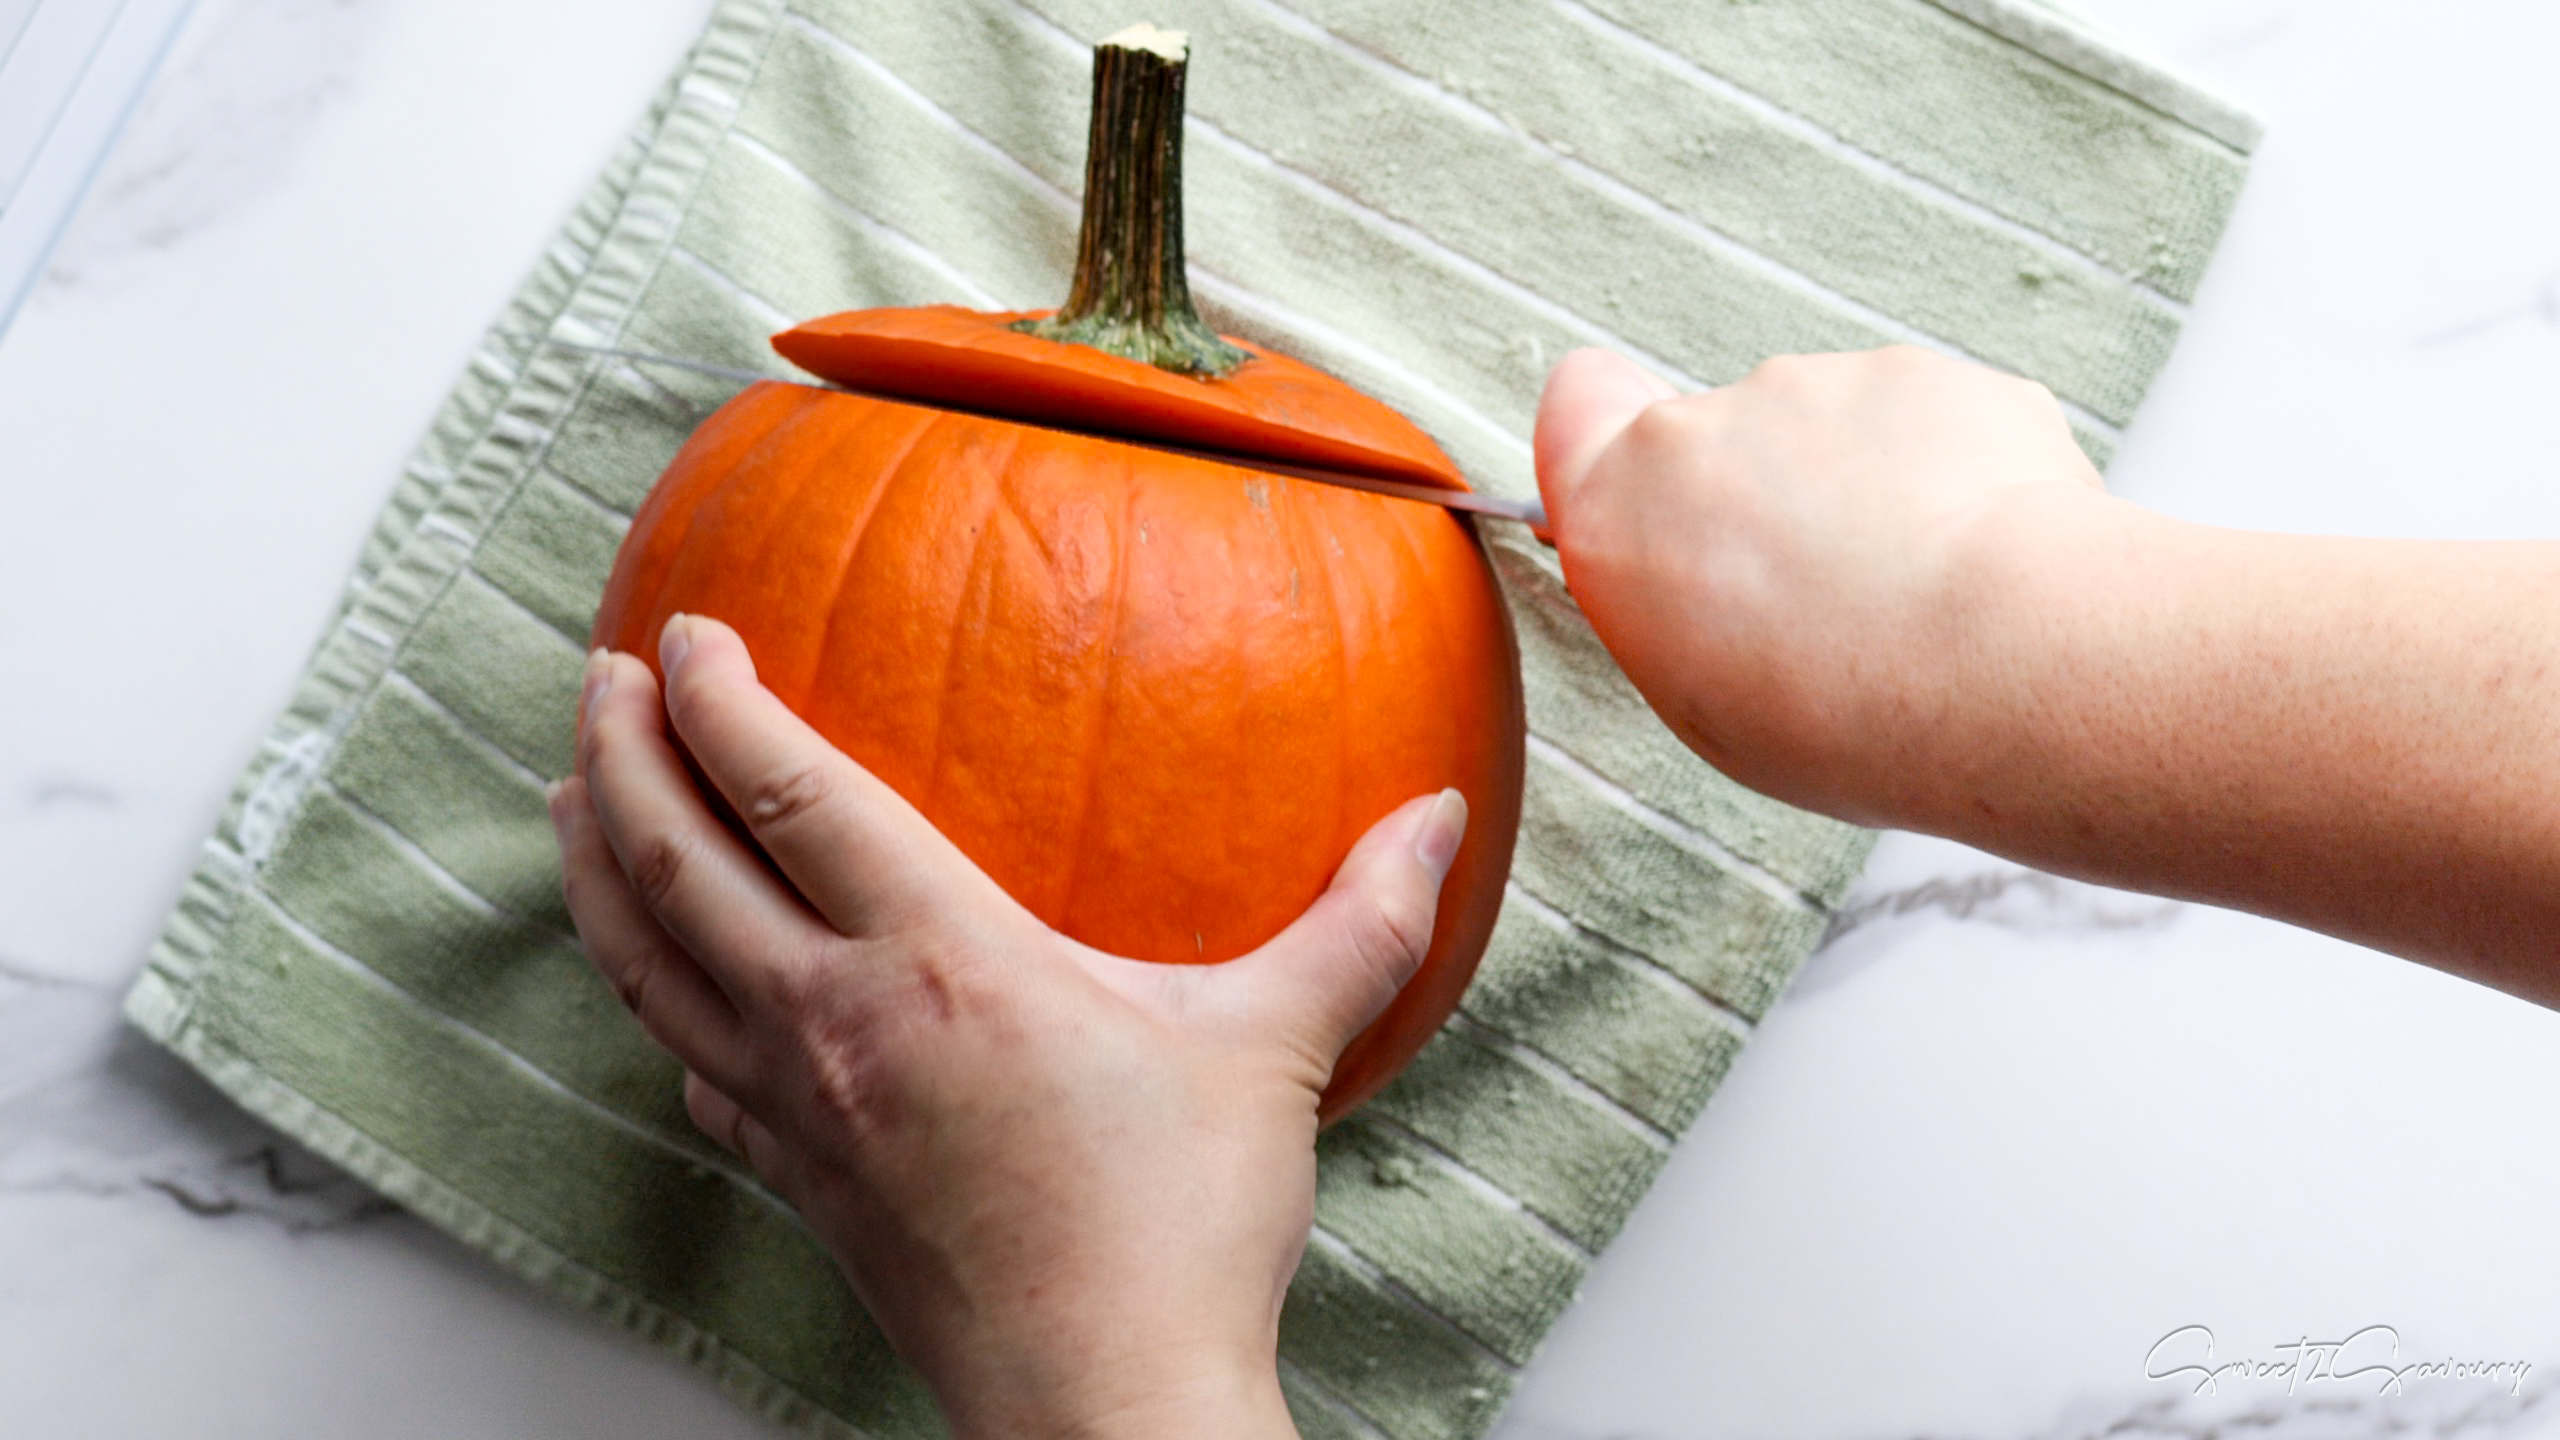
- Trim the Top: Place your pumpkin on a stable surface (putting a kitchen towel underneath prevents slipping). Carefully slice off the top stem.
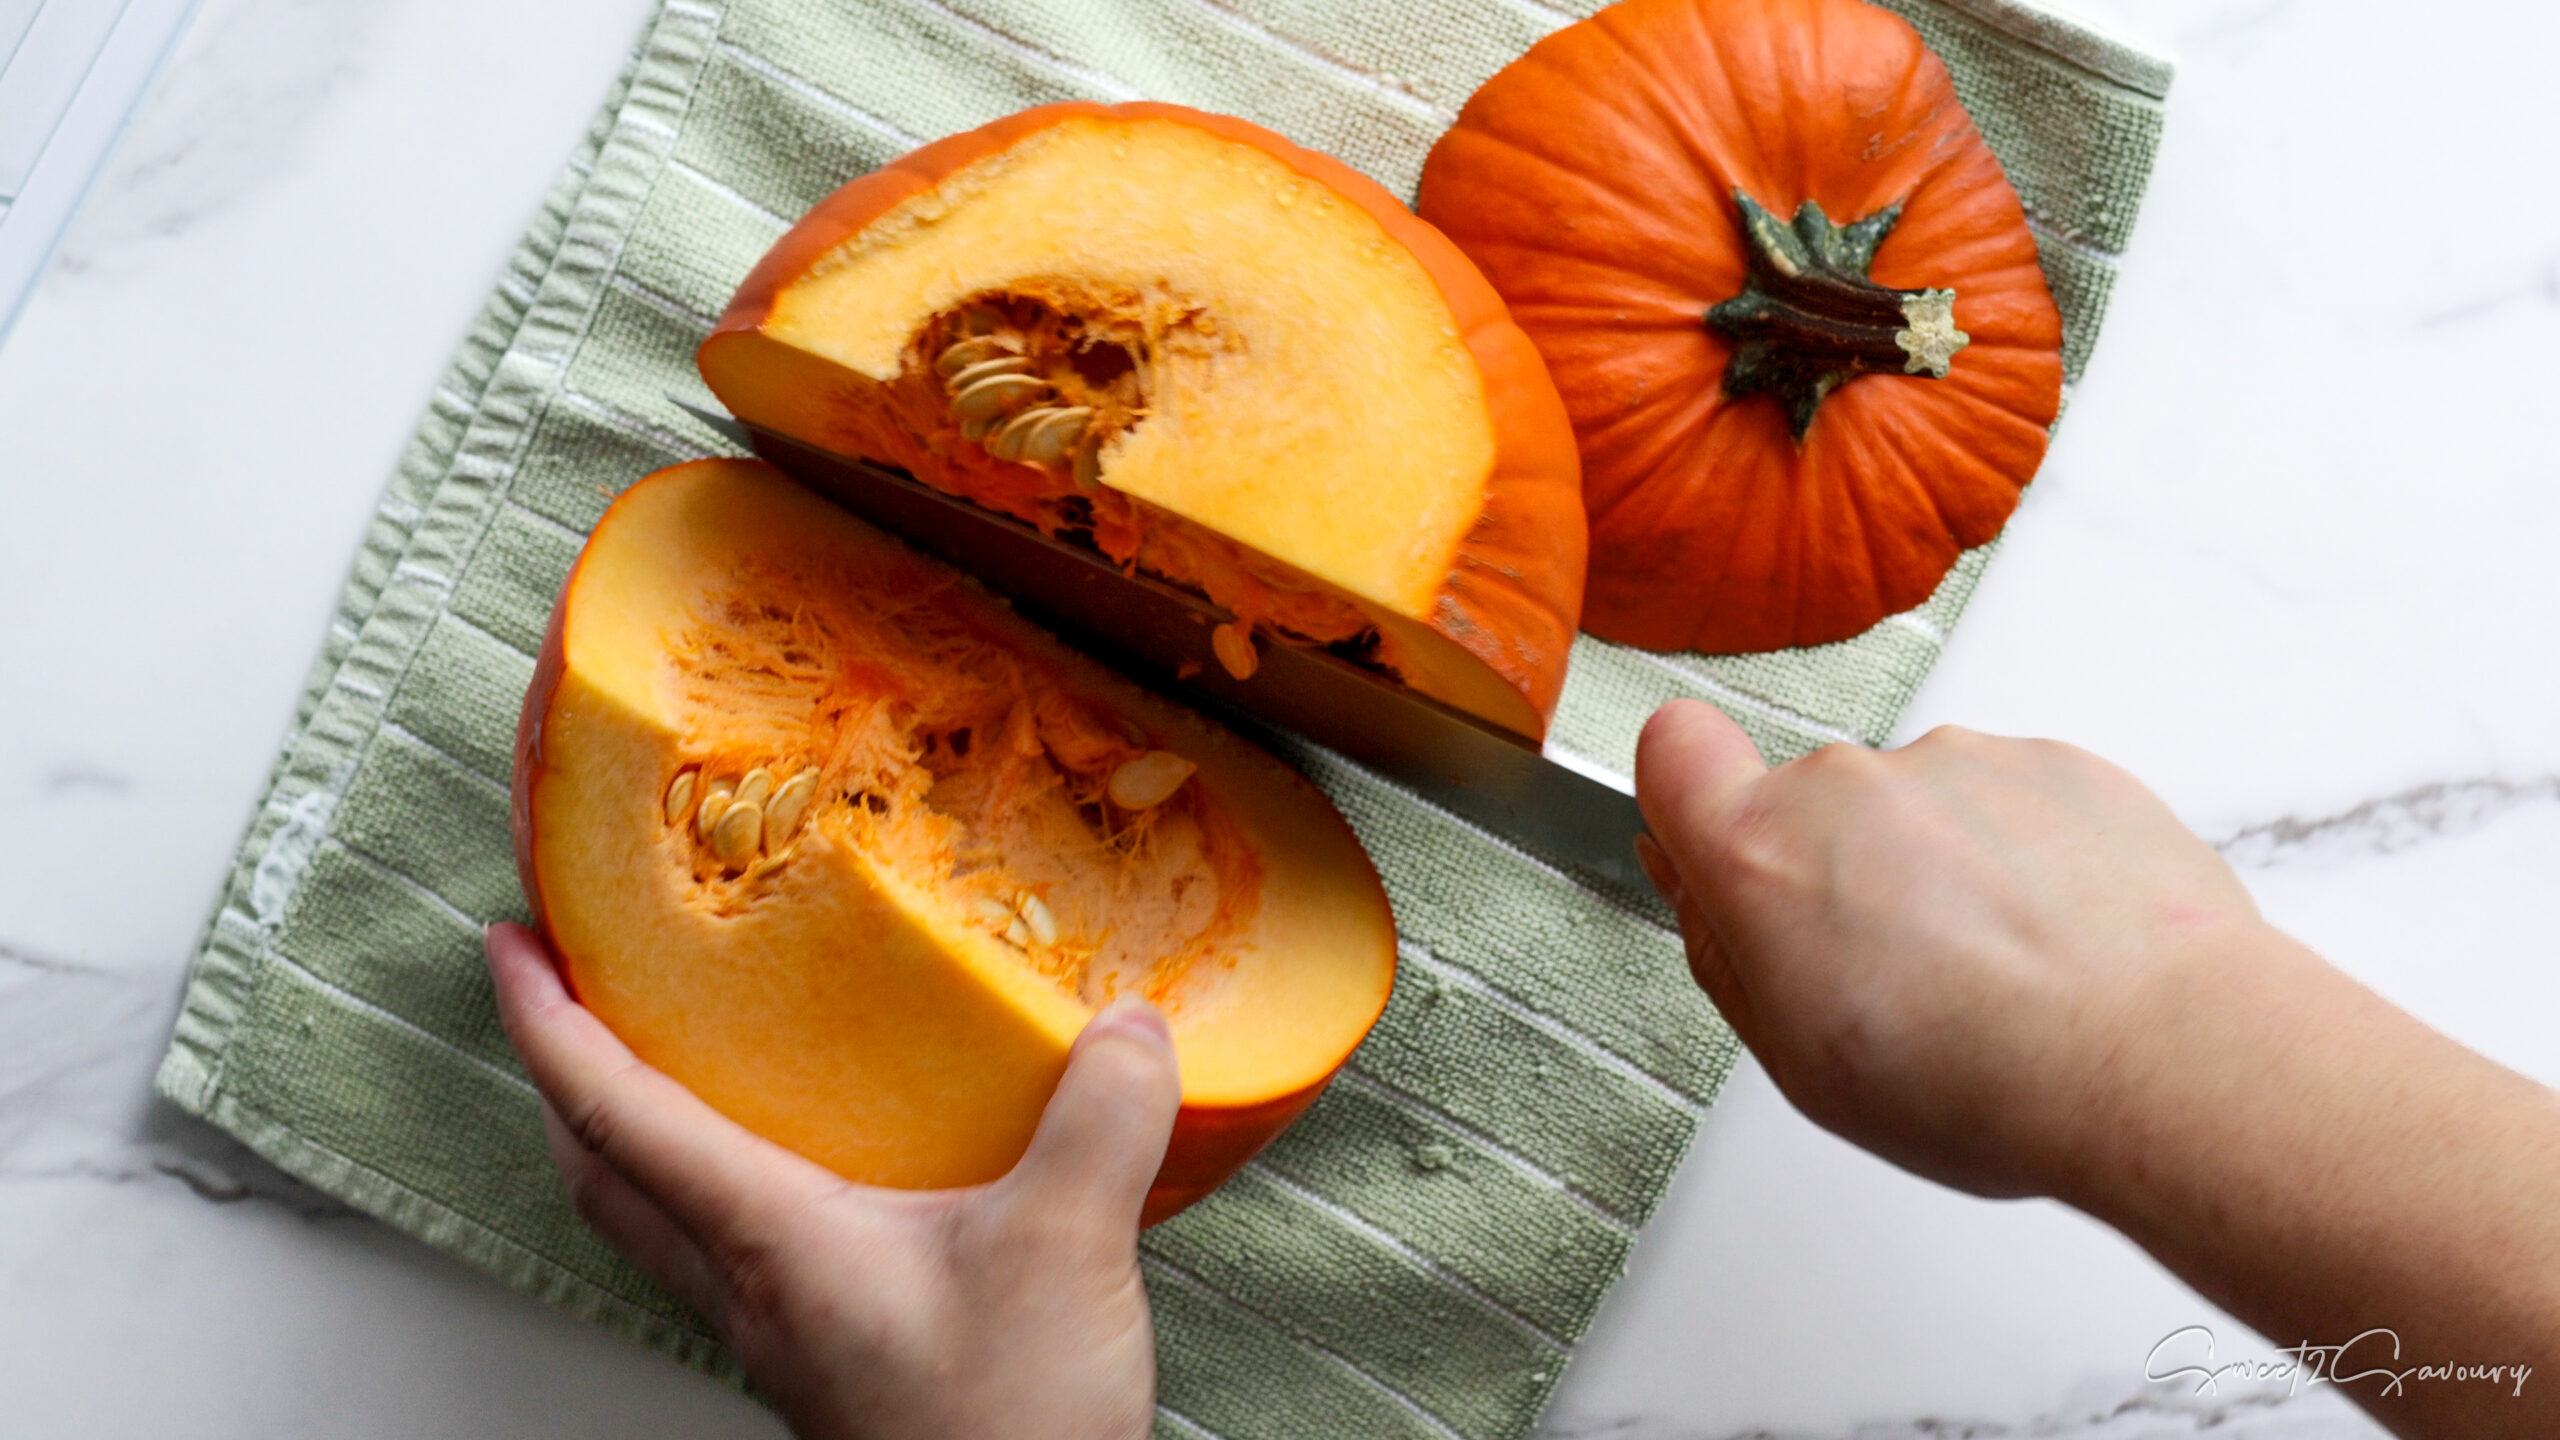
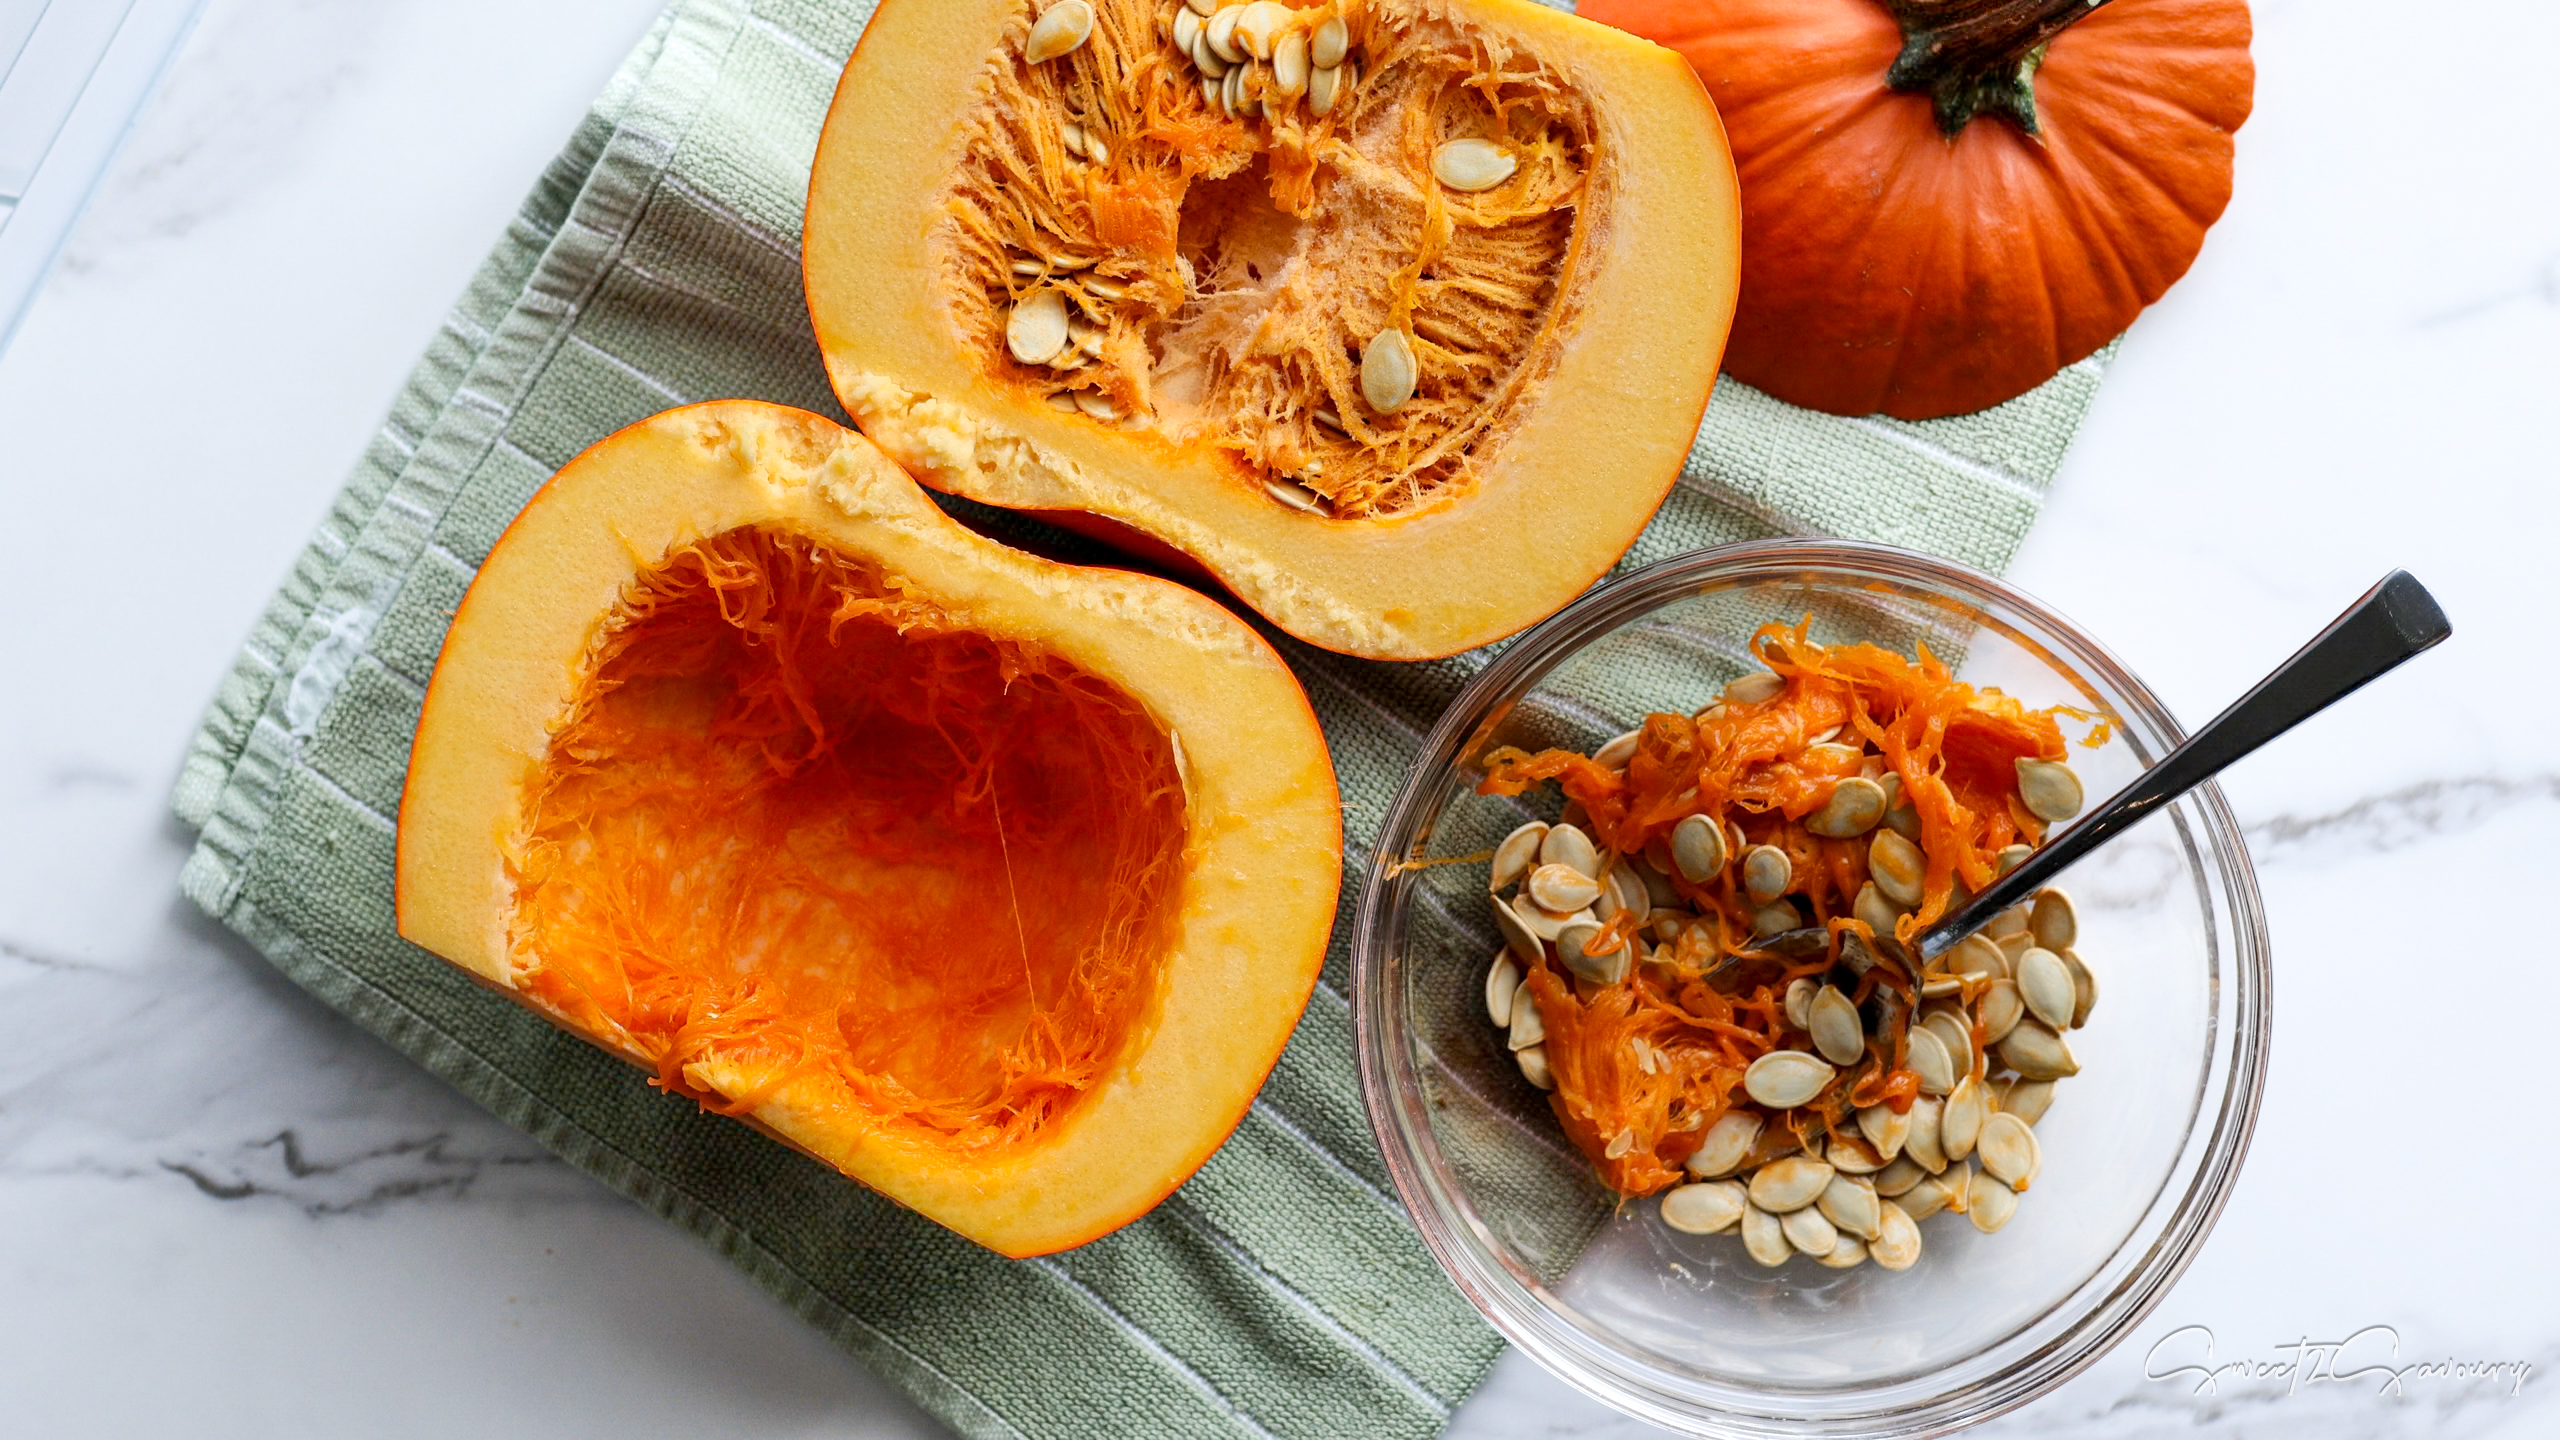
- Divide: Cut the pumpkin completely in half from top to bottom.
- Scoop: Use a heavy spoon to scrape out all the seeds and stringy pulp. (Don’t throw the seeds away—rinse and roast them for a snack!)
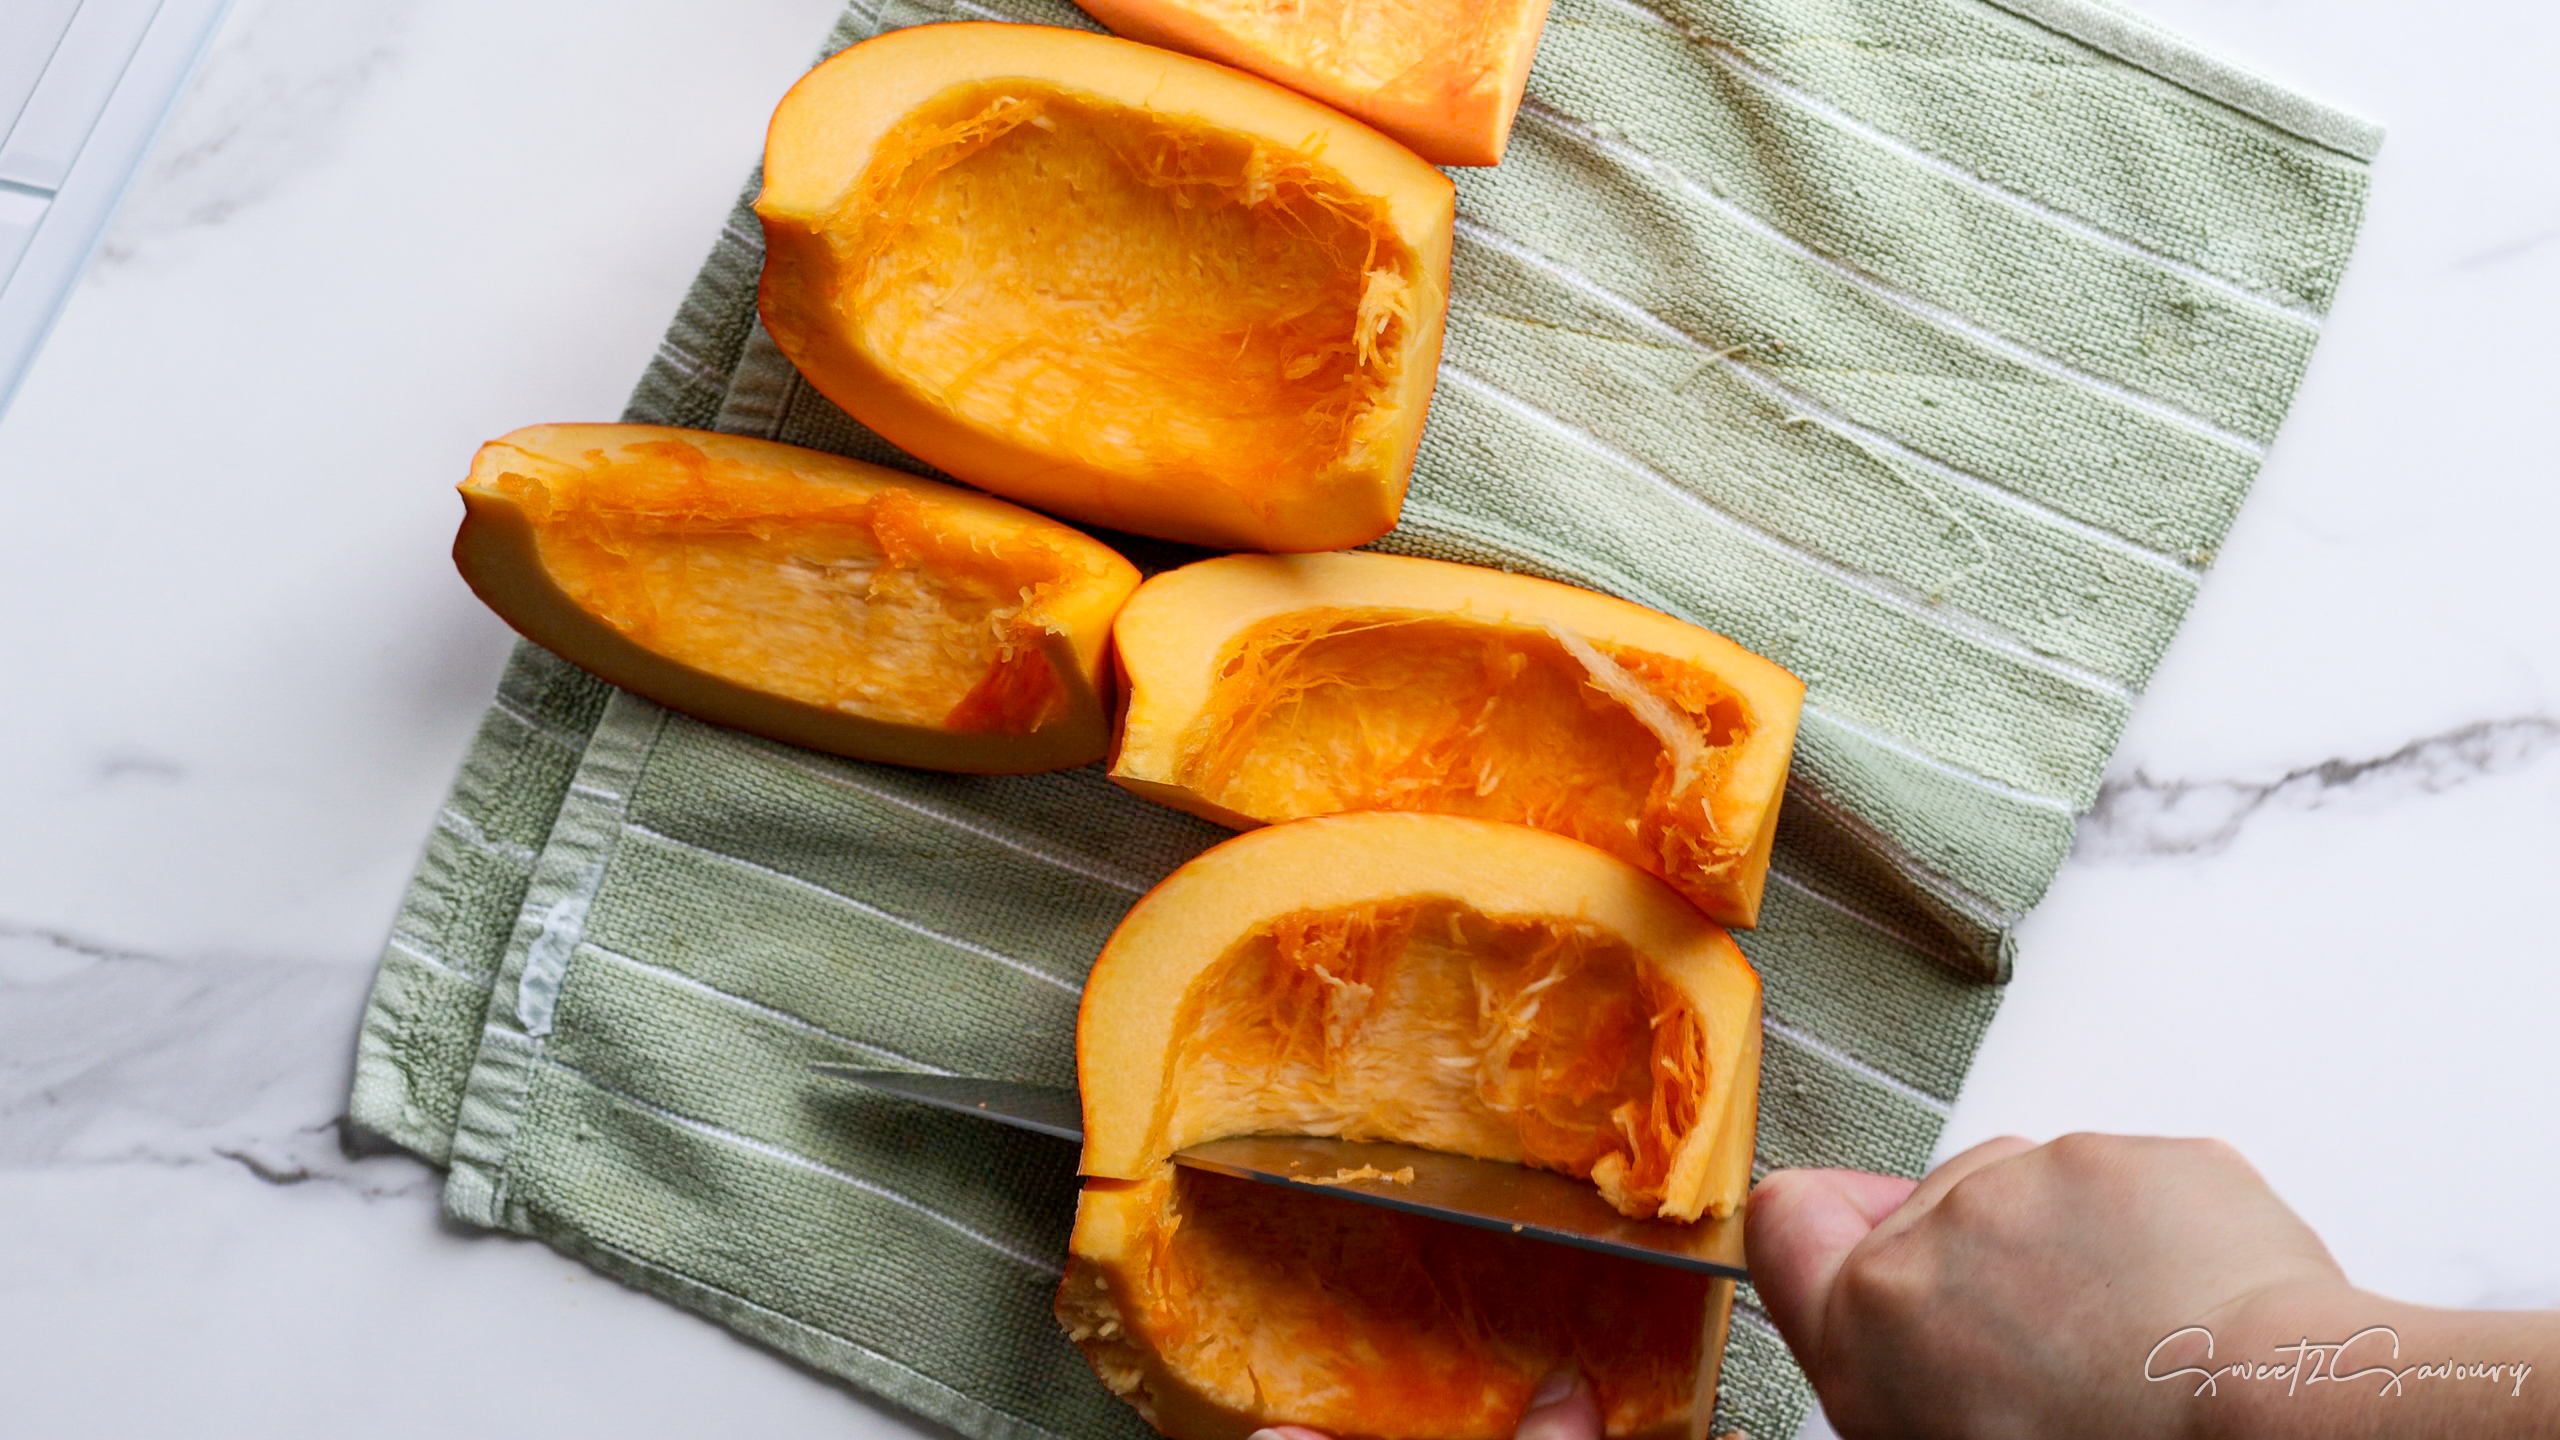
- Quarter: Cut each pumpkin half into smaller wedges. This makes peeling them much easier after they roast.
Phase 2: Roast
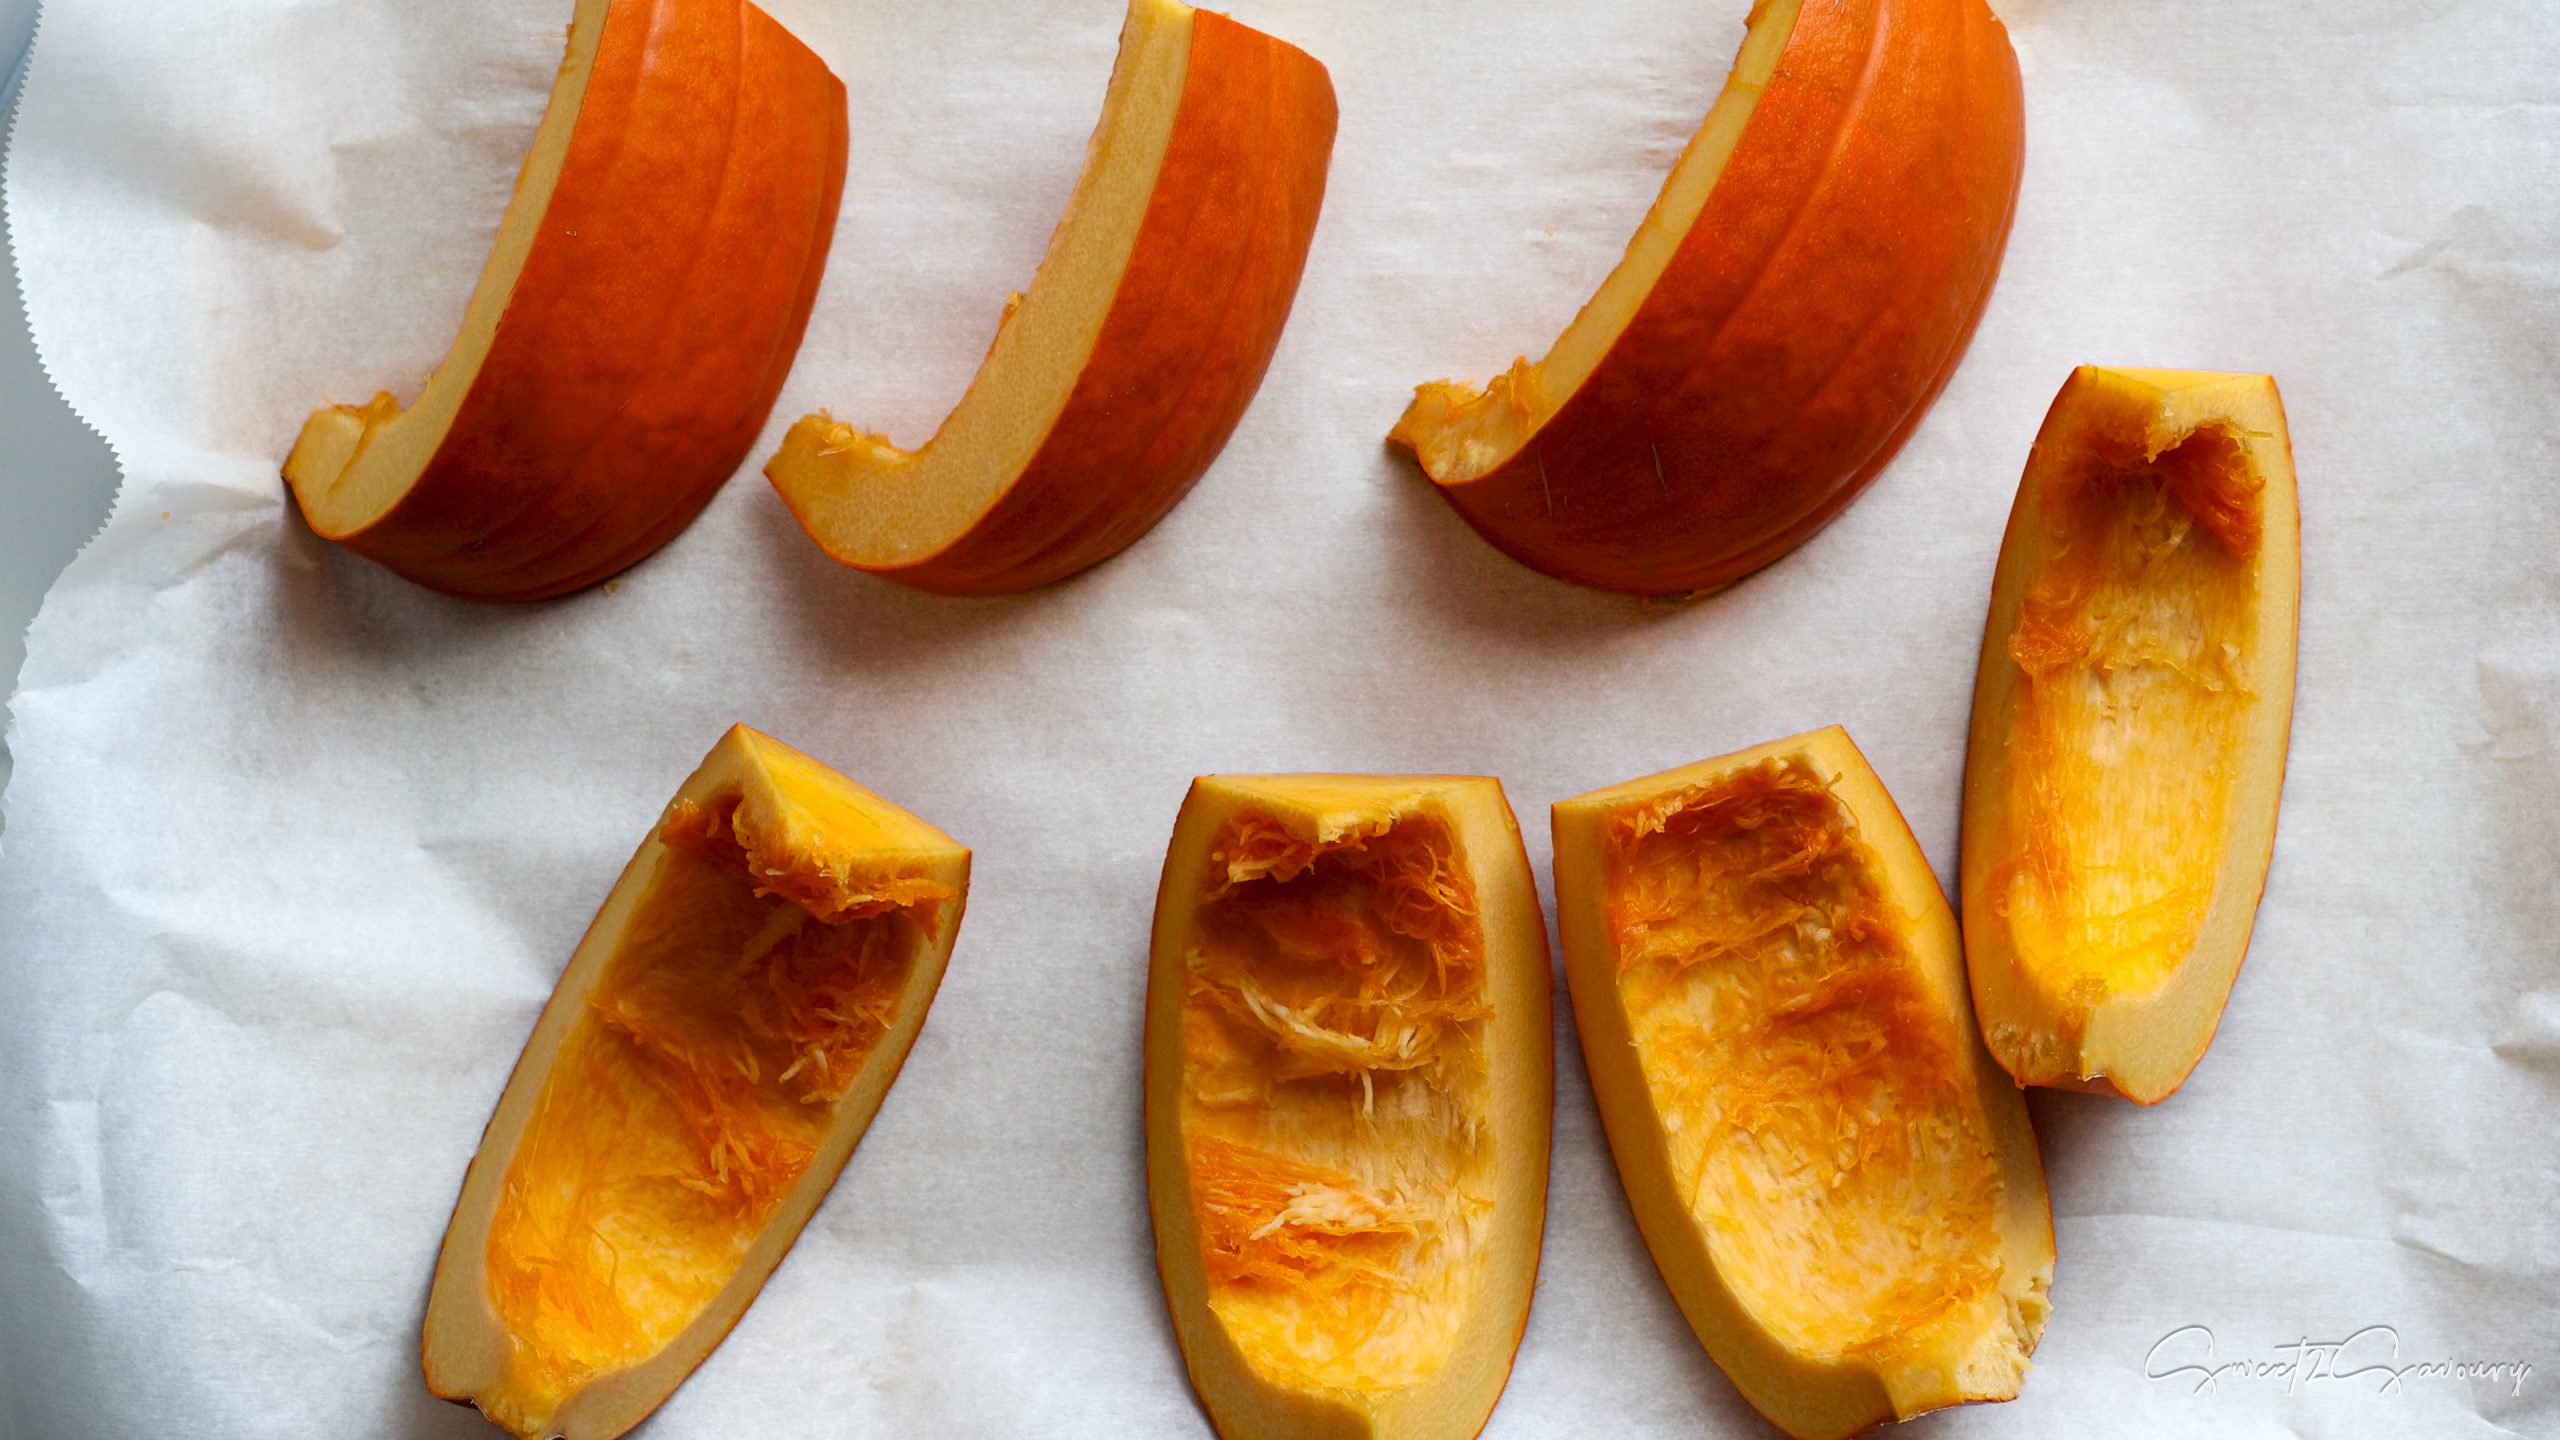
- Bake: Preheat your oven to 350°F (177°C). Place the pumpkin wedges on a parchment-lined baking sheet. Do not add any oil or salt!
- Roast for 45 to 60 minutes, or until the flesh is completely fork-tender and the edges look slightly golden.
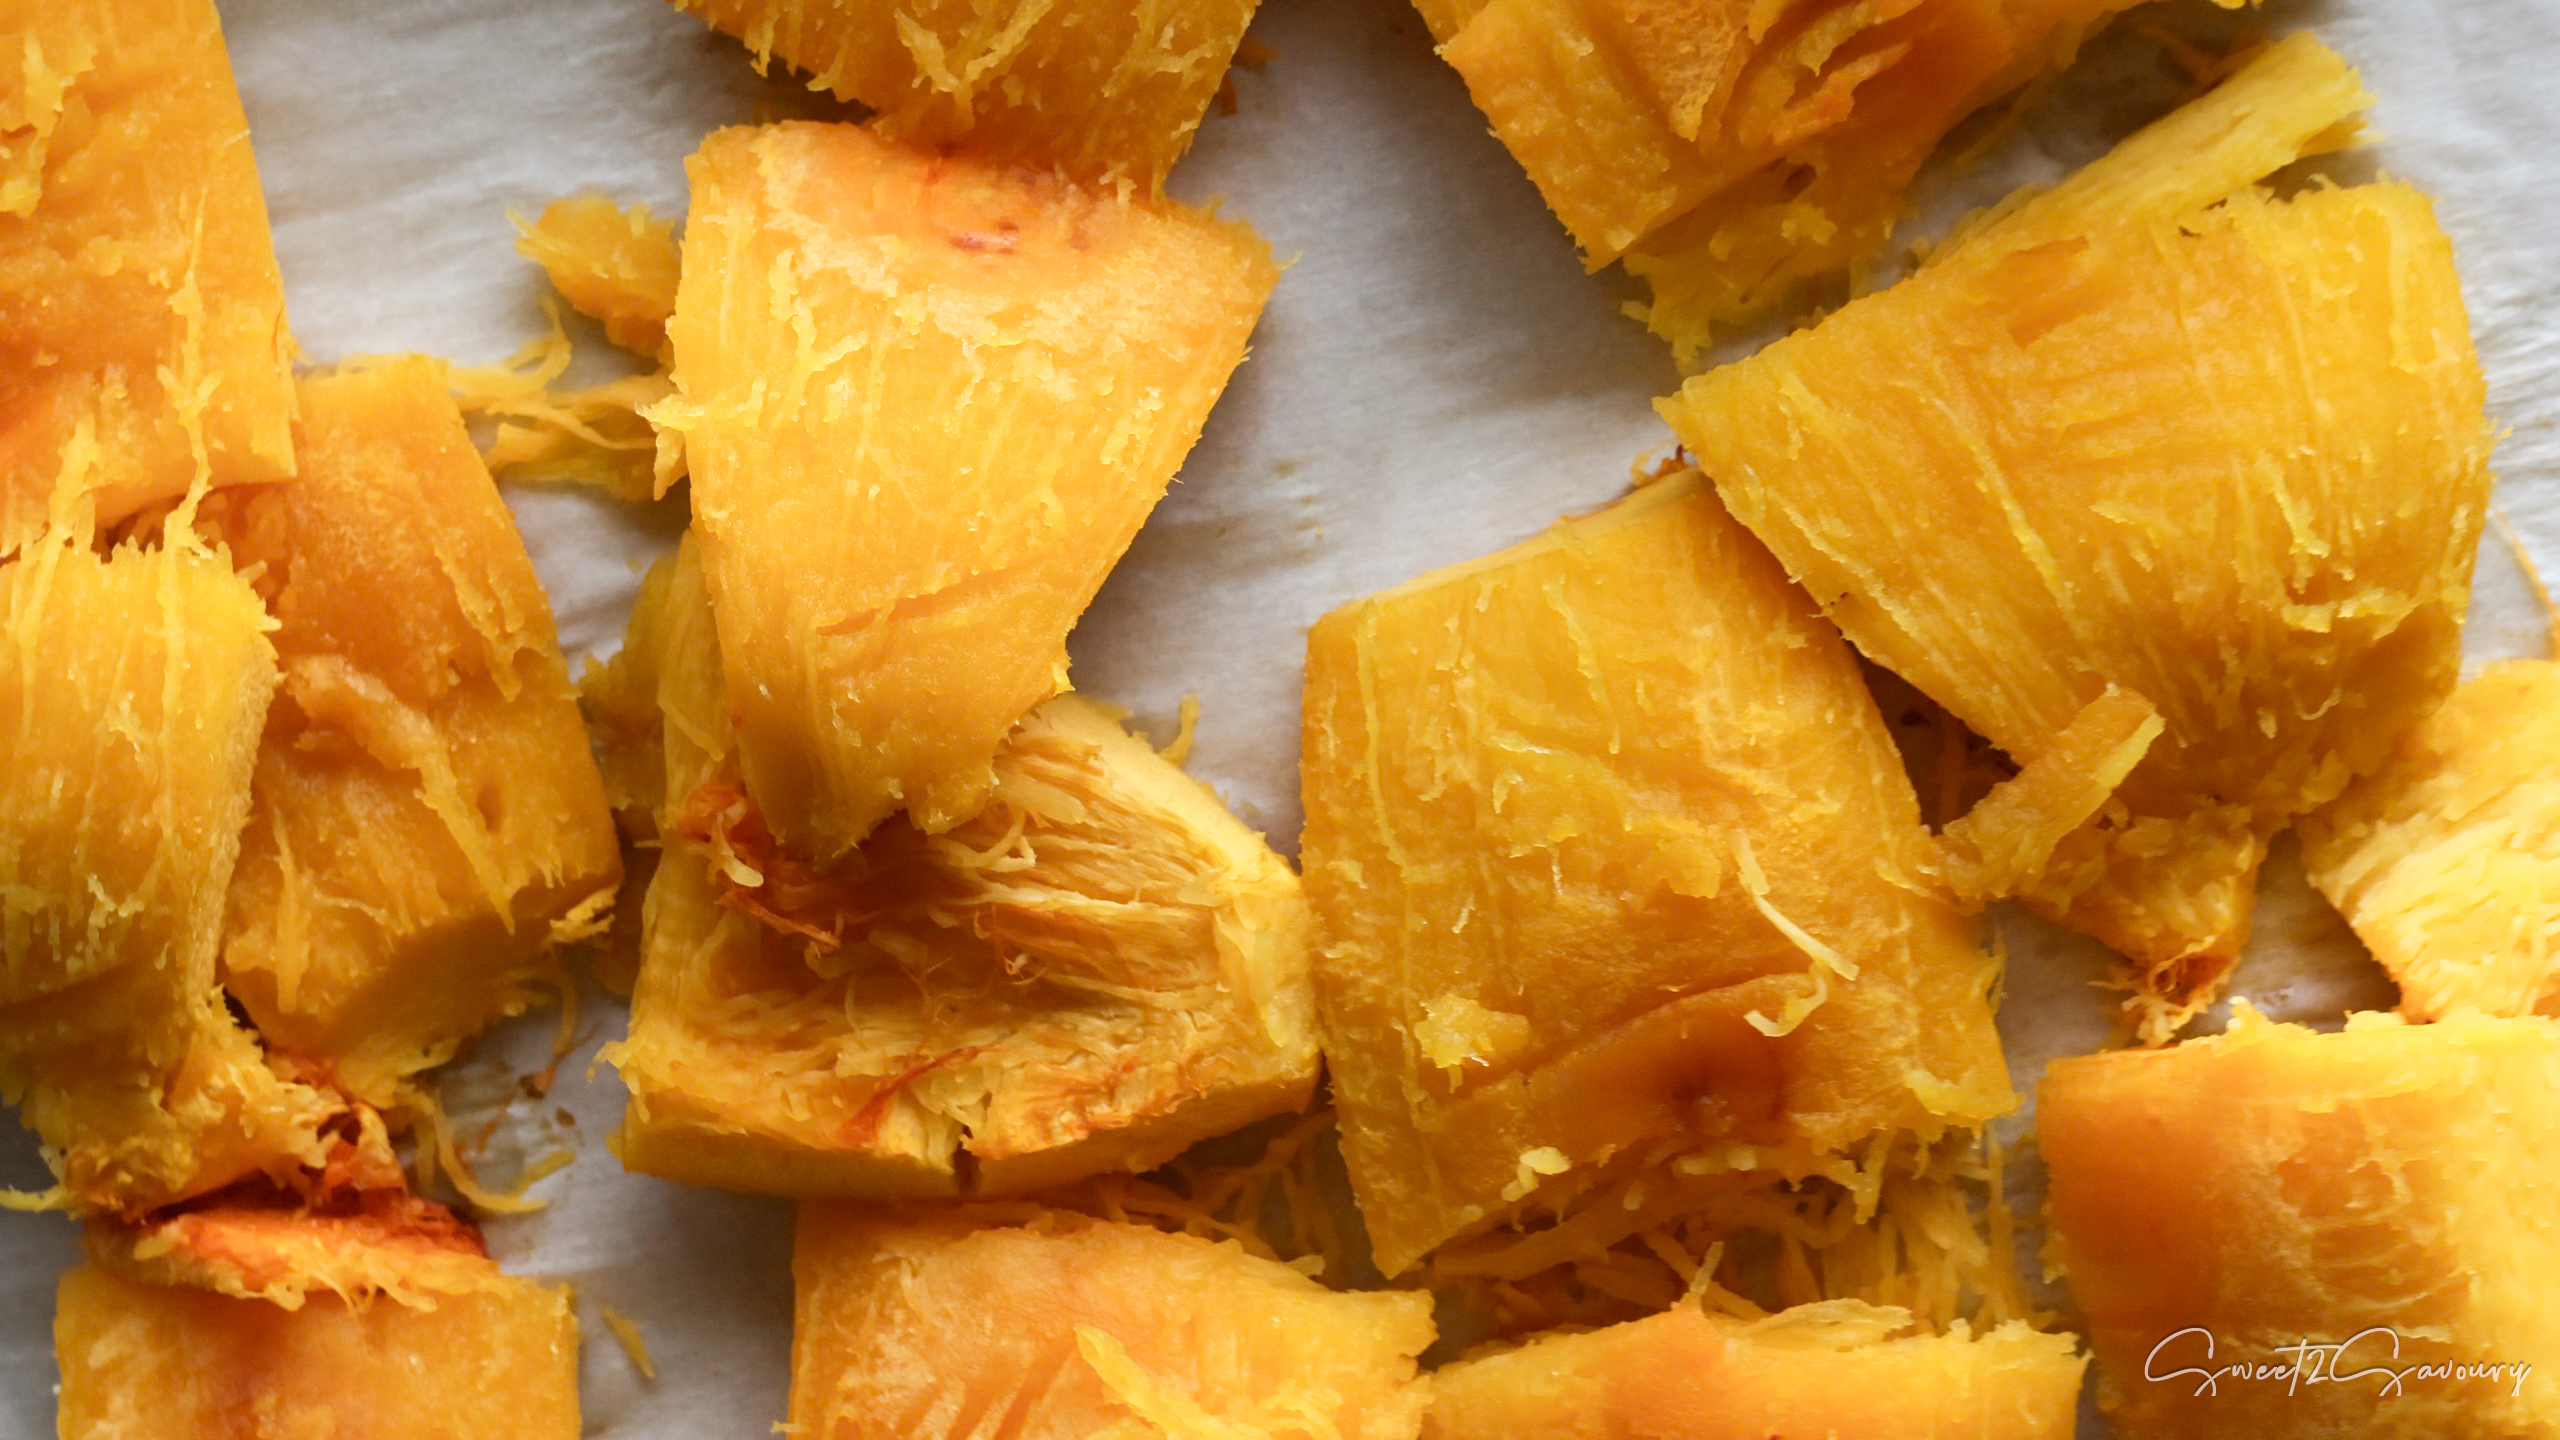
- Cool and Peel: Let the wedges cool for about 10 minutes. While they are still warm, use a fork to gently peel the outer rind away from the soft flesh.

Phase 3: Blend and Store
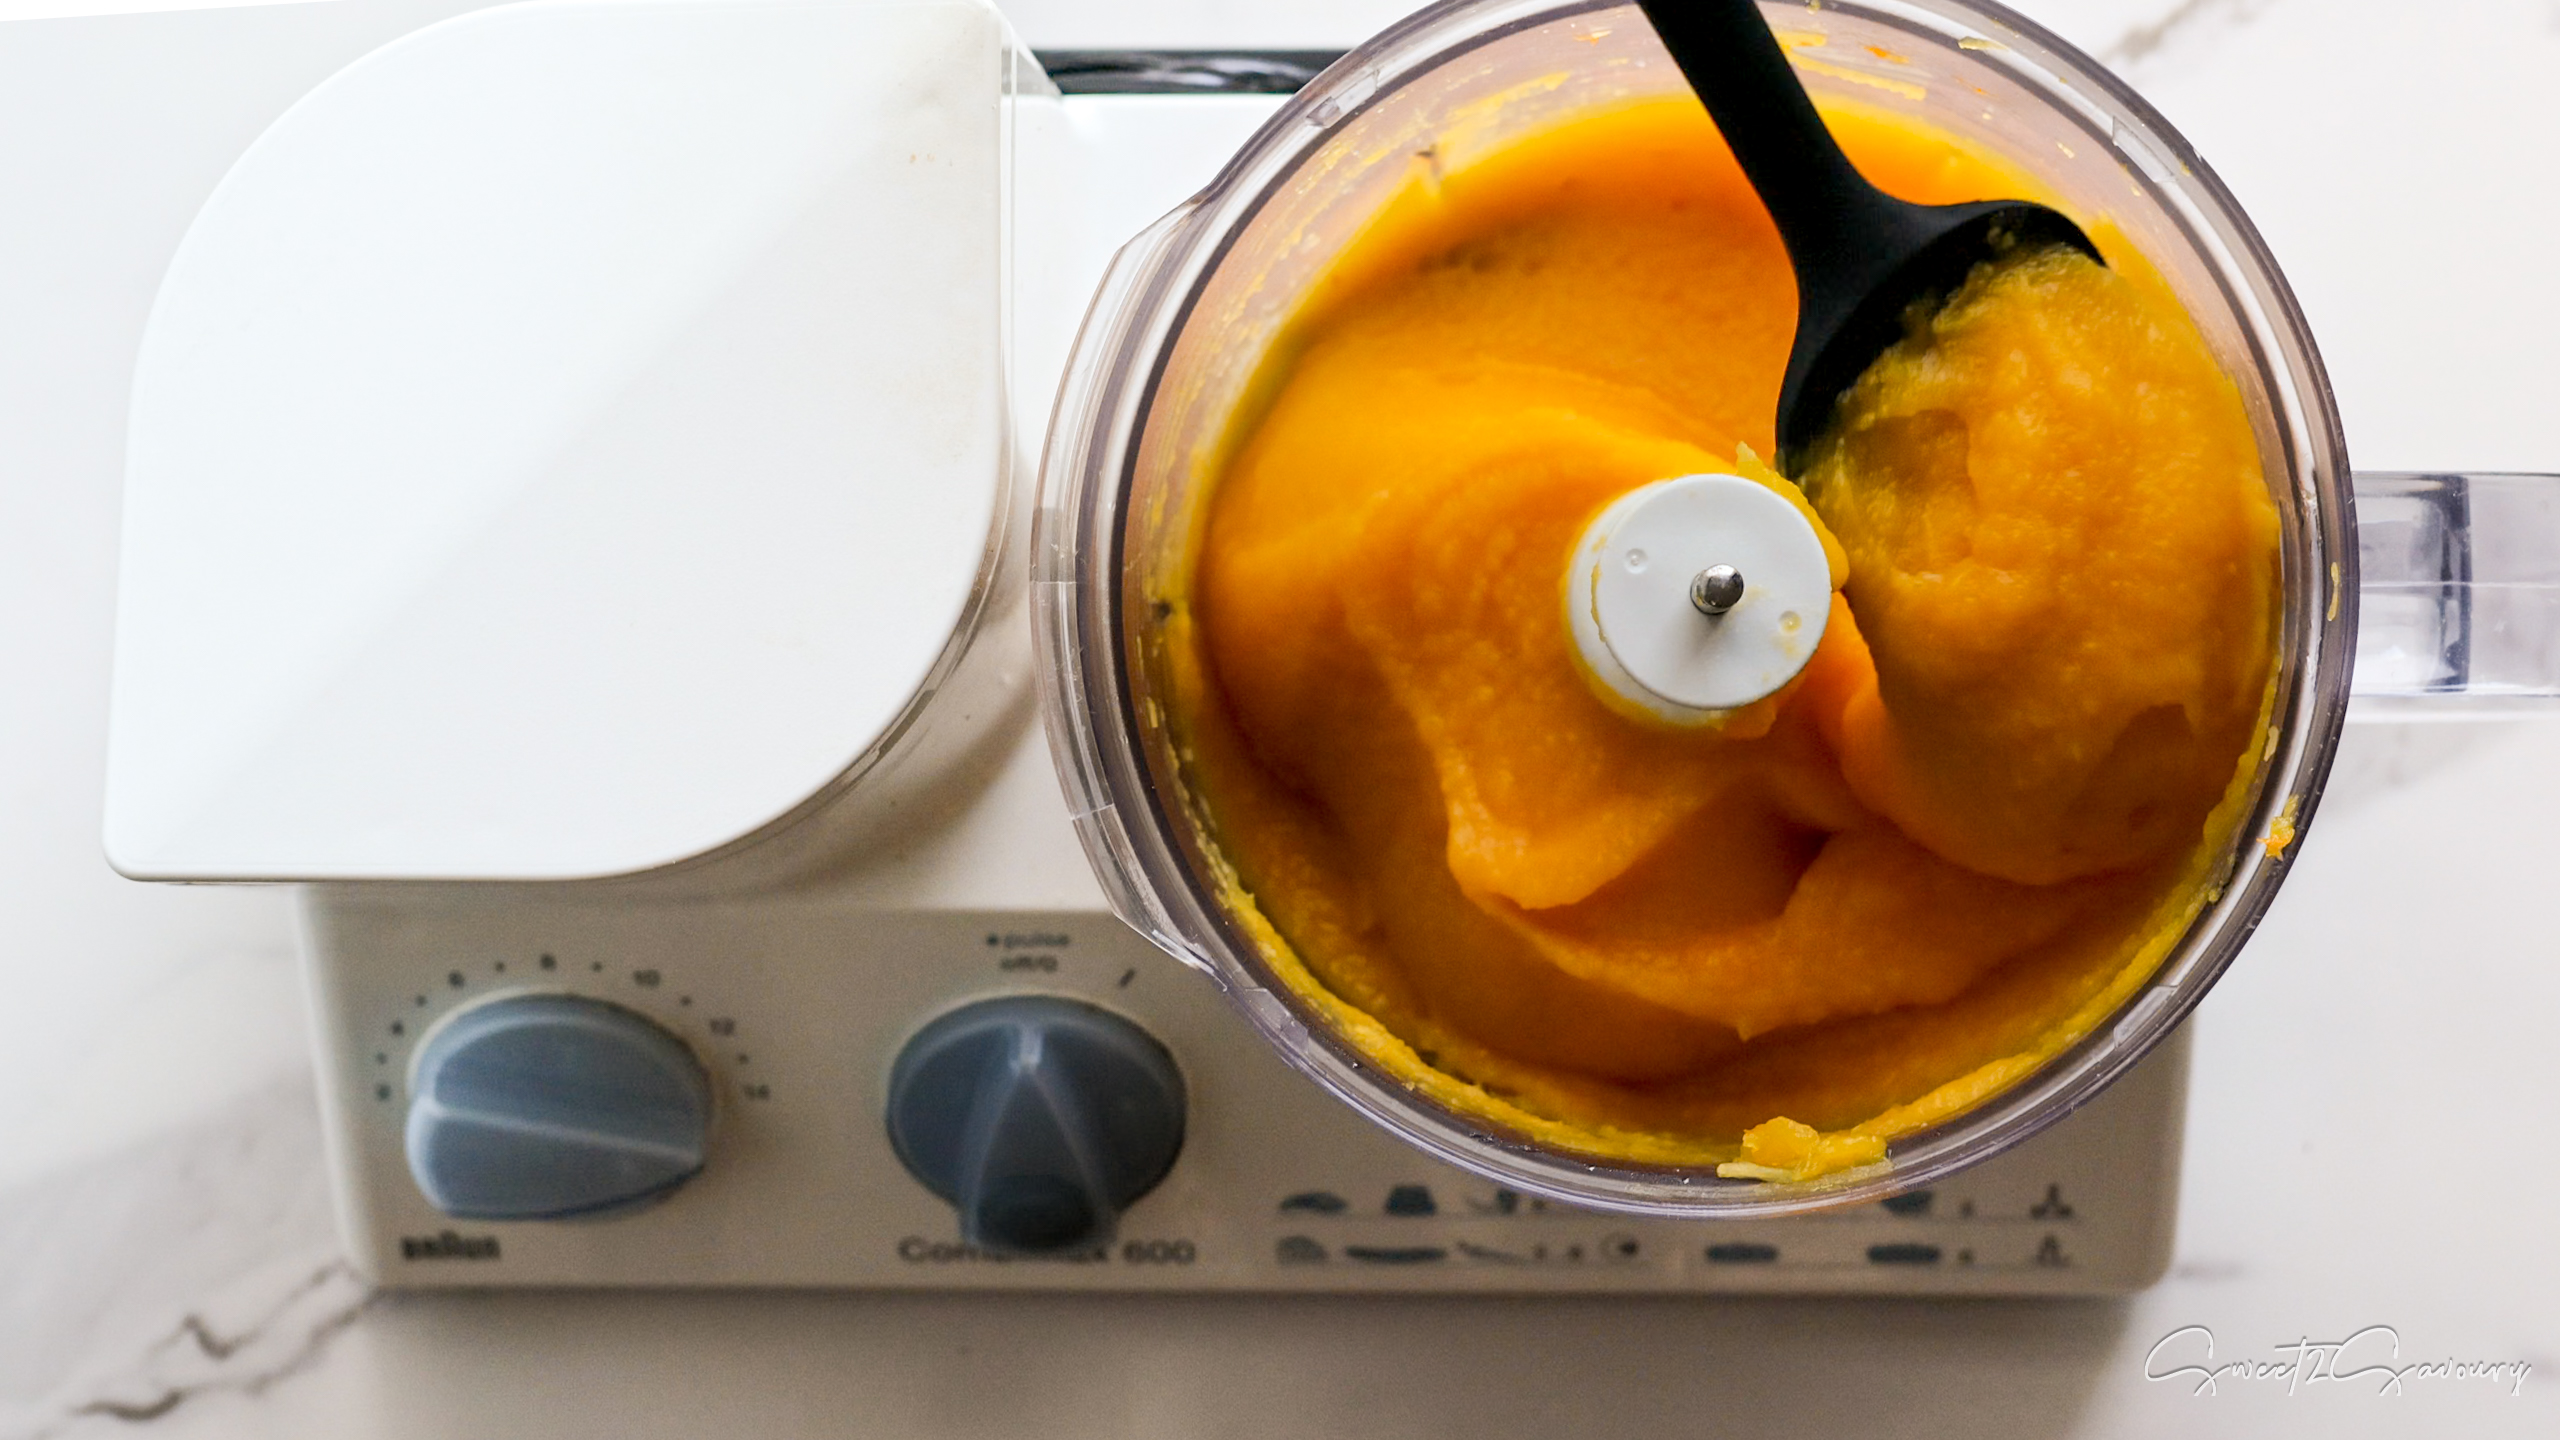
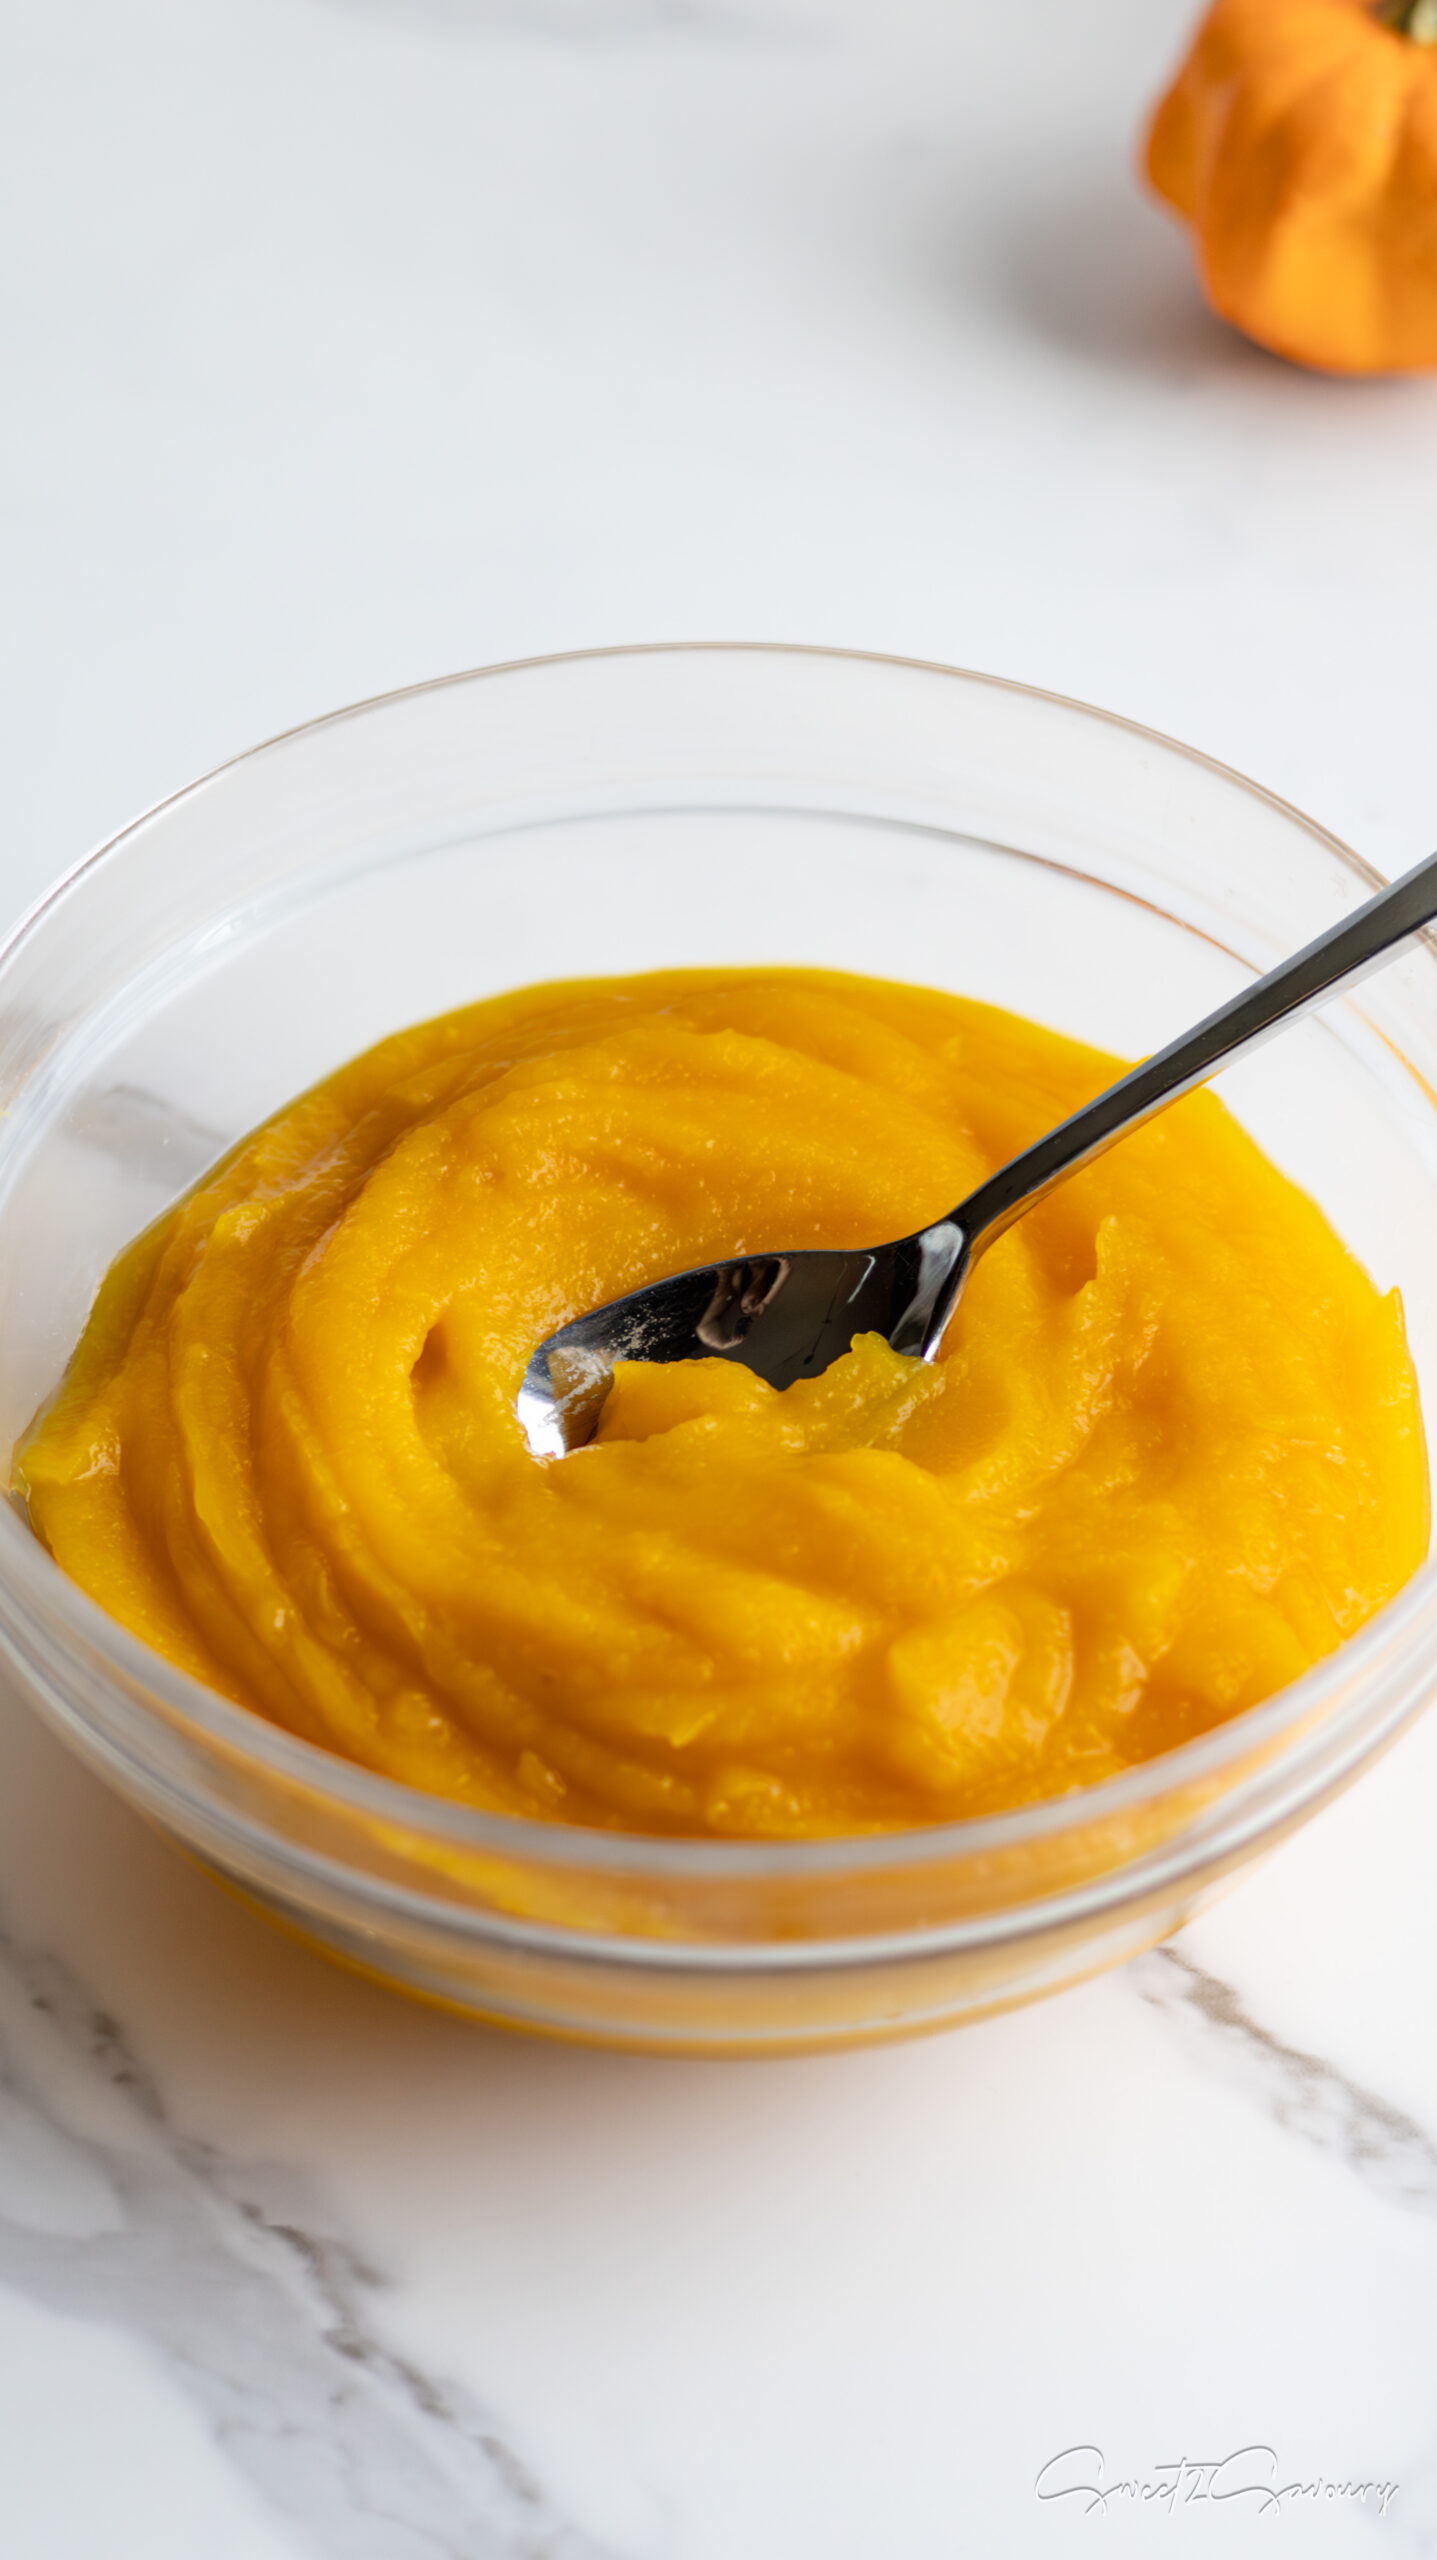
- Puree: Transfer the warm pumpkin flesh to a food processor or high-speed blender. Blend until completely smooth and creamy. (If using a pie pumpkin and it struggles to blend, add 1 tablespoon of water).
- Store: Transfer the puree to an airtight container. Keep it in the fridge for up to 5 days, or freeze it for your holiday baking!
💡Pro Tips for the Best Puree
- No Blender? No Problem: If you don’t own a food processor, you can easily mash the soft-roasted pumpkin using a standard potato masher. It will have a slightly more rustic texture, but tastes just as good!
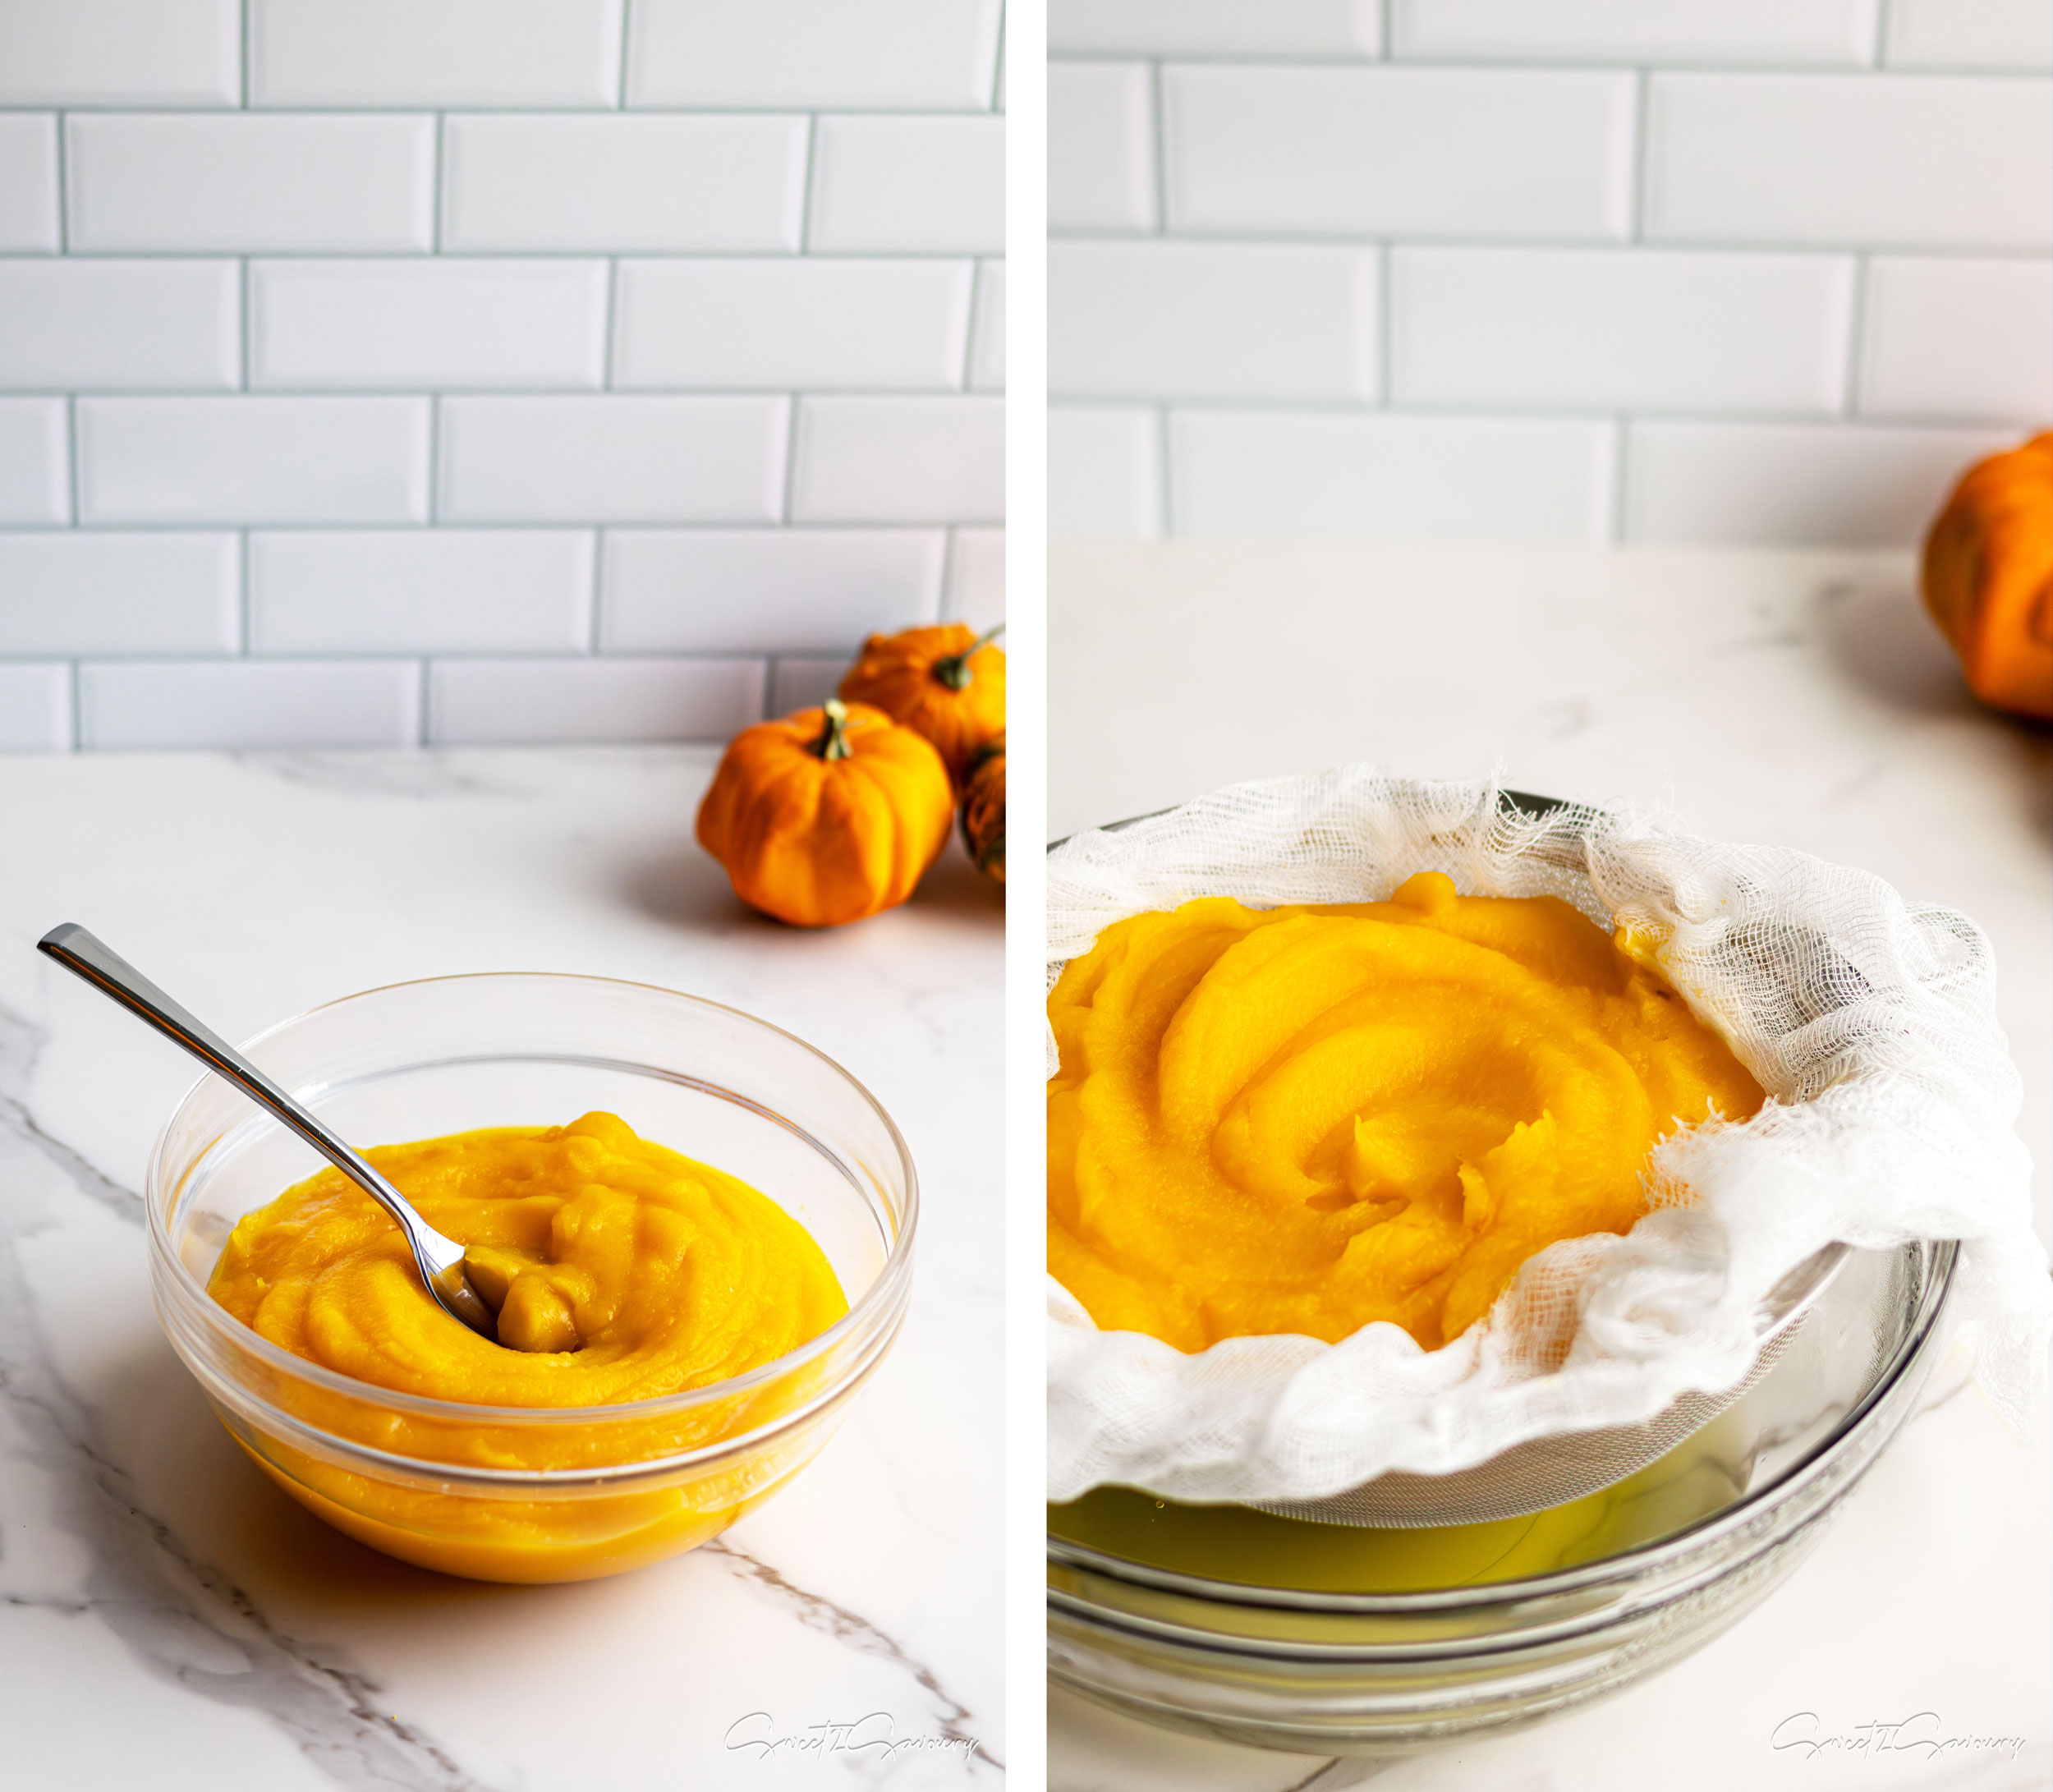
- How to Fix Watery Puree: If you used a carving pumpkin, your puree will be very watery. To fix this, place the puree in a fine-mesh sieve lined with cheesecloth and let it drain over a bowl for an hour.
- Don’t Waste the Pumpkin Water: If you strain a watery pumpkin, save that orange liquid! It is packed with flavour and nutrients. Use it as the liquid base in smoothies, add it to homemade broths, or swap it for the water in your favourite bread recipes!
Recipes to Use Your Homemade Puree
Now that you have a fresh batch of from-scratch pumpkin puree, here is how you should use it:
- Soft Fluffy Pumpkin Dinner Rolls: The perfect savoury baking project for fall.
- Easy Pork & Pumpkin Soup with Coconut Milk: A creamy, comforting Vietnamese-inspired dinner.
- DIY Pumpkin Spice Blend: Don’t forget to mix up your own spices to pair with your fresh puree!
Frequently Asked Questions
Why is my homemade puree lighter in colour than canned pumpkin?
Don’t panic—this is completely normal! Homemade puree is usually a lighter, golden-yellow colour because it is made from 100% true pumpkin. Most commercial canned “pumpkin” is actually made from a proprietary blend of darker winter squashes (like Dickinson squash, Hubbard, or Boston Marrow). Furthermore, commercial canning requires an intense, high-heat cooking process that naturally darkens the flesh.
Can I freeze homemade pumpkin puree?
Yes! Pumpkin puree freezes beautifully. Measure it out into 1-cup or 15-oz portions (the standard size of a can), place it in freezer-safe ziplock bags, press it flat, and freeze for up to 3 months. Let it thaw in the fridge overnight before baking.
Can I steam the pumpkin instead of roasting it?
Yes, steaming is faster! However, roasting naturally caramelizes the sugars in the pumpkin, resulting in a much deeper, richer flavour for your desserts.
Pin it for later
Pie vs. Carving Pumpkin: How to Make Homemade Puree
Method
- Prep the Pumpkin: Place the pumpkin on a stable surface. Cut off the top stem, then slice the pumpkin completely in half from top to bottom. Using a heavy spoon, scoop out all of the seeds and stringy guts. Cut the remaining pumpkin halves into smaller wedges.
- Roast: Preheat your oven to 350°F (177°C). Place the pumpkin wedges on a parchment-lined baking sheet. Roast for 45 to 60 minutes, or until the flesh is completely fork-tender and the rind looks slightly golden.
- Peel: Remove from the oven and let cool for 10 minutes. While the pumpkin is still warm, use a fork to gently peel and separate the outer rind from the soft flesh. Discard the rinds.
- Blend: Transfer the warm pumpkin flesh to a food processor or high-speed blender. Blend until completely smooth. (Note: If using a drier pie pumpkin, you may need to add 1-2 tablespoons of water to help it blend. If using a carving pumpkin, do not add water).
- Store or Strain: If your puree looks too watery (common with carving pumpkins), strain it through a cheesecloth-lined sieve until dense. Use immediately, or store in an airtight container in the fridge for up to 5 days. Freeze for up to 3 months.