How to make Foolproof Yeast Dough (6 Secrets for Perfect Results)
This post may contain affiliate links, meaning I may earn a commission if you purchase through my links. This helps keep my content free. You can read my full disclosure here. Thank you so much for your support! 💗
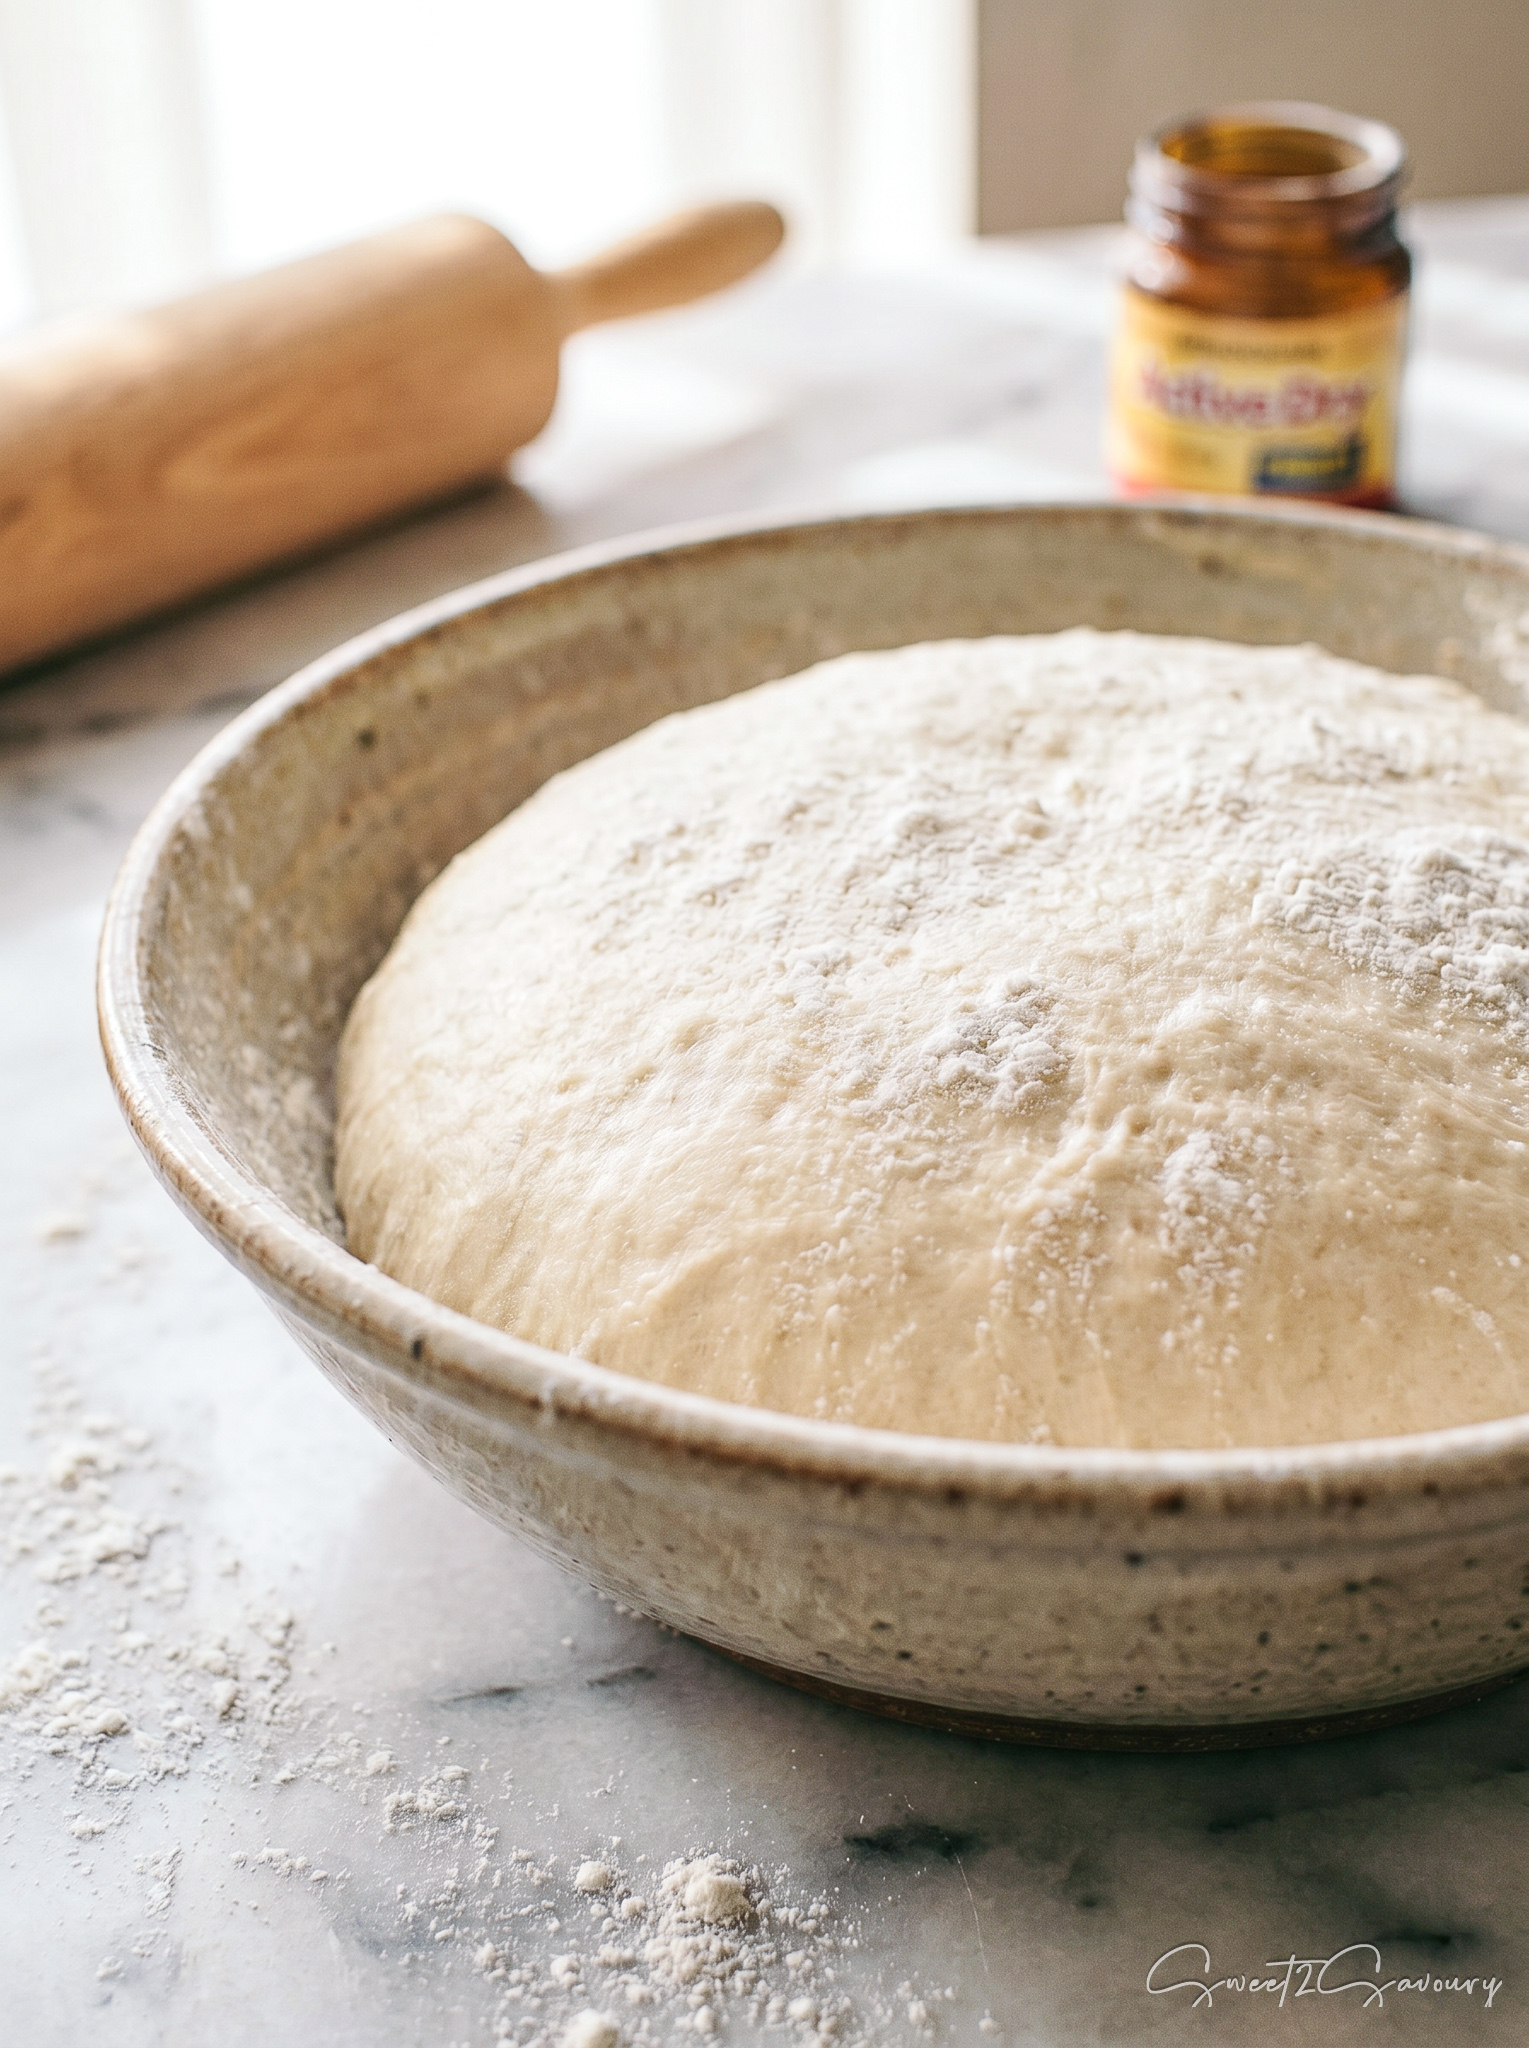
Working with yeast can sometimes feel intimidating. Have you ever spent hours waiting for your dough to rise, only to be left with a dense, flat, and heavy brick, with a side of disappointment?
The truth is, yeast is a living organism, and making a beautiful, pillowy dough simply comes down to understanding what makes it happy. To ensure a smooth baking experience, I always recommend reading through the entire recipe before getting started. Once you understand the basics, dough-making is a breeze!
Here are my top 6 secrets for making foolproof yeast dough, from heat control to testing your yeast.
1. The Golden Rule: Room Temperature Ingredients
Most recipes will specifically ask for room-temperature ingredients (like butter, eggs, and milk). Do not skip this step! This ensures that during mixing, your dough will combine smoothly without clumping. Cold ingredients can also shock your yeast and slow down the rising process. (Forgot to take your ingredients out? Check out my guide on how to quickly bring dairy to room temperature!)

2. Test (Proof) Your Yeast First
Never blindly toss your yeast into your flour! Always “proof” it first to make sure it is alive. Stir your yeast and a pinch of sugar into warm water or milk, and let it sit for 5 to 10 minutes. If it bubbles and foams up to the surface, it is alive and ready to go. If it stays flat, throw it out and start over with newly bought yeast!

3. Master Your Heat Control
Yeast is incredibly sensitive to temperature. If your liquid is too cold, the yeast will stay asleep. If it is too hot, you will kill it completely.

Here is a quick cheat sheet for liquid temperatures when working with yeast:
|
Liquid Temperature |
What Happens to the Yeast |
Resulting Dough |
|---|---|---|
|
Cold (Under 100°F / 38°C) |
Stays dormant (asleep). |
Very slow rise, or no rise at all. |
|
Warm (105°F – 115°F / 40°C – 46°C) |
Perfectly active and happy! |
Beautiful, fluffy, and quick rise. |
|
Hot (Over 120°F / 49°C) |
The yeast dies. |
Dough will not rise; bread will be a brick. |
4. Feed It A Little Sugar
Yeast loves to eat! While flour provides complex starches, adding just a teaspoon of granulated sugar or honey to your warm liquid gives the yeast a quick, easily accessible meal, kickstarting the foaming process.

5. Don’t Add All the Flour at Once
Flour absorbs moisture differently depending on the brand, the humidity in your kitchen, and the time of year. Start by adding about 3/4 of the flour called for in the recipe, and slowly add the rest until the dough pulls away from the sides of the bowl. It should be tacky, but not completely sticky.

6. Create a Cozy Environment for the Rise
Drafty kitchens are the enemy of yeast dough. For a perfect “first proof” (the first rise), cover your bowl with a clean towel or loosely with plastic wrap and place it somewhere warm.

💡Pro-Tips for Perfect Dough
- The “Windowpane” Test: How do you know if you have kneaded your dough enough? Pinch off a small piece and gently stretch it with your fingers. If you can stretch it thin enough to see light passing through it without it tearing, your gluten is perfectly developed!
- The Oven Proofing Hack: If your kitchen is freezing in the winter, turn your oven on to the lowest setting for exactly one minute, then turn it completely off. Place your covered dough inside. This creates a slightly warm, draft-free proofing box! Keep your oven light on to retain this gentle heat while your dough is proofing.
Pin it for later
Final Tip
The Secret to a Glossy Golden Crust: If you want your final baked goods to have a stunning, high-gloss finish that photographs beautifully, it is all about the egg wash. Whisk one whole egg with a splash of heavy cream (or whole milk) and a tiny pinch of salt. The salt breaks down the proteins in the egg, making the wash perfectly smooth so it brushes on evenly without any streaky marks. Your sweet pastries and savoury buns will bake up with a gorgeous, magazine-worthy shine!