
To ensure a smooth baking experience, I always recommend reading through the entire recipe before getting started. Most times, you will see that room temperature ingredients are required. This is so that during mixing, your batter or dough will combine smoothly without clumping. If you do forget to leave your ingredients out a few hours ahead to set to room temperature, you can read my post here on how to do this quickly.
Tip #1 – Preheat Oven for Proofing
Depending on where you live, your room temperature can vary and can affect the way your dough rises. Rather than guess if your room temperature is good enough, preheat your oven manually to the lowest possible temperature. The key is to create a warm environment in order to incubate the dough so that the yeast can get to work and help rise the dough.
If you are preheating your oven manually set it to 170° F (76.7° C), and preheat your oven for 10 minutes, then turn off the heat and place yeast dough in your oven on the middle rack. Leave the door closed (no peeking!) until proofing is done.
If you have a ‘bread proof’ feature available, set your oven to this feature, place your yeast dough on the middle oven rack and leave the proof feature on. Do not open the oven door until proofing is done.

Tip#2 – Test Yeast
What is yeast? How do I know if yeast is still alive?
It is a valid question I get asked often. Yeast is a leavening agent and is usually available as two types.
One type is Active Dry Yeast (larger dormant granules). Before it can be used in a recipe, it needs to be ‘activated’ or ‘proofed’ by dissolving it with warm water and sugar (think of it as waking the yeast up). It is ready when bubbles form and can then be mixed into other ingredients.
A second type is known as Instant Yeast. The granules are smaller and do not need to be activated or proofed with sugar and water. It can be mixed directly into your dough ingredients and is usually the preferred type since it is more powerful and easier to use. Always store yeast in the refrigerator to prolong its shelf life.
So how do you know if it is still alive? To test it, add 1 teaspoon of sugar with 1 envelope of yeast (2 1/4 teaspoon) to a small bowl and mix 1/4 cup of warm water (not hot since that will kill the cells). If bubbles form, your yeast is still active. If no bubbles form, do not use it! Save yourself the frustration and buy new yeast!
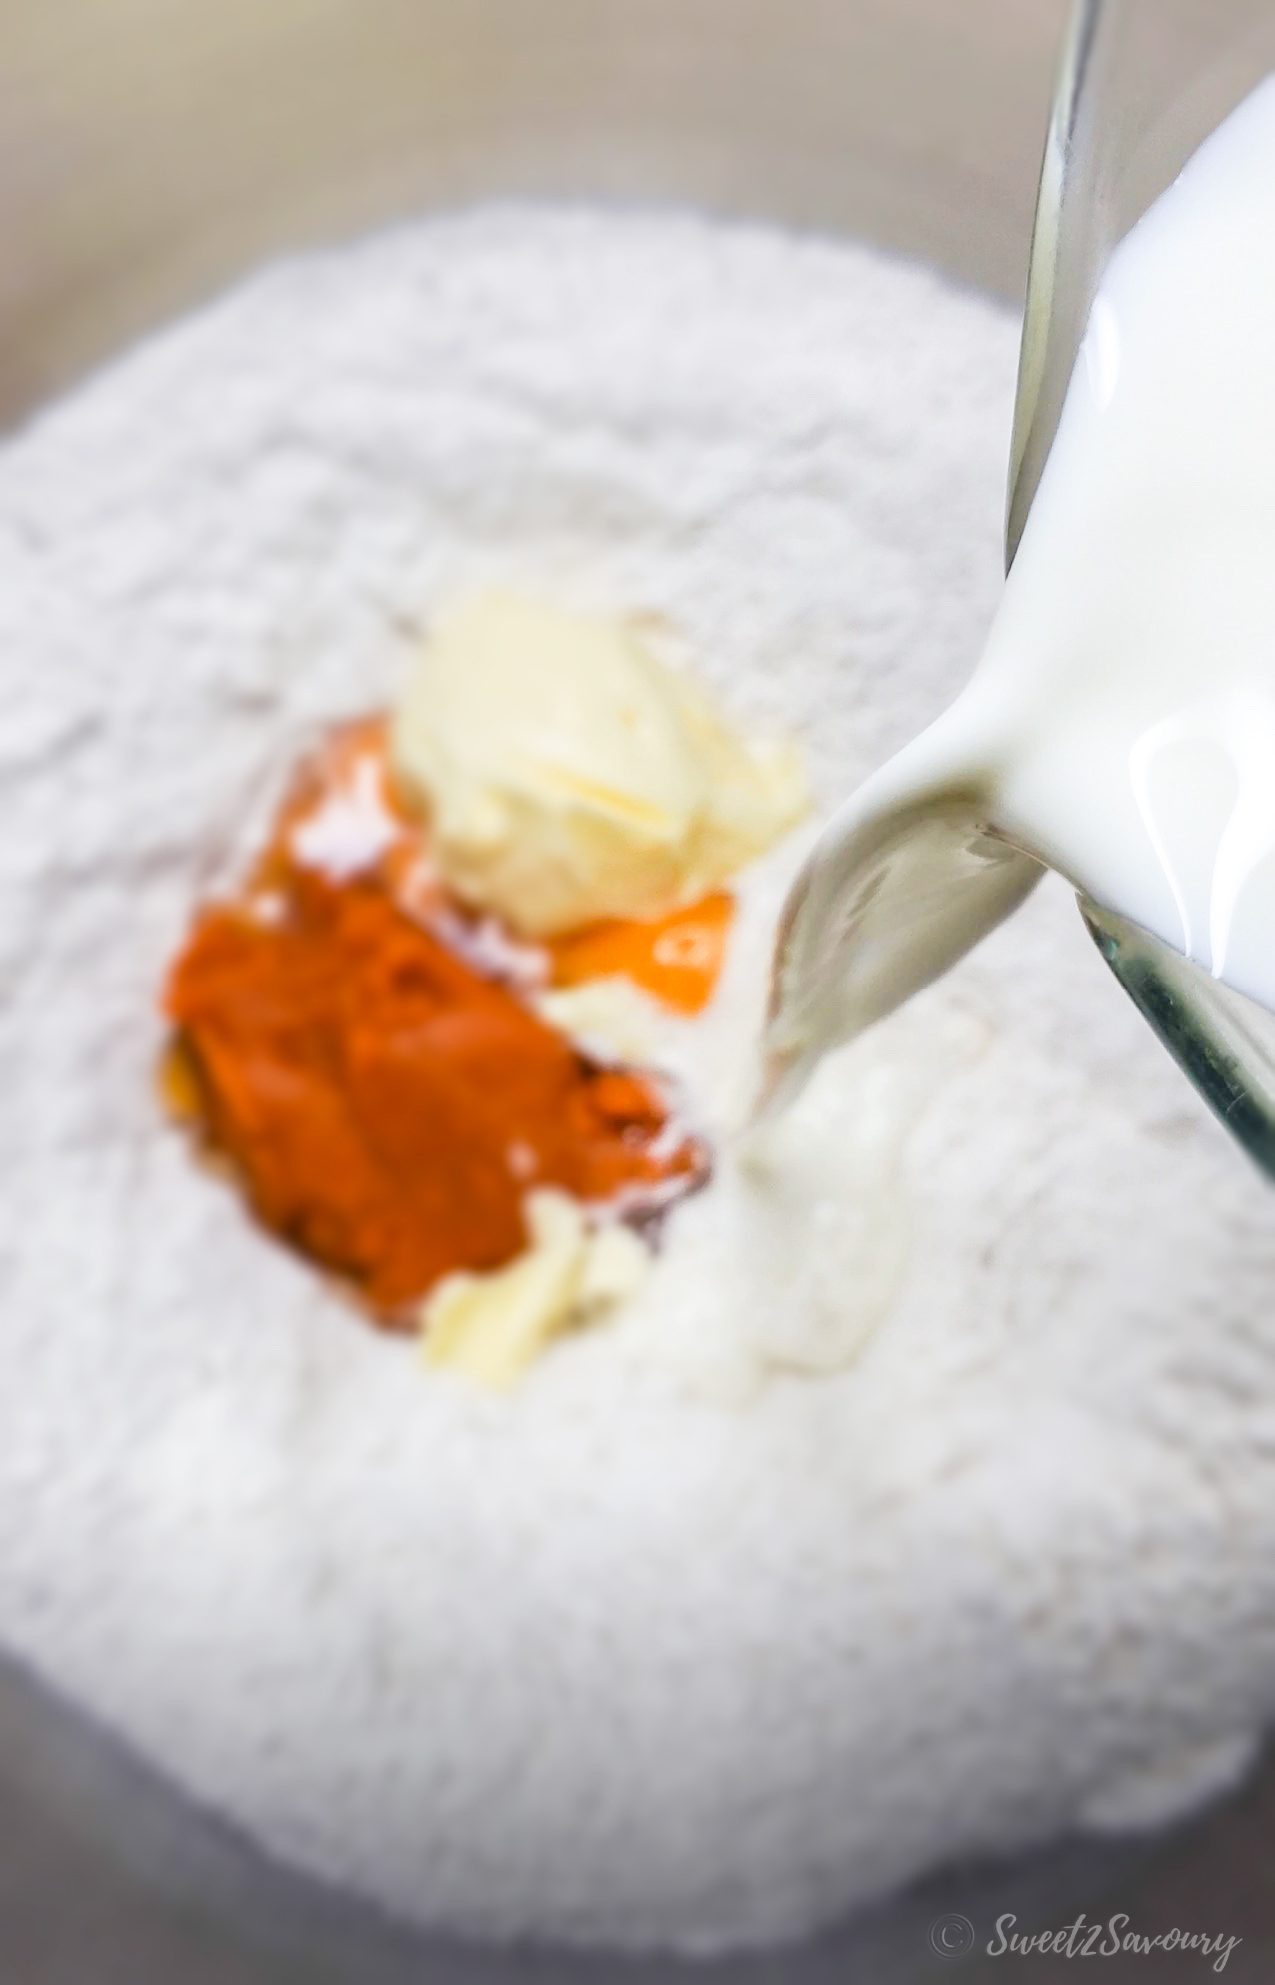
Tip #3 – Use a warm liquids & room temperature ingredients
Milk, water or cream are usually liquids you add to a yeast dough. Always warm your liquid to a temperature of approximately 110°F (43°C) or lukewarm. Do not heat your liquid warmer than 120°F (49°C) as you risk killing the yeast at hotter temperatures. Dead yeast will not produce the gas your dough needs to rise. To be sure, use a food thermometer to check the temperature.
If a recipe calls for it, leave your butter, milk, and eggs out on your counter a few hours before you begin baking. This ensures that you have the right ingredient texture and temperature to work within your recipe. For tips on how to speed up this process, you can read my post here: How to quickly bring dairy ingredients to room temperature.
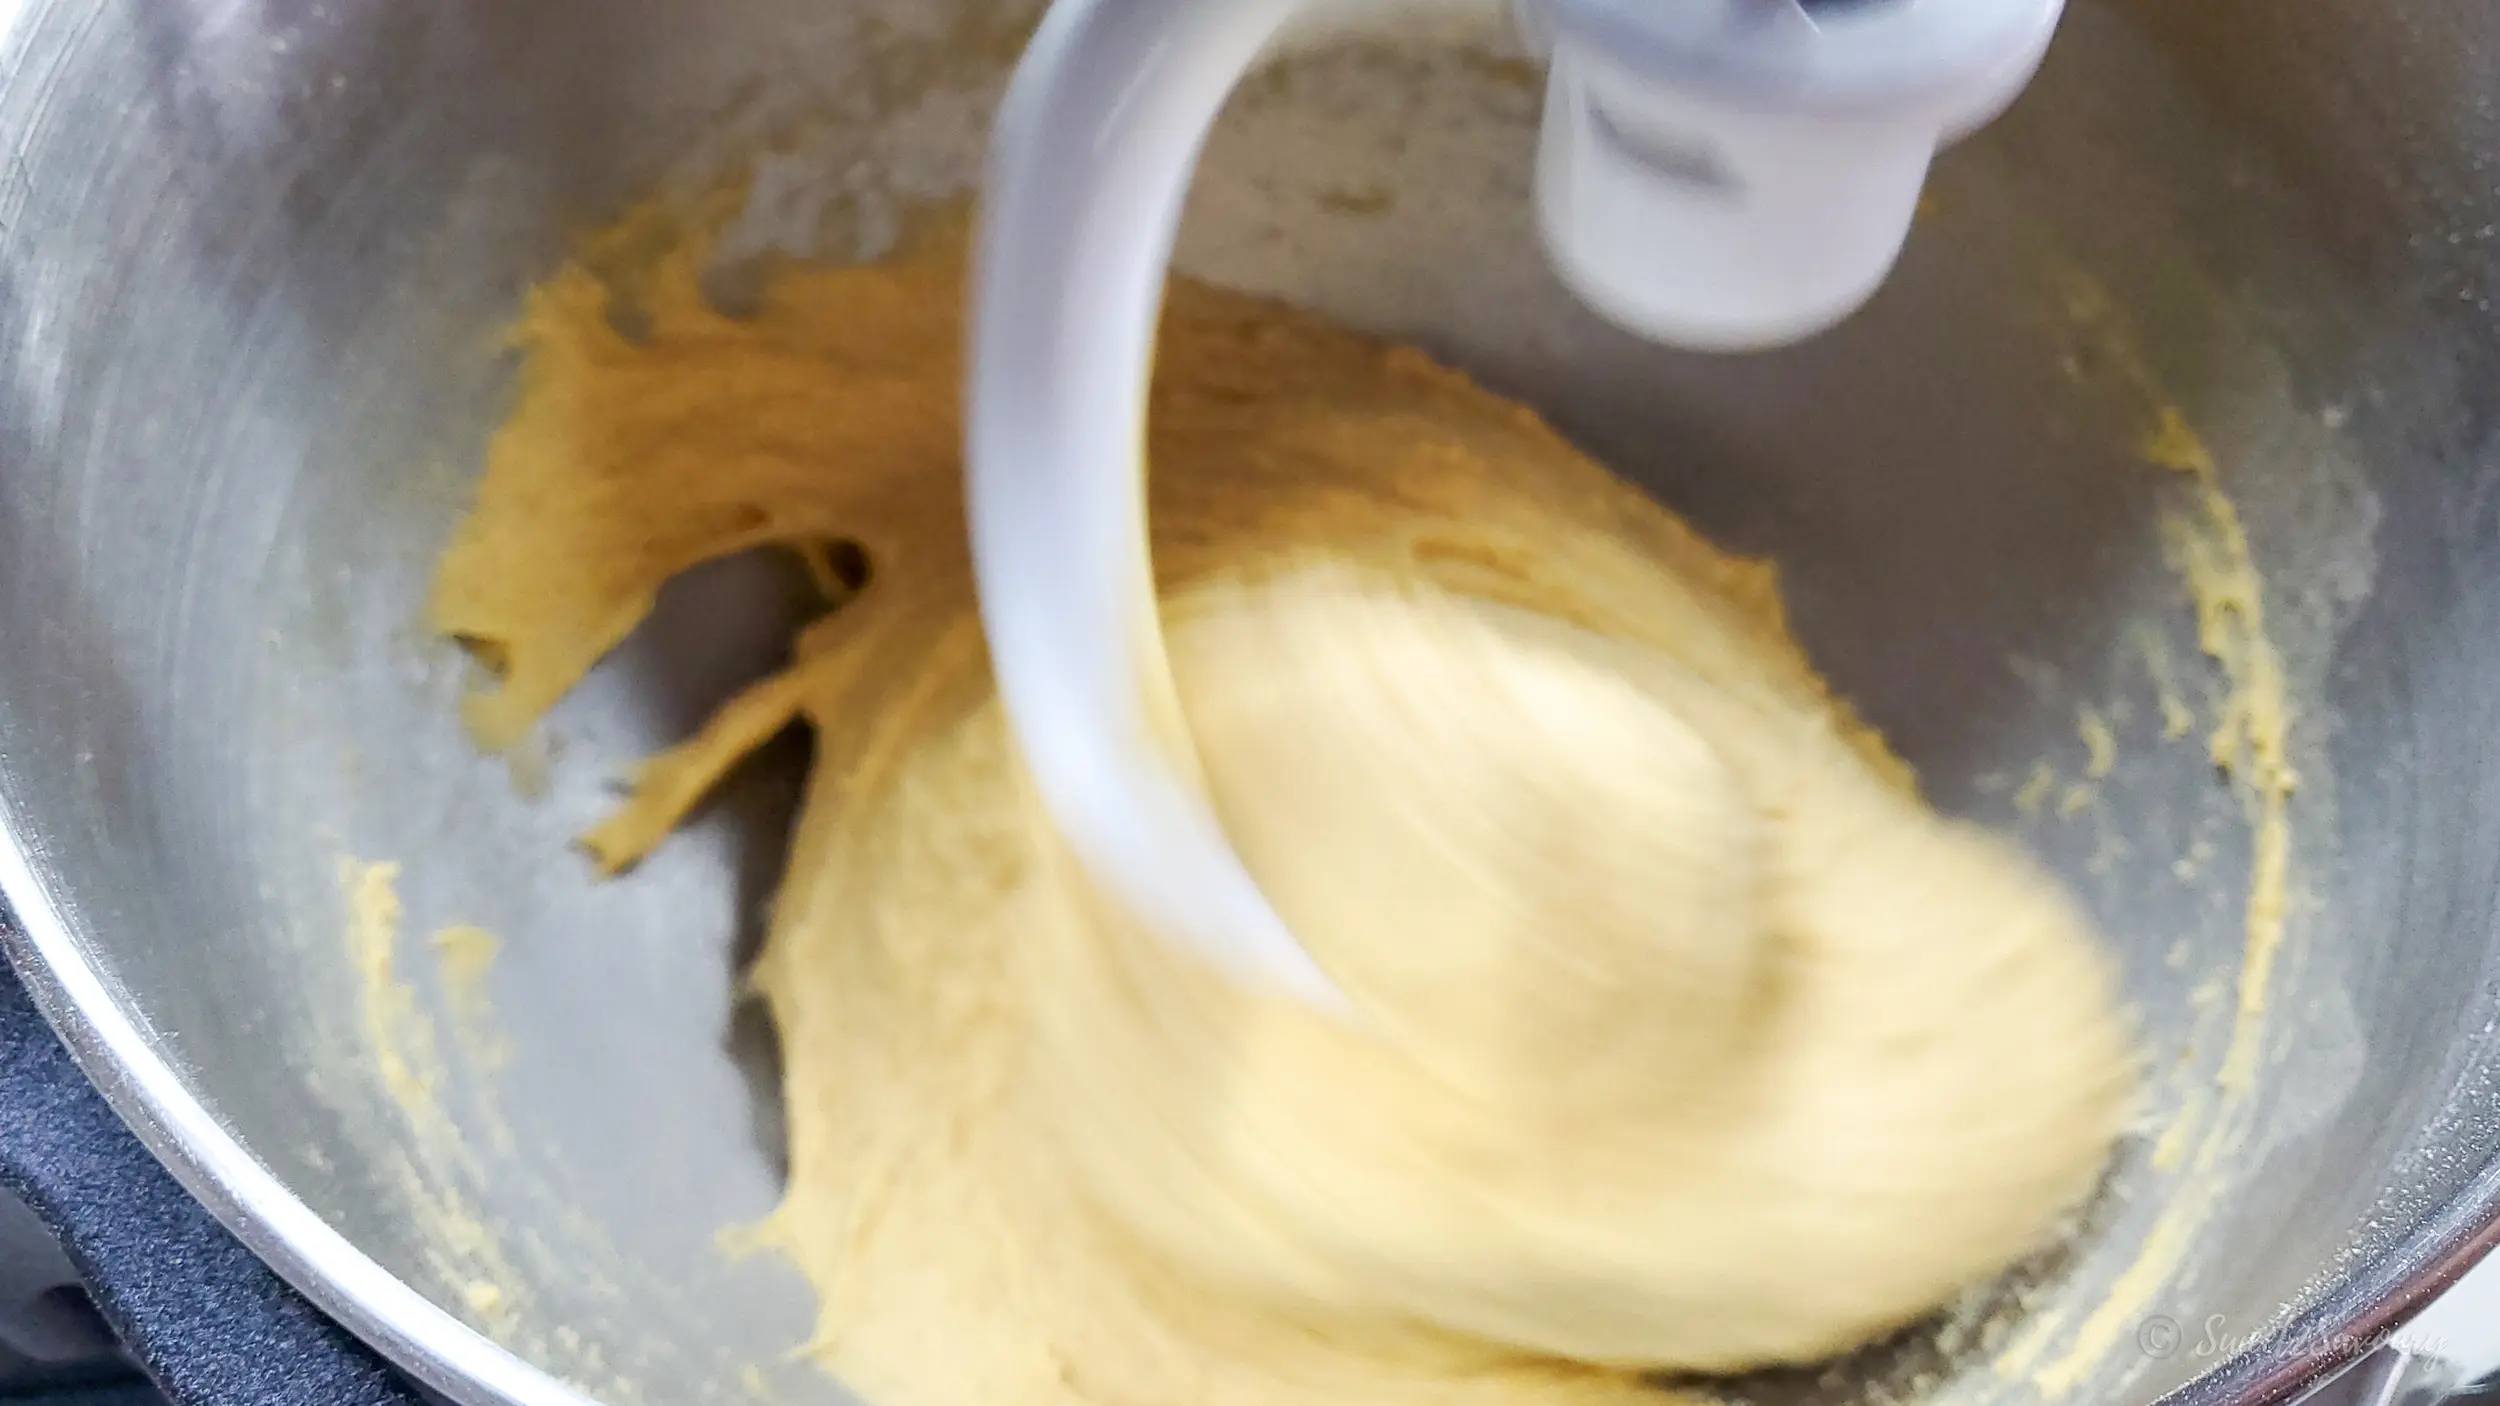
Tip #4 – Knead dough long enough to develop gluten
If you use a stand mixer, always use a dough hook and knead dough no less than 10 minutes up to 15 minutes. If kneading by hand, no less than 20 minutes or up to 25 minutes. Gluten can only develop if you give it enough kneading time to make the dough more elastic and stretchy with longer strands of gluten. Why do we need gluten to form? Because it helps trap air or gas that the yeast produces. This then results in a fluffy bread or bun after it is baked.

Tip #5 – Cover Dough
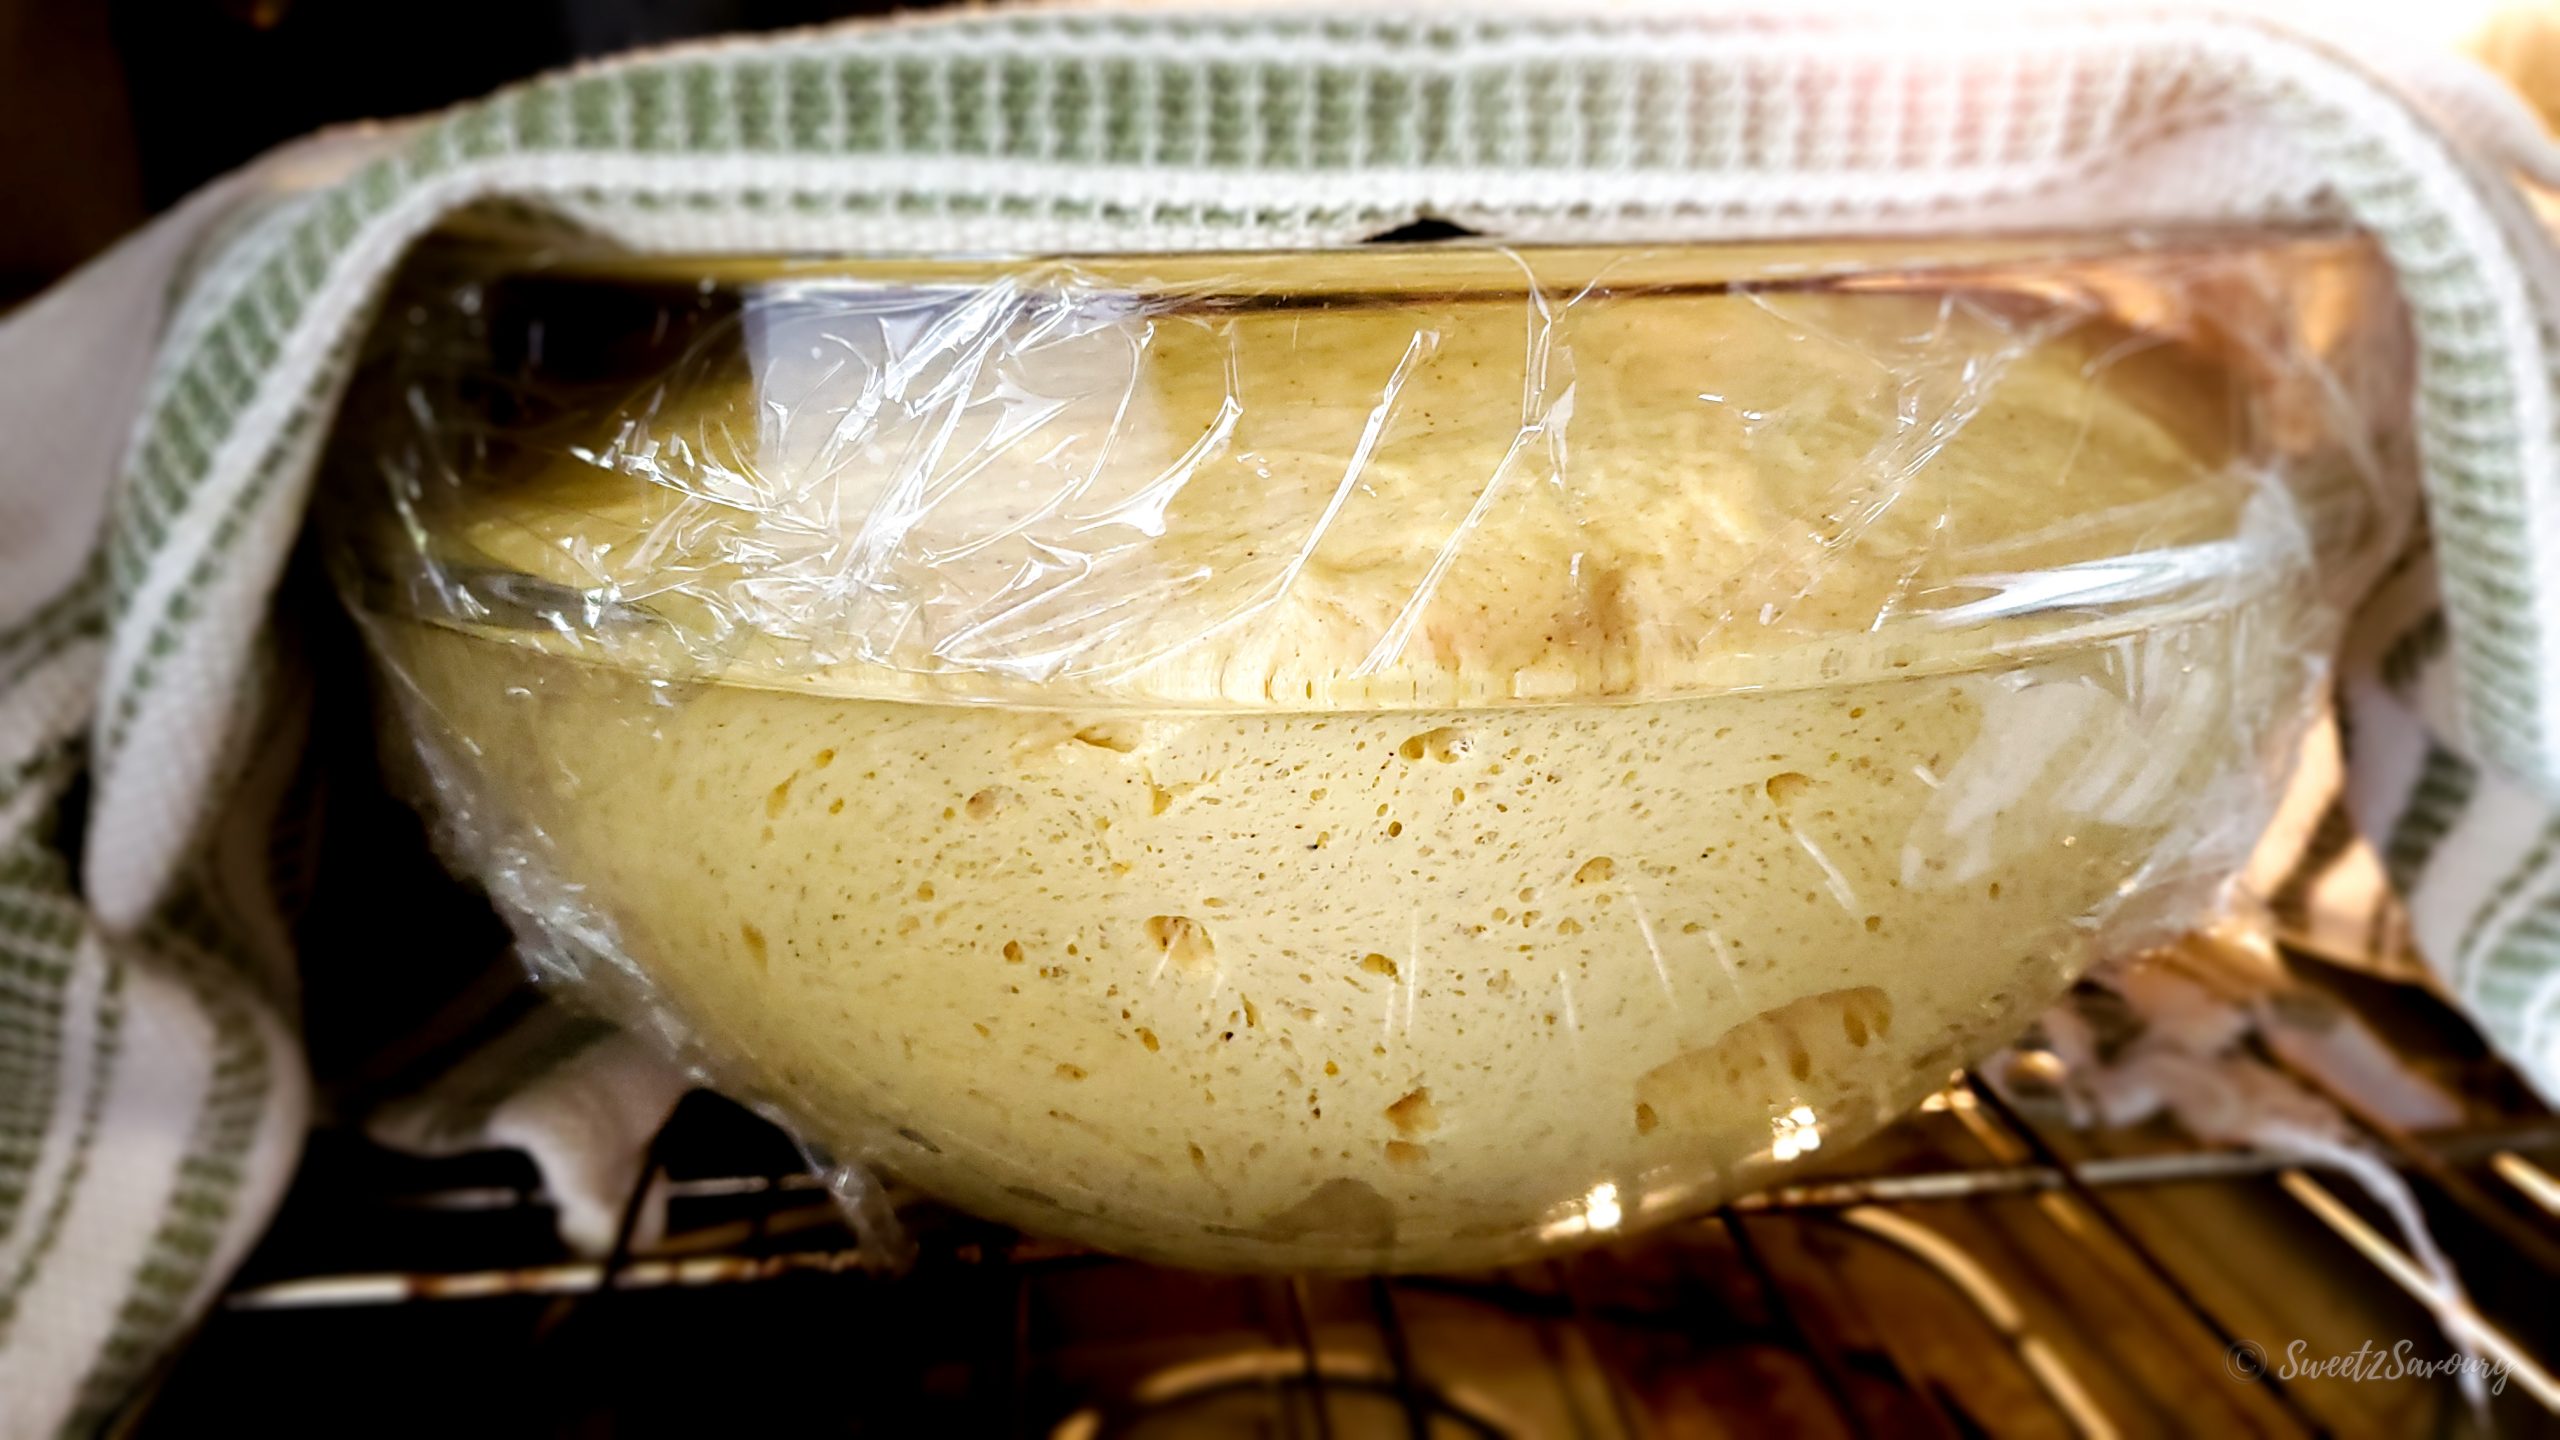
Keeping the dough in a warm environment is critical if you have not noticed the theme by now. That means you need to cover your dough with a clean hand towel to keep it as warm as possible. I like to loosely cover my dough bowl with a plastic wrap before placing a hand towel over it; just in case my dough rises to a point where it touches the hand towel, then at least I have a plastic wrap as a barrier between the towel and dough. Also, always grease the bowl to make it easier to remove your dough.
Tip #6 – Proofing Dough (first & second rise)
The first rise is also known as proofing. In geeky terms, the yeast converts the sugar into alcohol and produces CO2 or carbon dioxide, which are gas bubbles you will usually see after an hour of proofing the dough. When a recipe says to ‘punch down the dough,’ it doesn’t mean to conjure up any anger you have left from a past relationship and to take it out on the dough. However, that would be one way to feel liberated! It just means to puncture the dough with your fingers lightly or knock down the dough with your fist to release the gas bubbles. This ‘puncture’ is also essential to redistribute sugar, moisture and yeast cells.
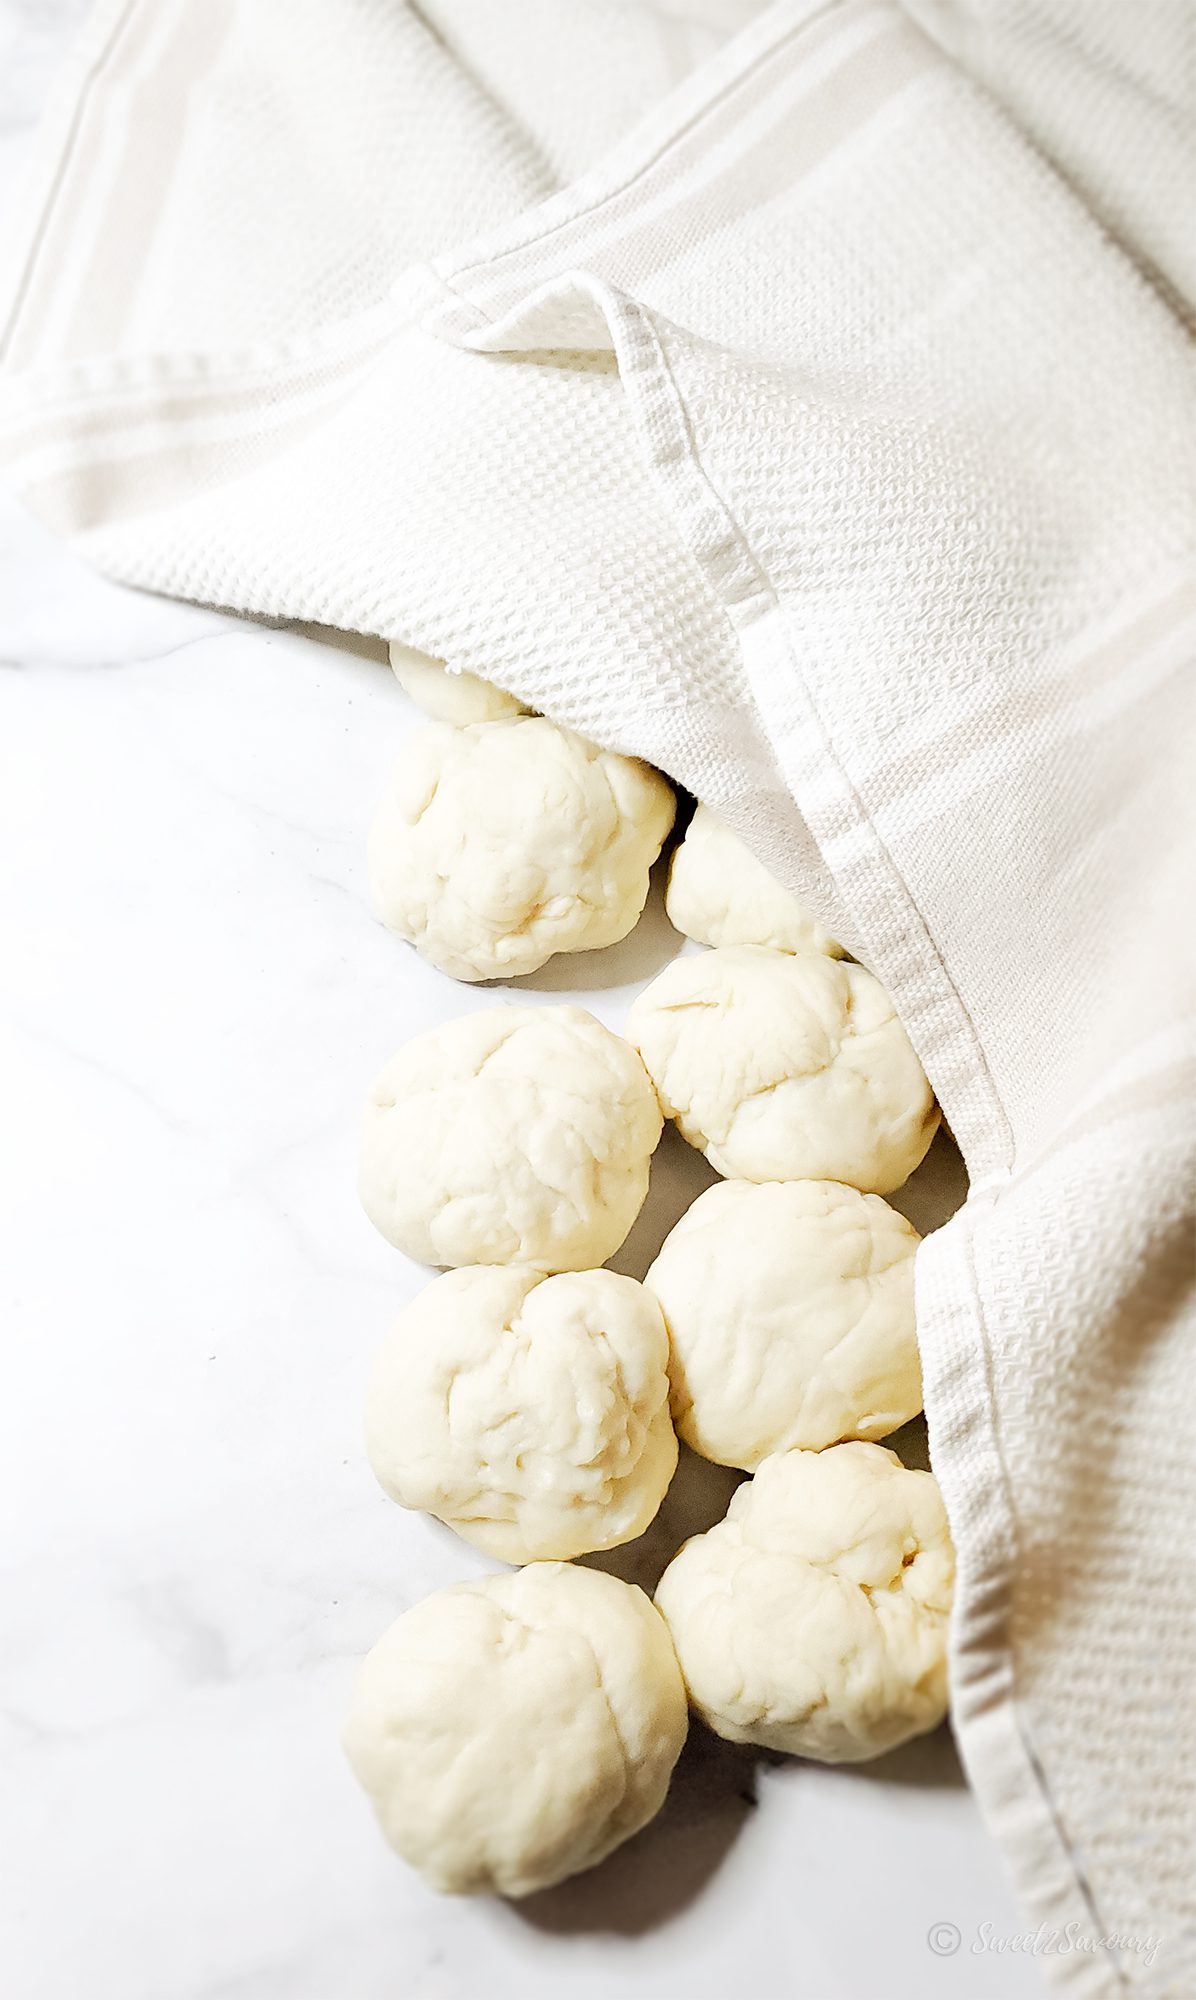
The second rise or second proofing depends on the recipe you are making. Not all recipes require a second rise. For example, buns need a second rise after you have formed the dough into more petite balls. The second rise gives the buns a chance to become fluffy and helps them develop a bit more flavour since the yeast is still ‘eating’ the sugar in the dough.
If you enjoyed my recipe, please leave a comment or rate it below. Also, don’t forget to follow me on my social media channels (YouTube, Pinterest, Facebook, Instagram) to keep up with my latest kitchen shenanigans.