

*Good To Know*
- What’s the difference between Flour Wrapper and Rice Paper?
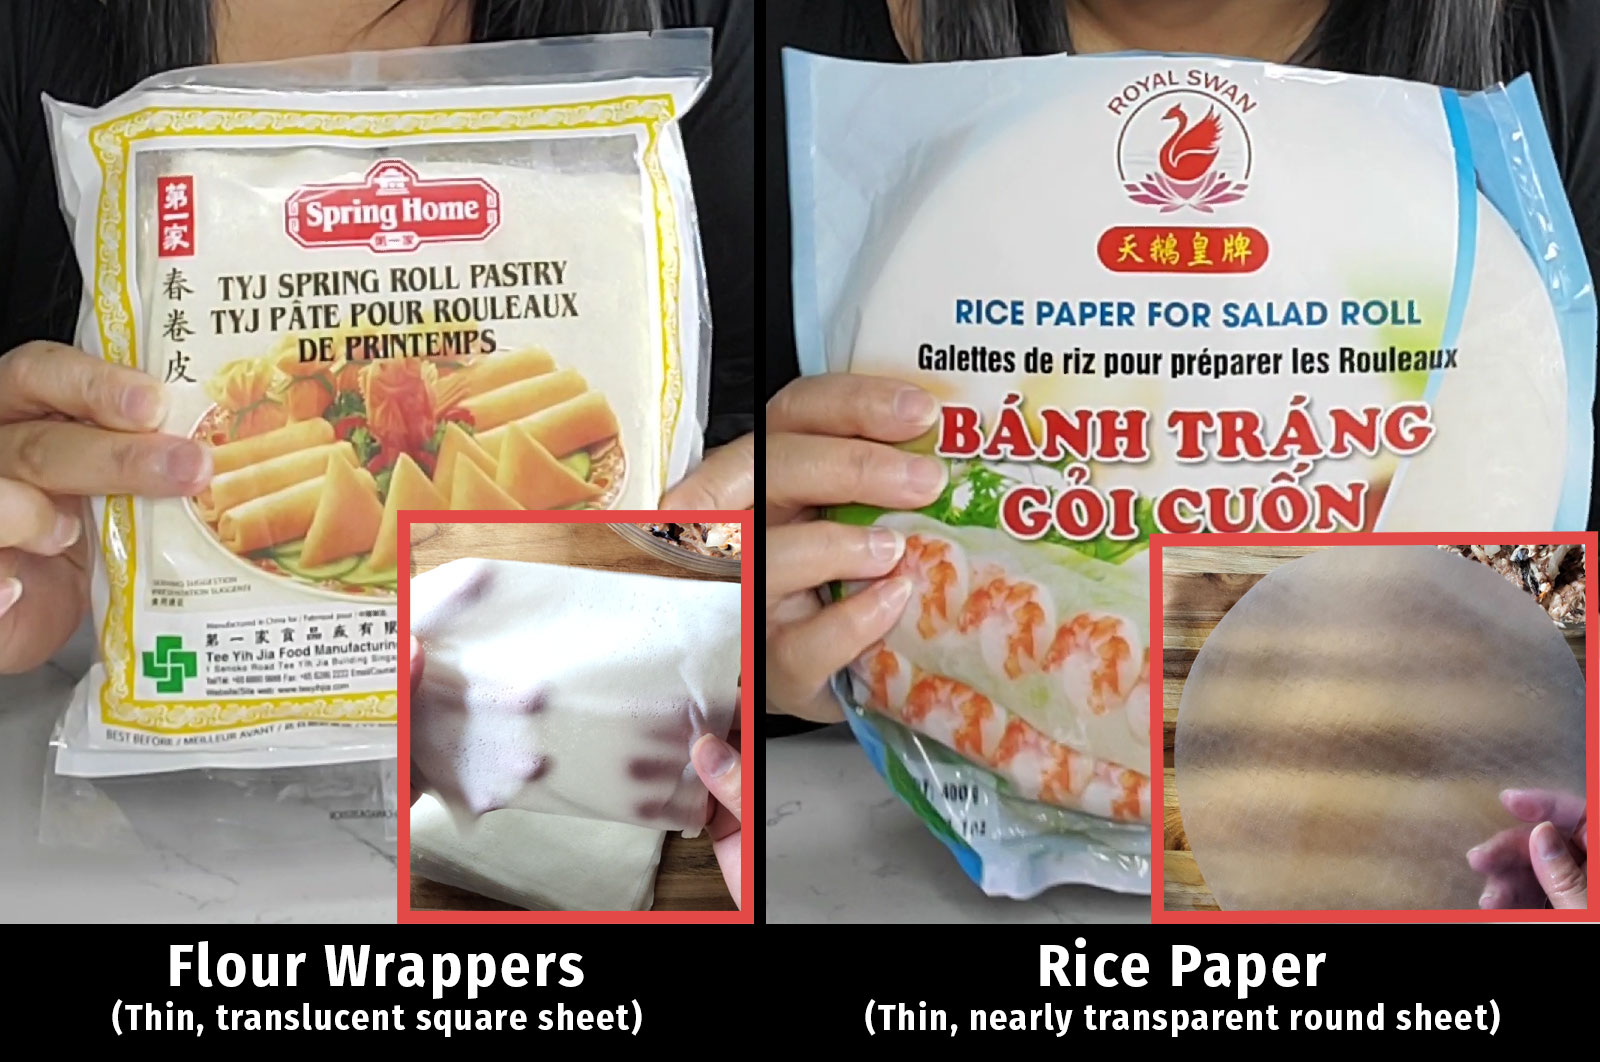
When selecting wrappers, there are two types to consider:
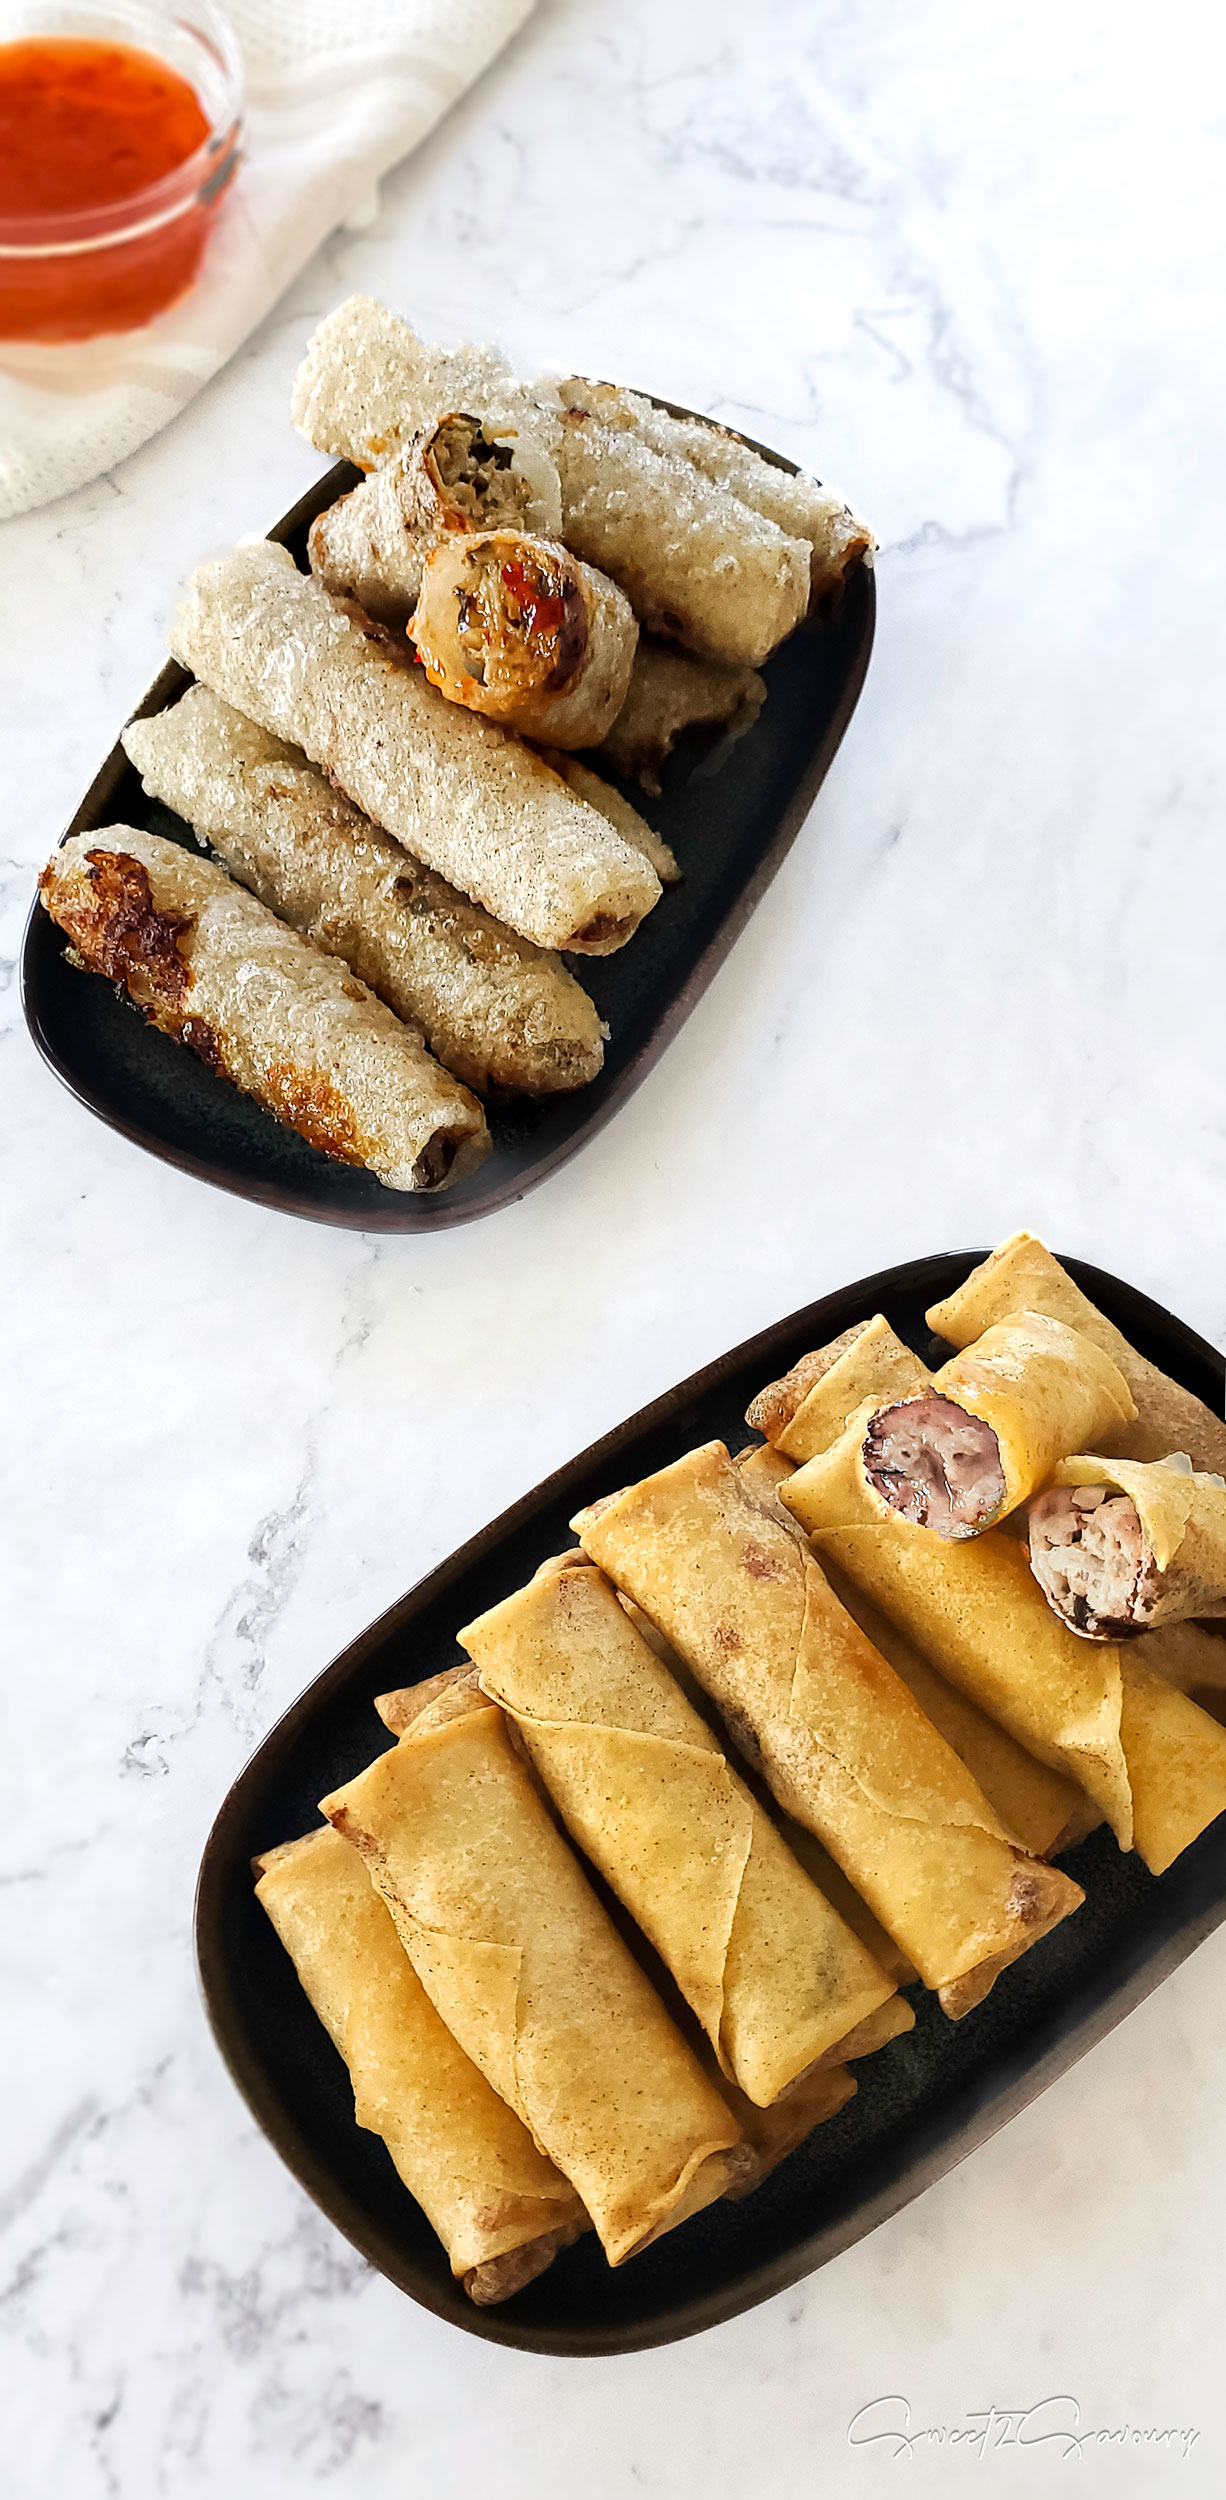
Flour wrappers are composed of wheat flour, water, salt, and oil and are available in the frozen section of the store. Once thawed, the wrappers are ready for immediate use. They are ideal for making crispy spring rolls (which have a similar texture to phyllo dough) and are one of my favourites! The crispy texture will last for a few hours, making them perfect to serve at your get-together.
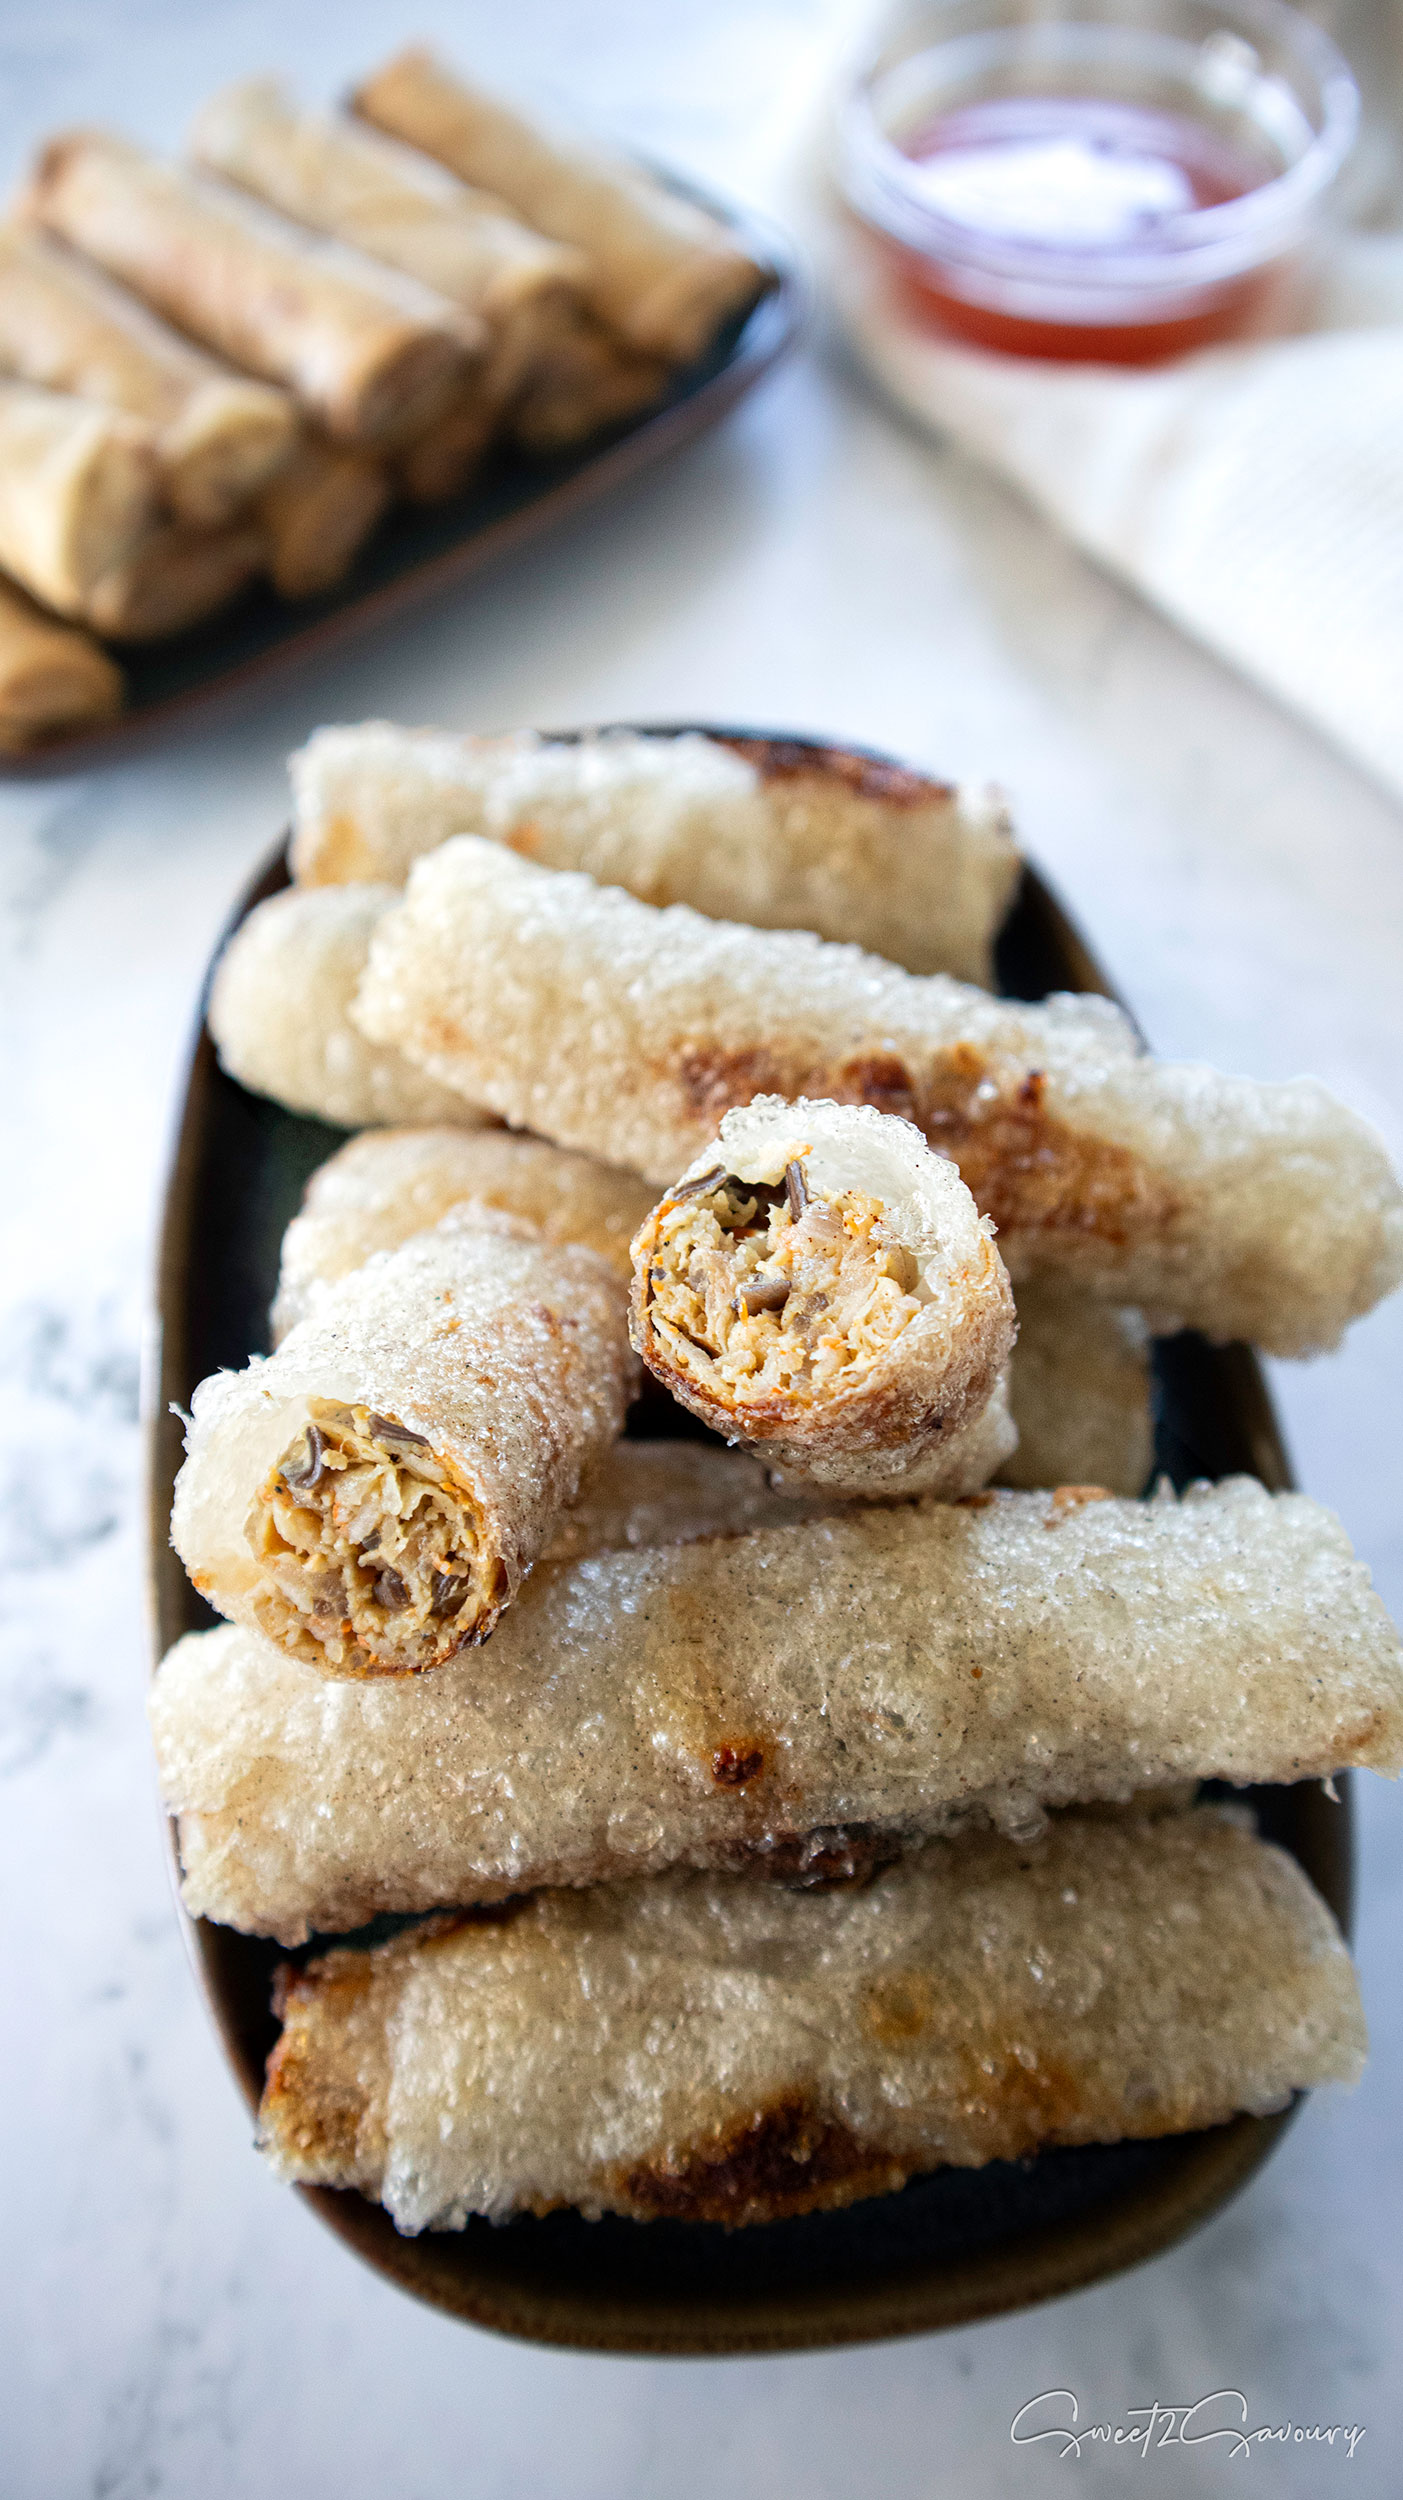
Rice paper (Bánh Tráng) is made from a mixture of rice flour, tapioca flour, water, and salt (no oil) and can be found in the dry goods section of the store. The paper must be soaked in water to become pliable before use. Typically, these are used for creating fresh rolls. When fried, they have a crispy texture with a light chew. For ultimate enjoyment, these rolls should be consumed immediately to maintain their crispiness.
Ultimately, it’s all about personal choice – both options are great!

- How long can you freeze uncooked spring rolls?
The only version of spring rolls I recommend freezing uncooked for up to 6 months is the flour-wrapped variety, as long as they are stored in an airtight bag or container. I don’t recommend freezing rice paper-wrapped rolls as their texture may change due to the water content in the wrapper and filling. - Can I add shrimp to the filling?
Yes, you can add shrimp to your filling to enhance the flavour. However, I prefer to keep my filling simple with just pork due to some of my guests having a seafood allergy. I recommend adding about 10 oz (284 g) of peeled, deveined and finely chopped raw shrimp while you prepare your filling. - What can I substitute for the ground pork?
If you’re looking for a substitute, ground chicken is a great option. Ground beef and turkey are also good alternatives. I use medium ground pork with a 70/30 meat/fat ratio, so if you’re using lean meat, make sure to add chicken or beef fat to balance the ratio (or 2 – 3 Tablespoons neutral oil). This will help keep the filling juicy instead of dry. - If I can’t find the root vegetable listed, what can I substitute it with?
It’s possible that your location and access to Asian ingredients may differ. Here are some replacement options for the root vegetables:
a) Taro root usually has low water content. If you can’t find it, you can substitute it with yucca root or sweet potato. Note, if you use sweet potato, be sure to adjust the seasoning level of your filling accordingly.
b) In case you don’t have Jicama, you can use water chestnut (typically available in a can) as a viable alternative. - How do I store and reheat fried spring rolls?
In my home, we rarely have leftovers when it comes to spring rolls because they are devoured so quickly. However, if you happen to have leftover spring rolls, it’s best to place them in an airtight container with a paper towel to absorb any excess oil. Stack the spring rolls horizontally inside the container and refrigerate for up to two days. When you’re ready to enjoy them again, preheat your oven or air fryer to 350°F (177°C), place the rolls on a baking tray lined with parchment paper or your air fryer basket, and reheat for 10 minutes or until they become crispy once again.
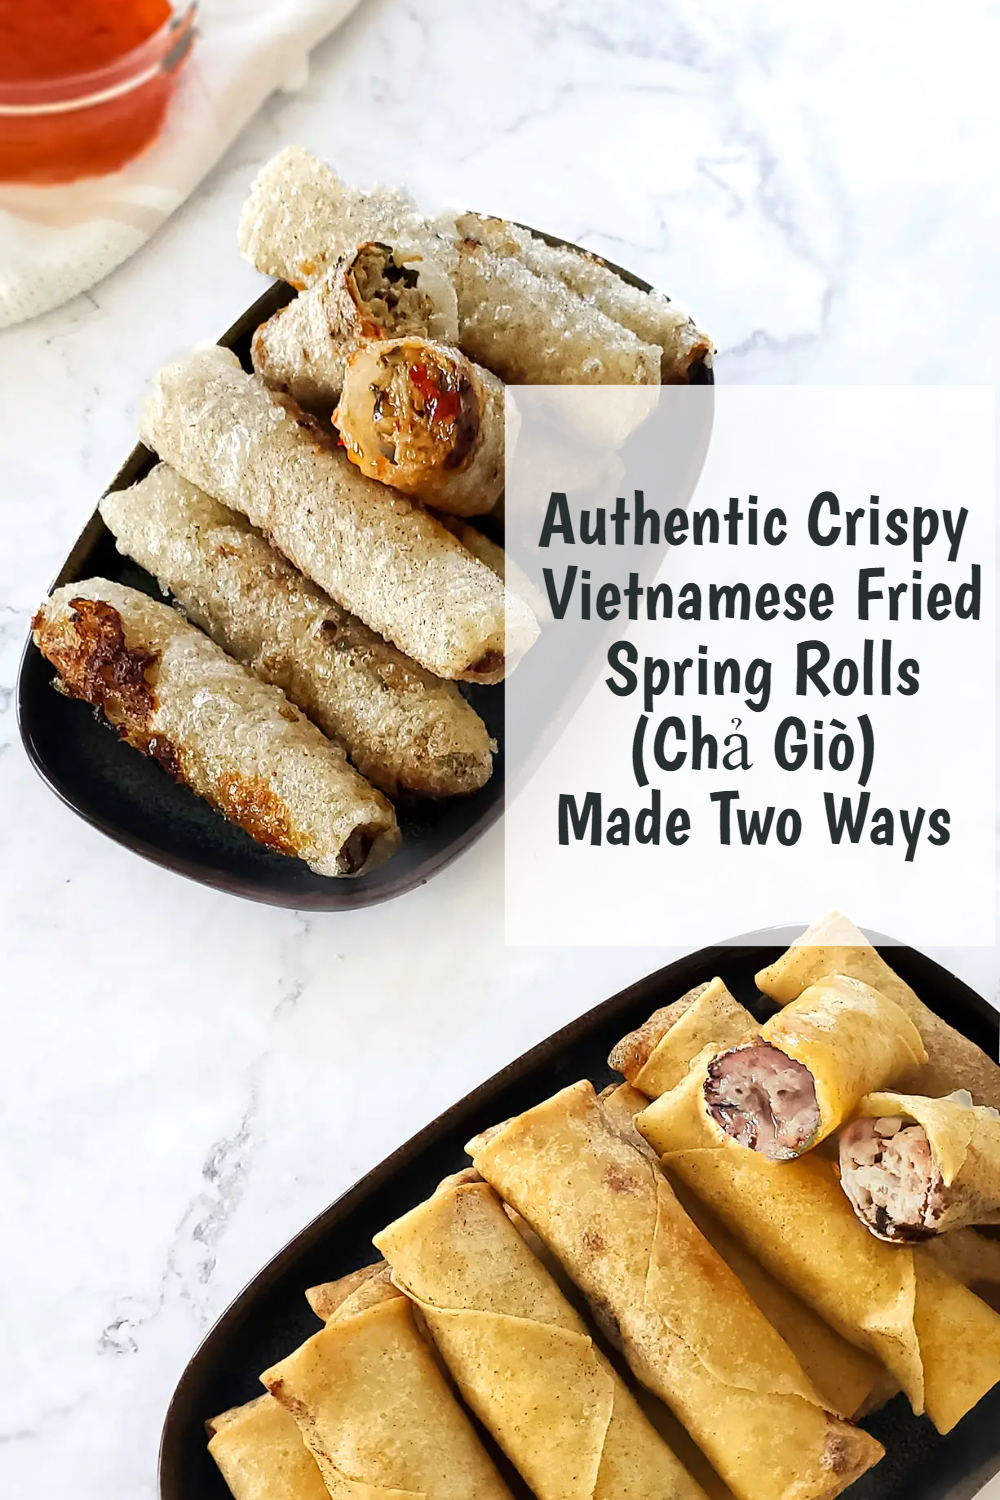
Authentic Crispy Vietnamese Fried Spring Rolls (Chả Giò) Made Two Ways
Ingredients
For the filling
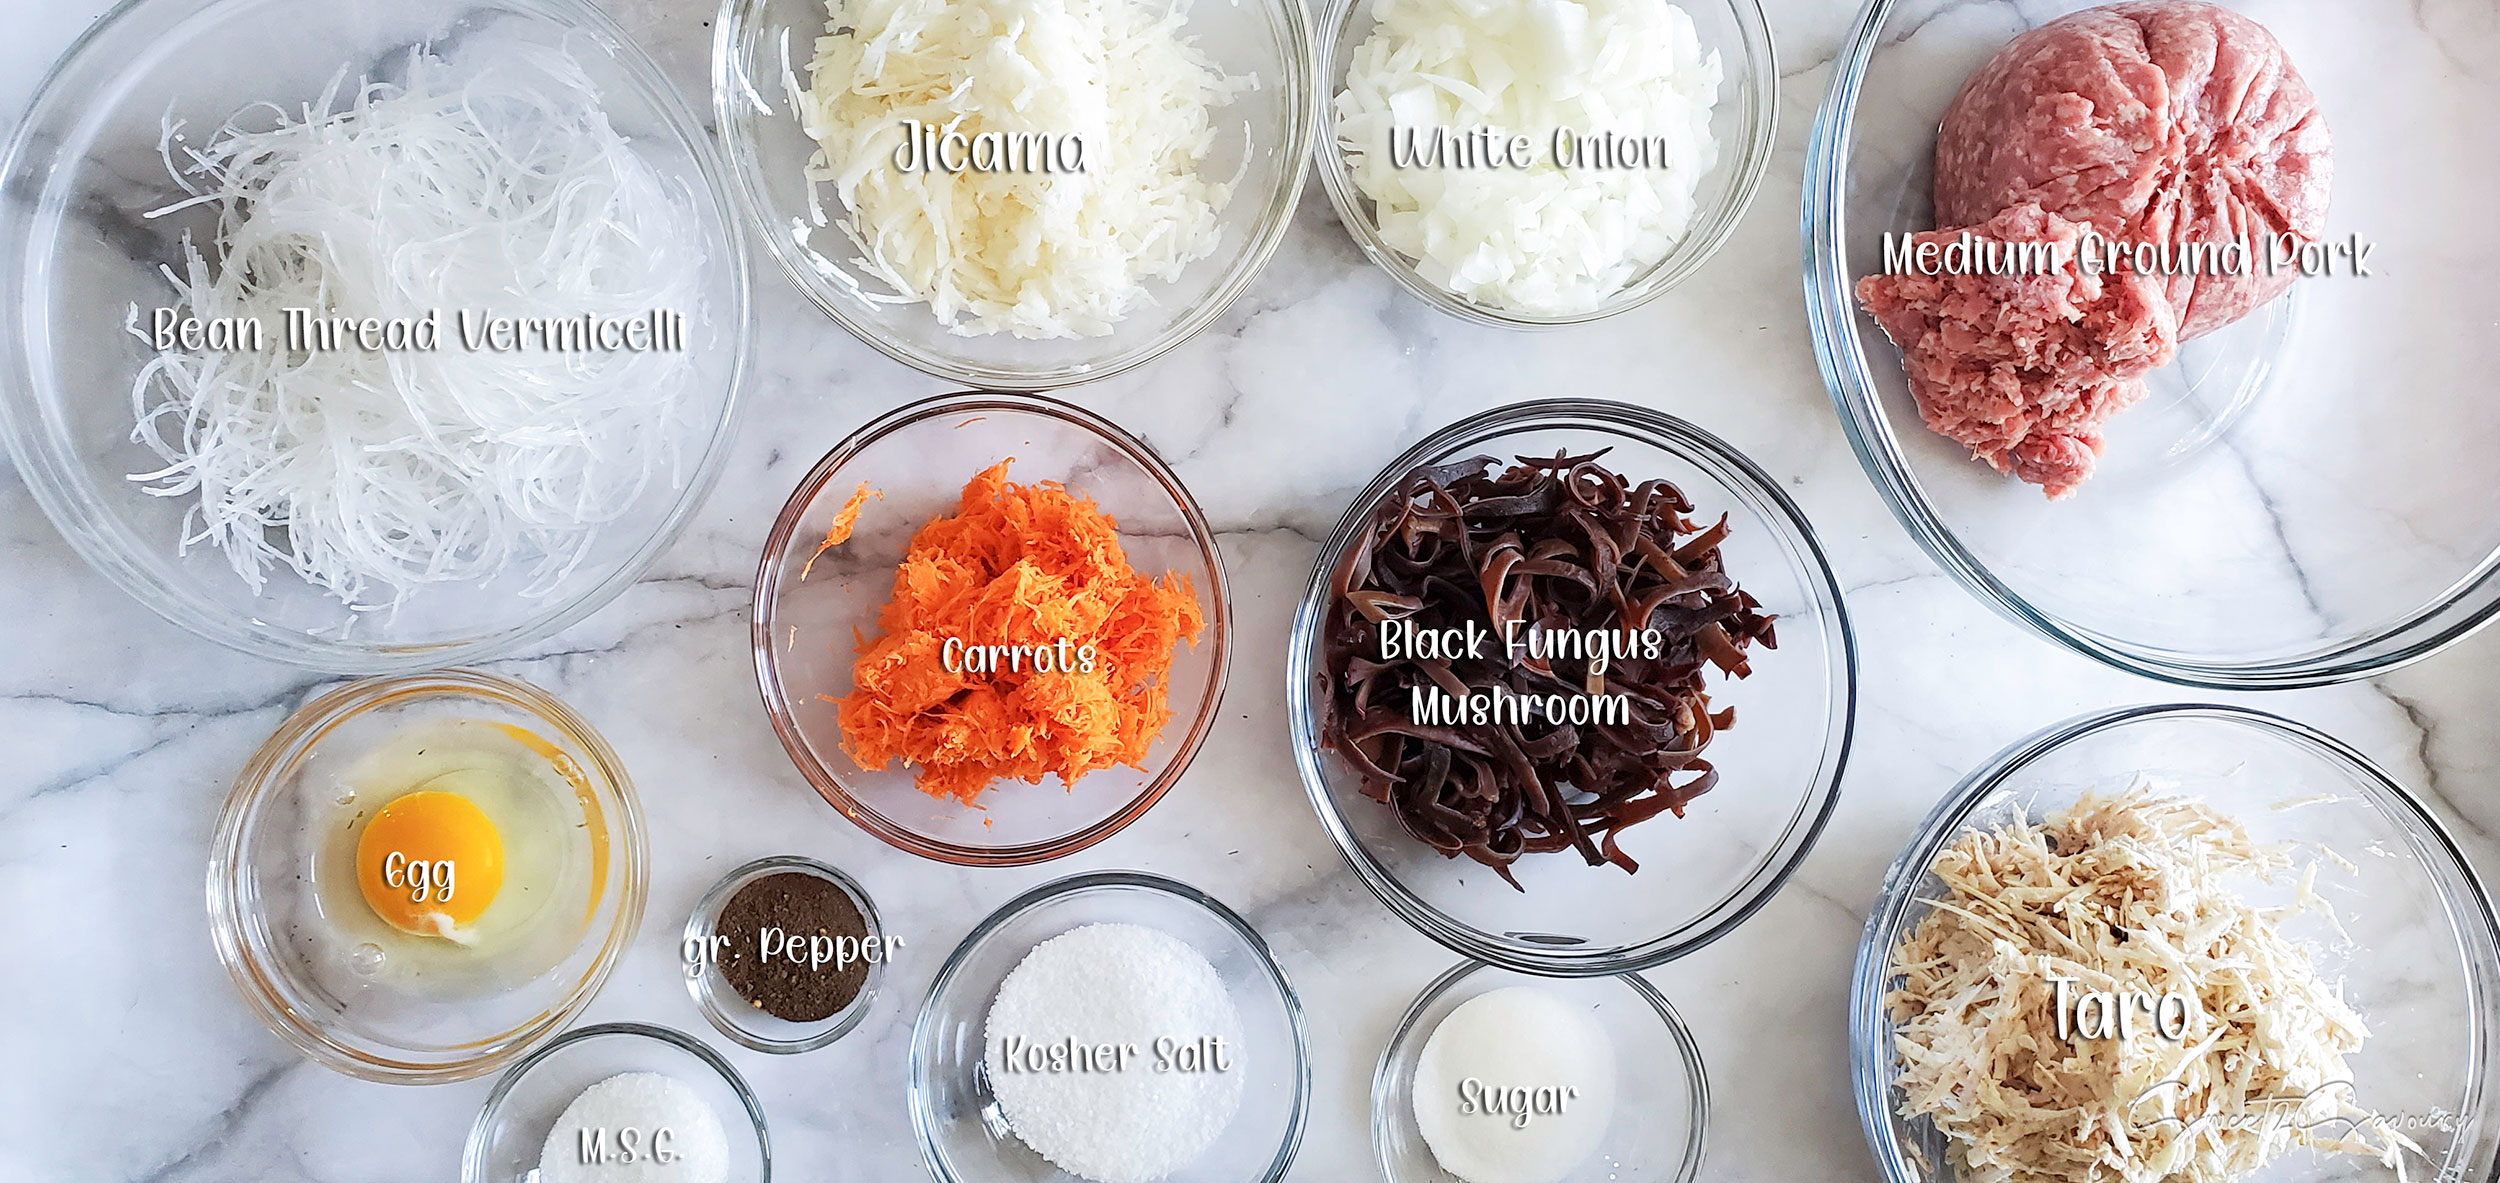
- 1 cup dried, pre-sliced black fungus mushrooms, Soaked in luke warm water until softened, or 1/2 cup (25g) dried whole black fungus mushrooms, soaked in lukewarm water and then sliced thinly (or chopped finely)
- 2 bundles bean thread vermicelli noodles, soaked in luke warm water until softened, then cut into short 4-inch lengths
- 2½ cups Taro root, trimmed, peeled, and shredded (medium hole shredder)
- 2 large carrots, trimmed, peeled, and shredded (medium hole shredder)
- 1 cup Jicama, trimmed, peeled, and shredded (medium hole shredder)
- 1 large white onion, trimmed, peeled, and diced
- 1 large egg
- 1½ Tablespoon Kosher salt, or 3/4 teaspoon Table salt
- 1 Tablespoon ground black pepper
- 2 teaspoons M.S.G, optional but recommended
- 1 Tablespoon white granulated sugar
- 1½ pounds medium ground pork
For the wrapper (pick one) and rolling
- 2 packs frozen Flour Wrappers, 6" x 6" sheets (usually with a count of 50 sheets per pack)
- 2 packs dried Rice Paper (Bánh Tráng), Large size (round or square is ok)
- 1 large egg, If you are using flour wrappers
- water or beer, If you are using rice paper
For Frying
- Peanut or Canola oil, Amount needed depends on the size of your cookware. Use enough oil to yield 2 to 3 inches of oil to deep fry.
Vietnamese Nước Chấm (Makes 2 cups)
- ½ cup fish sauce, preferably first press (such as "Red Boat")
- ½ cup + 3 Tbsp. white granulated sugar
- ⅓ cup freshly squeezed lime juice (2 limes), or white distilled vinegar
- ½ cup water, room temperature
- 4 cloves garlic, trimmed, peeled, and minced
- 1 to 2 red Thai chili peppers, stemmed and minced
- 1 Tablespoon Carrot (for garnish), finely shredded
INSTRUCTIONS
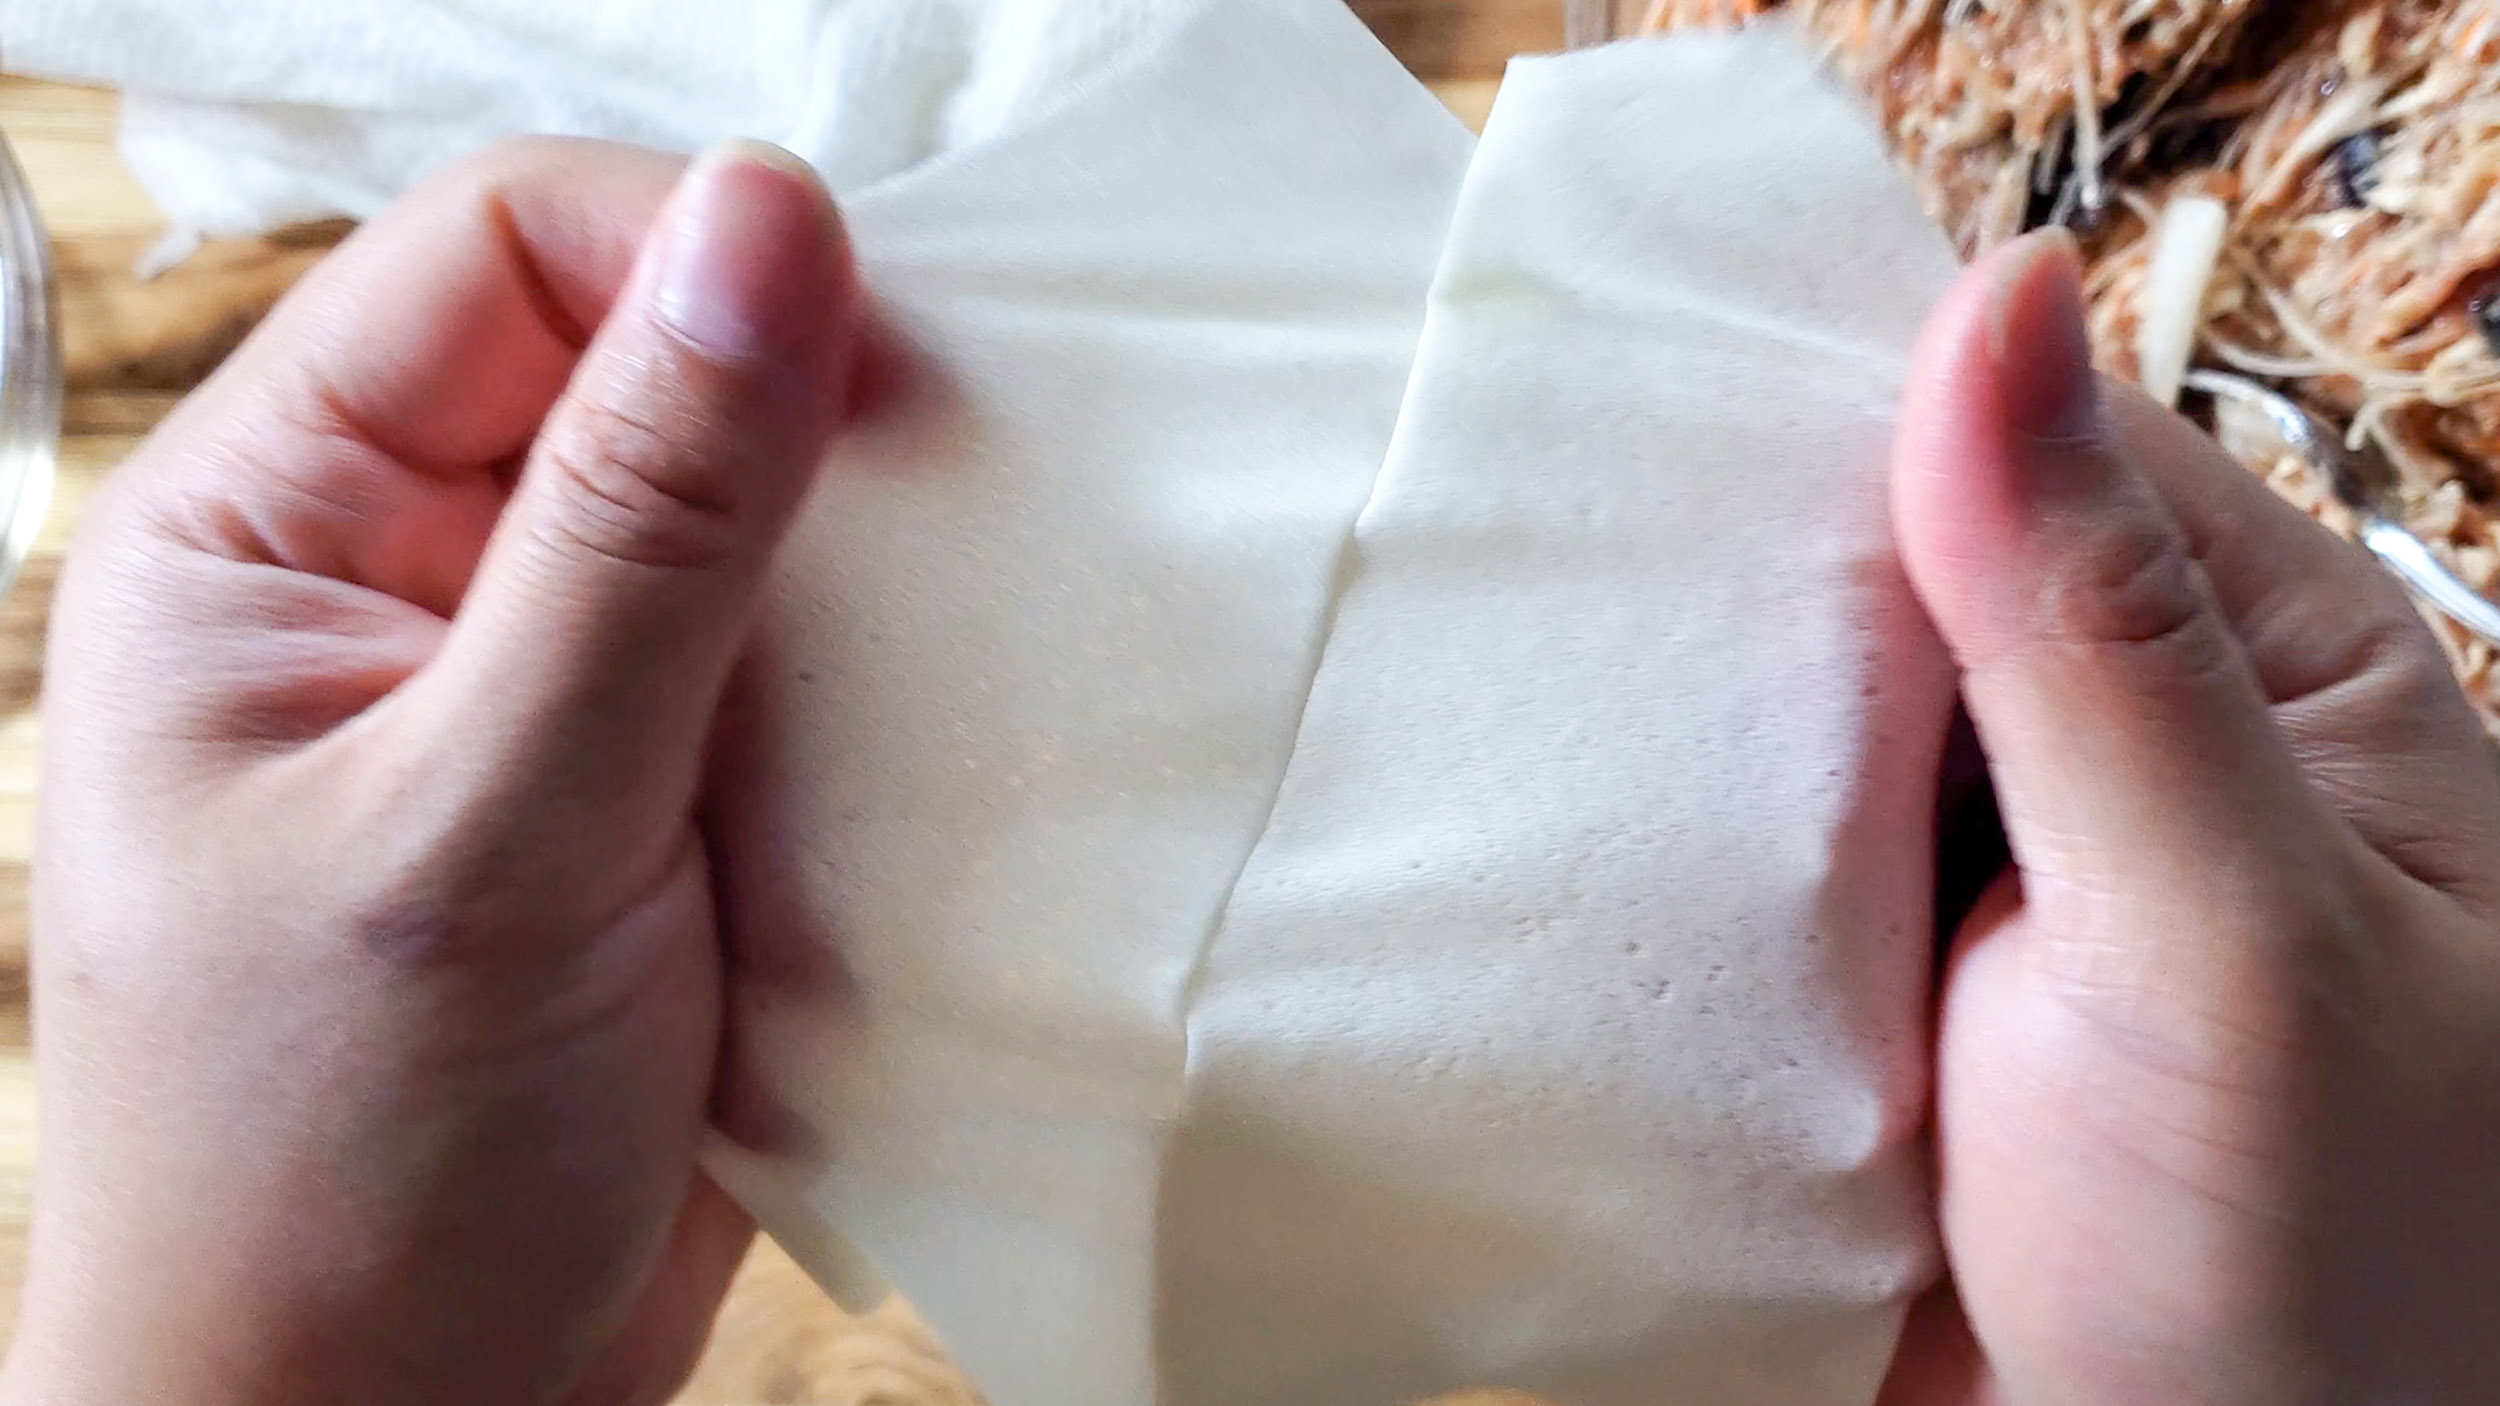
- If you are using frozen flour wrappers, thaw the package on your counter wrapped in a clean hand towel to absorb excess water before starting.
Prepare the Filling
- Soak bean thread vermicelli and black fungus mushroom in separate bowls with lukewarm water for 10 to 20 minutes until softened, then drain the water. For the vermicelli, use scissors to cut them into short 4-inch lengths. For the mushrooms, mince them finely in a food processor or by hand if they did not already come pre-sliced from the package.
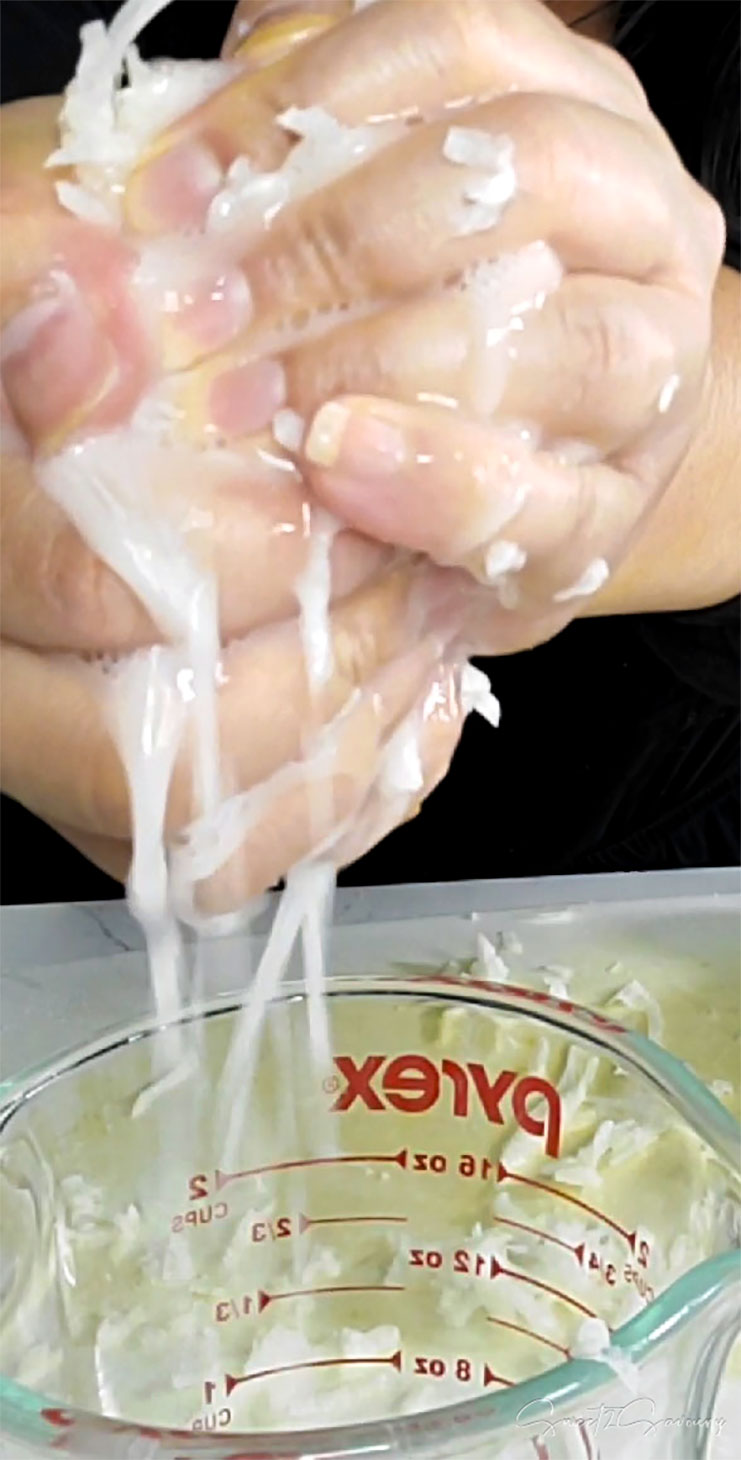
- Squeeze out excess water from shredded carrots and jicama (or wring them tightly in a clean dish towel. This step is crucial in maintaining the crispiness of spring rolls and minimizing the risk of explosions during frying.
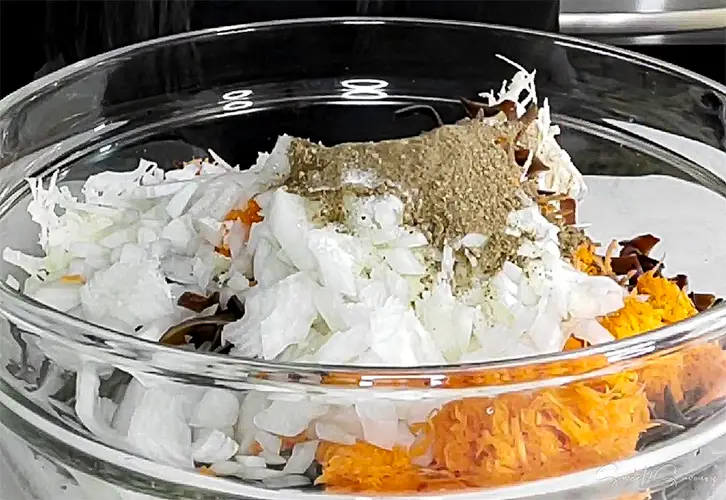
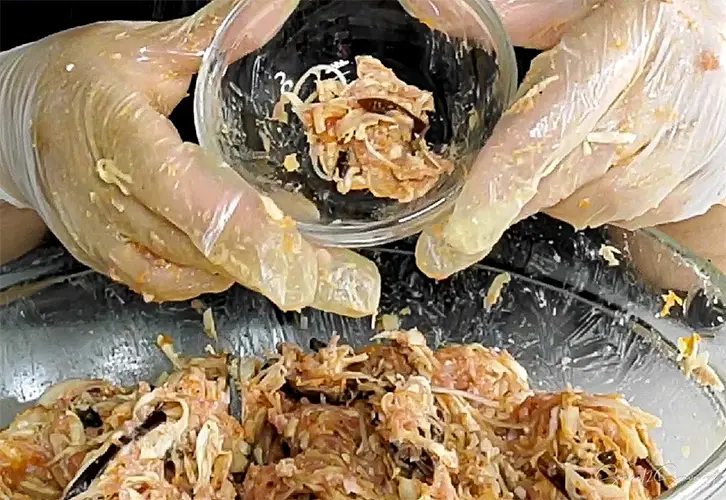
- Add all ingredients to a large mixing bowl: medium ground pork, cut bean thread vermicelli, sliced black fungus mushrooms, shredded jicama, shredded carrots, shredded taro, diced onion, cracked egg, and spices like kosher salt, ground black pepper, M.S.G., and sugar. If you prefer, you can use gloves to mix the ingredients thoroughly until they are well combined. Cover and store the filling in the refrigerator until ready to use.If needed, to test the seasoning, scoop a tablespoon of filling into a heatproof bowl and microwave it on high for 30 seconds (or longer until the meat is cooked). Give it a taste and adjust the seasoning to achieve your desired flavour.
If using FLOUR WRAPPERS, to roll:
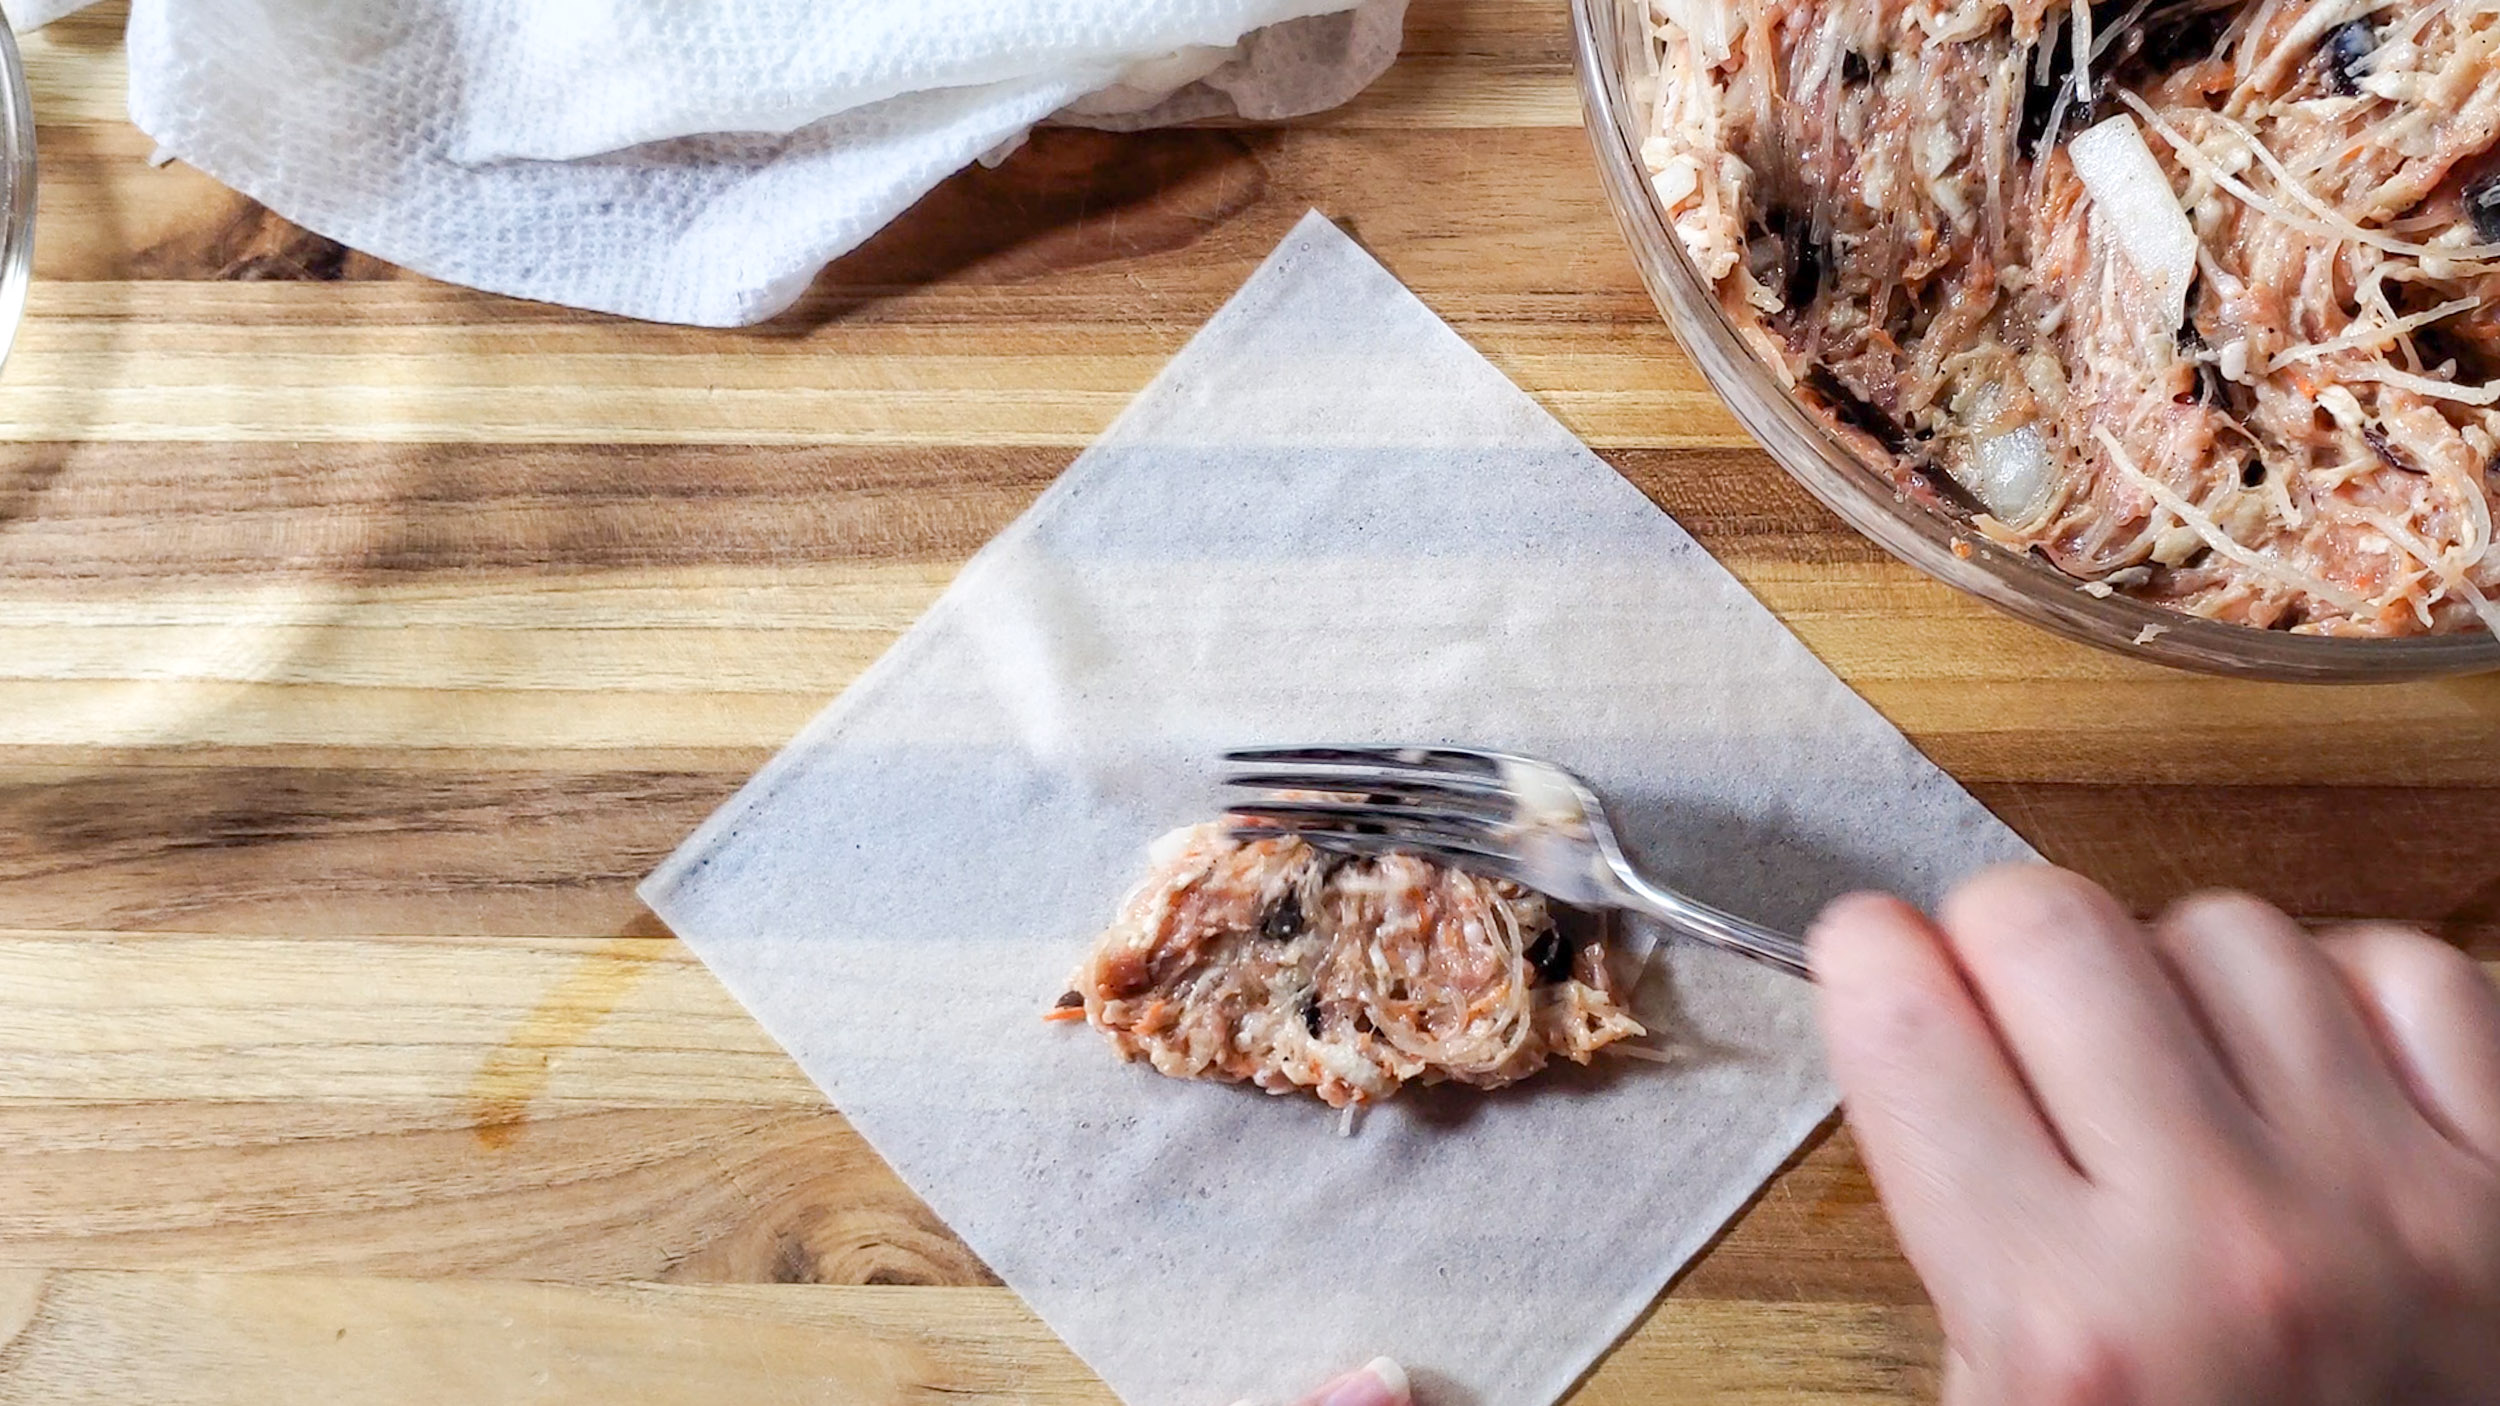
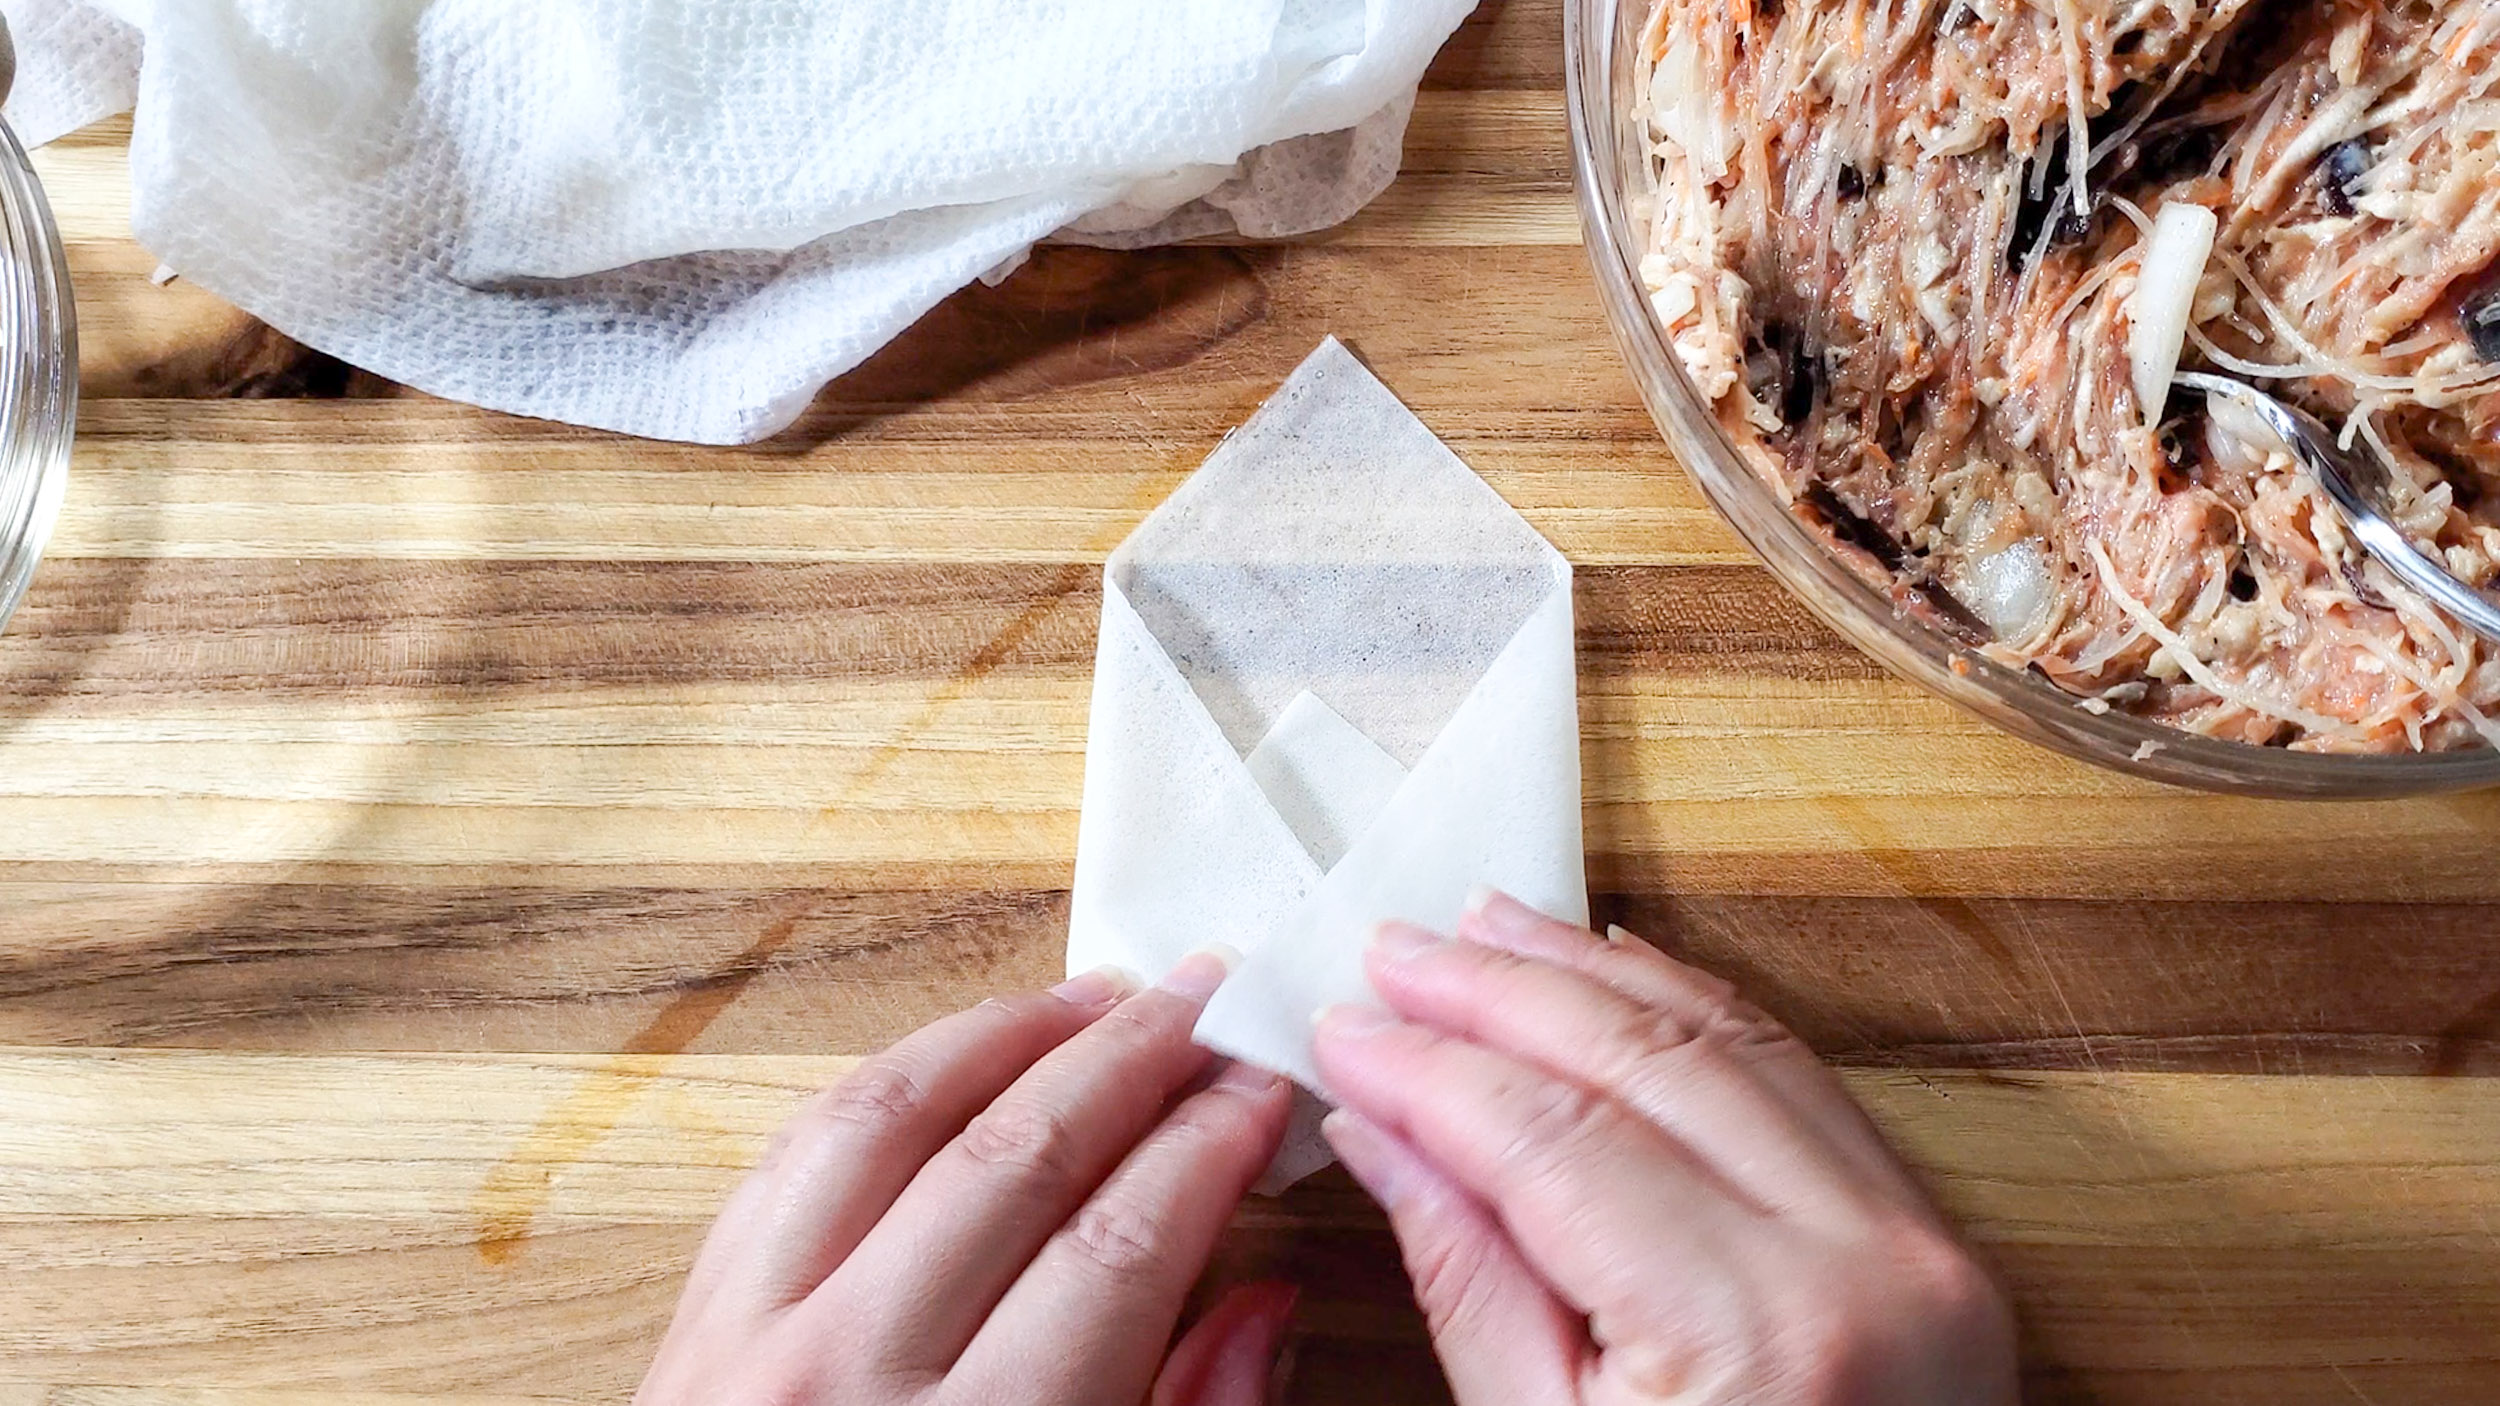
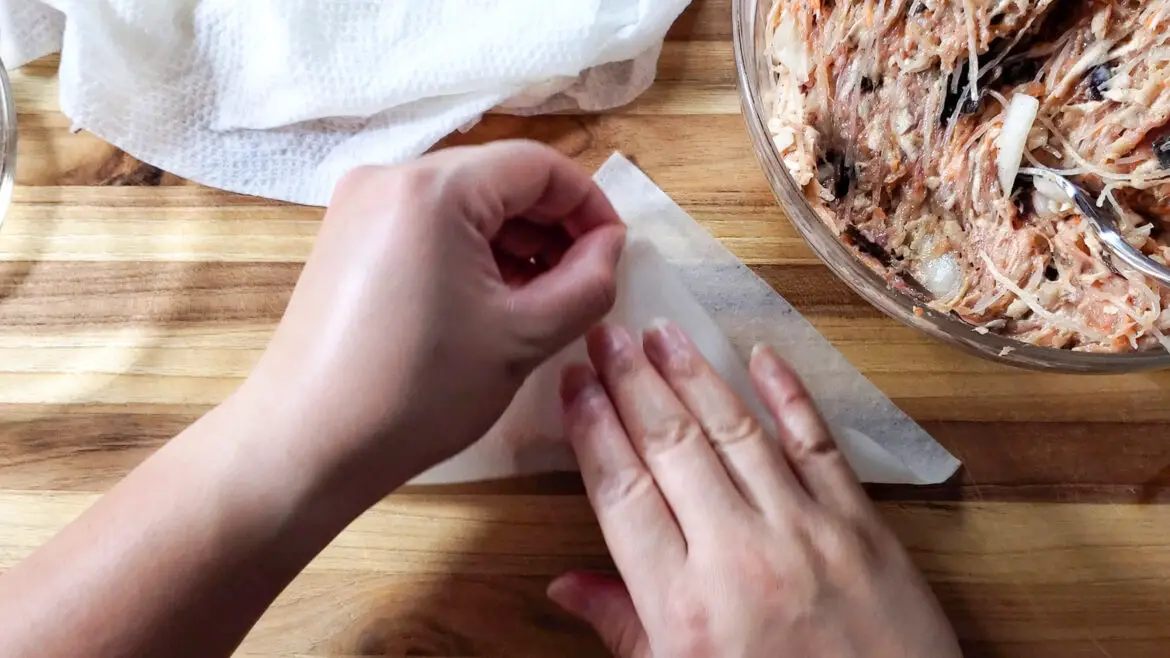
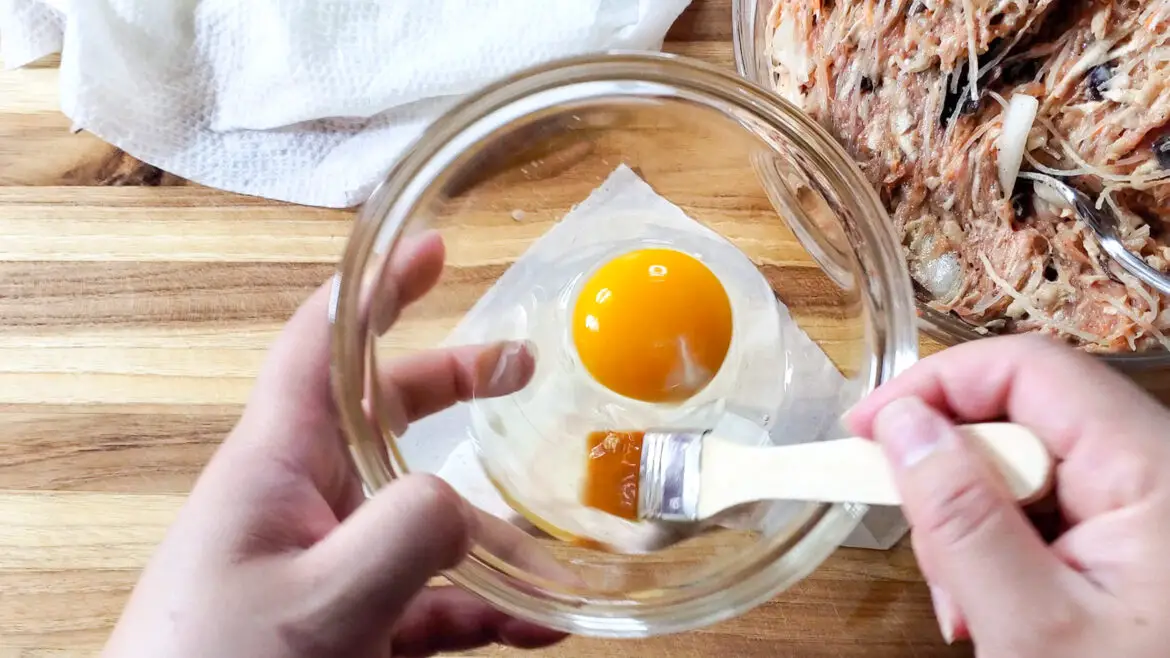
- a) Remove flour wrappers from package. Gently peel wrapper layer and align its corners like a kite shape on your work surface. Cover remaining wrappers with a dampened hand towel to prevent drying.b) Use a fork and add your filling (about 1½ Tablespoons) to the center of the wrapper. With your fork and finger, shape the filling into a 4-inch log.c) Gently lift the bottom corner up and over the filling, then press down on the left and right sides. Apply an *egg wash along the top left and right edge of the wrapper using a small pastry brush or your finger.*Hint: I use egg whites to keep things tidy, then switch to using the yolk as an egg wash to avoid waste, but you can also beat the egg with a fork prior to use.d) Then fold the right and left corners towards the center, like an envelope, and gently tuck in the filling while you roll the spring roll upwards to seal the top edge of the wrapper.e) Repeat with the remaining flour wrappers and filling.
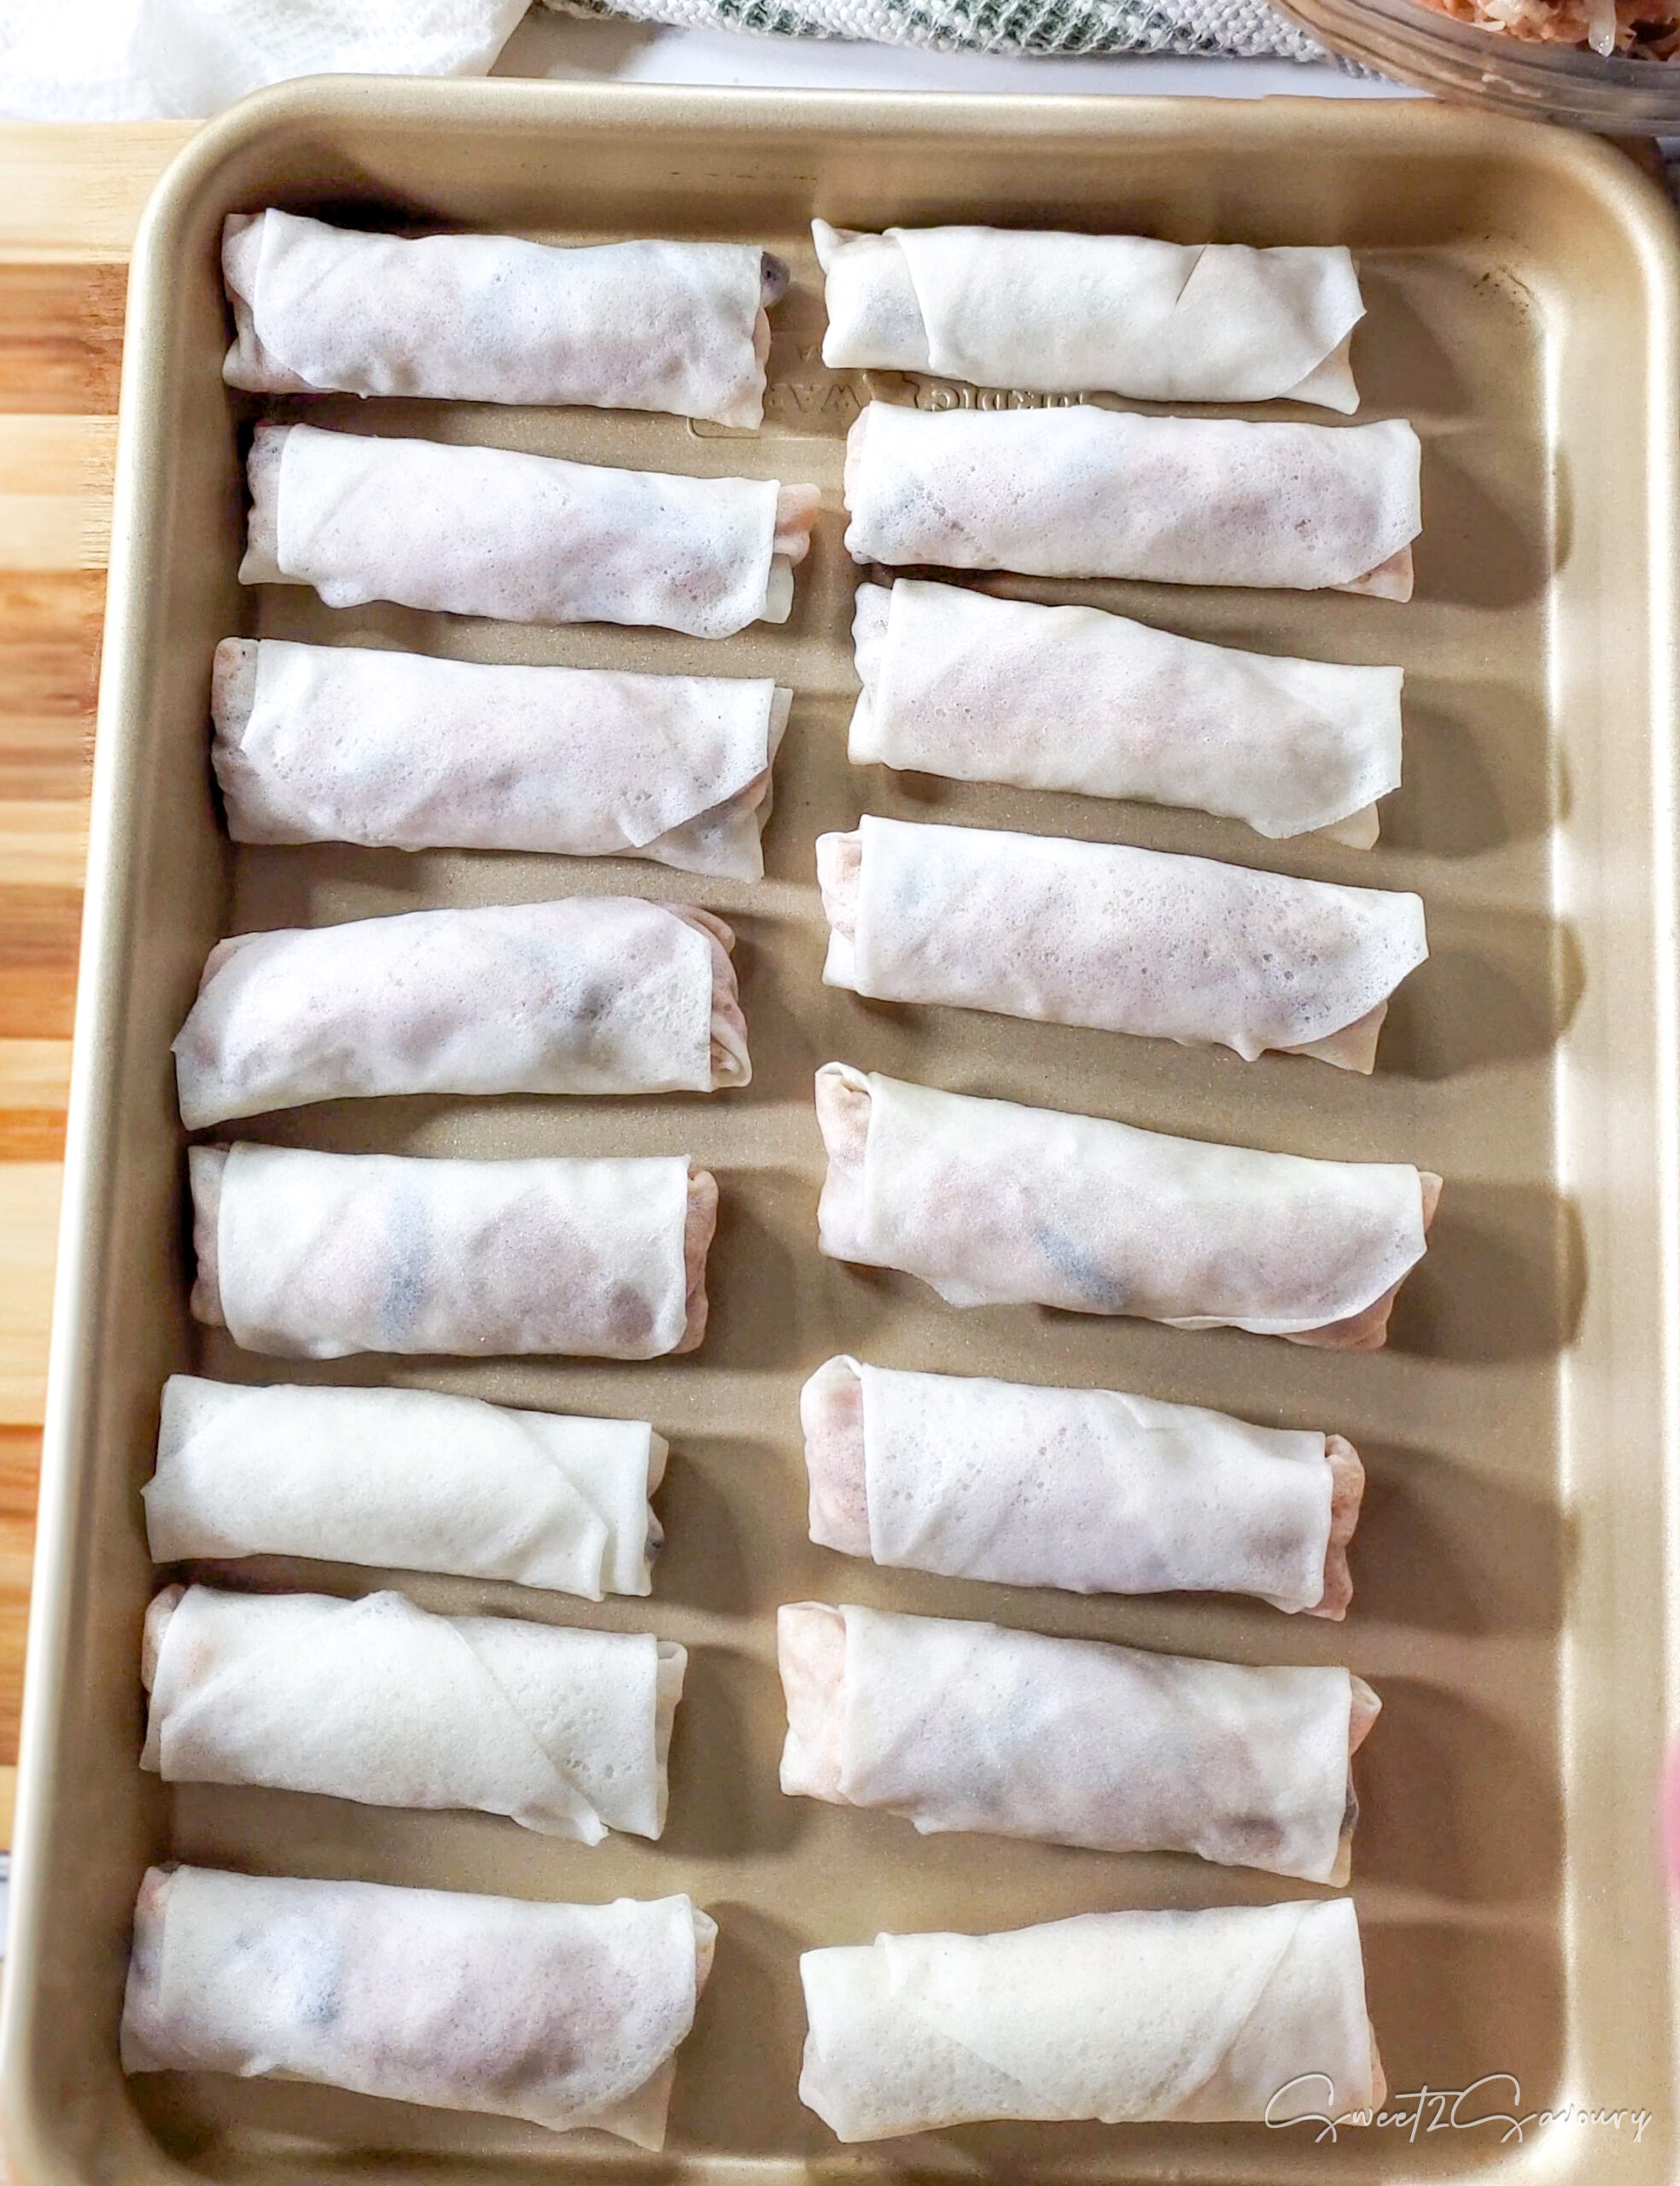
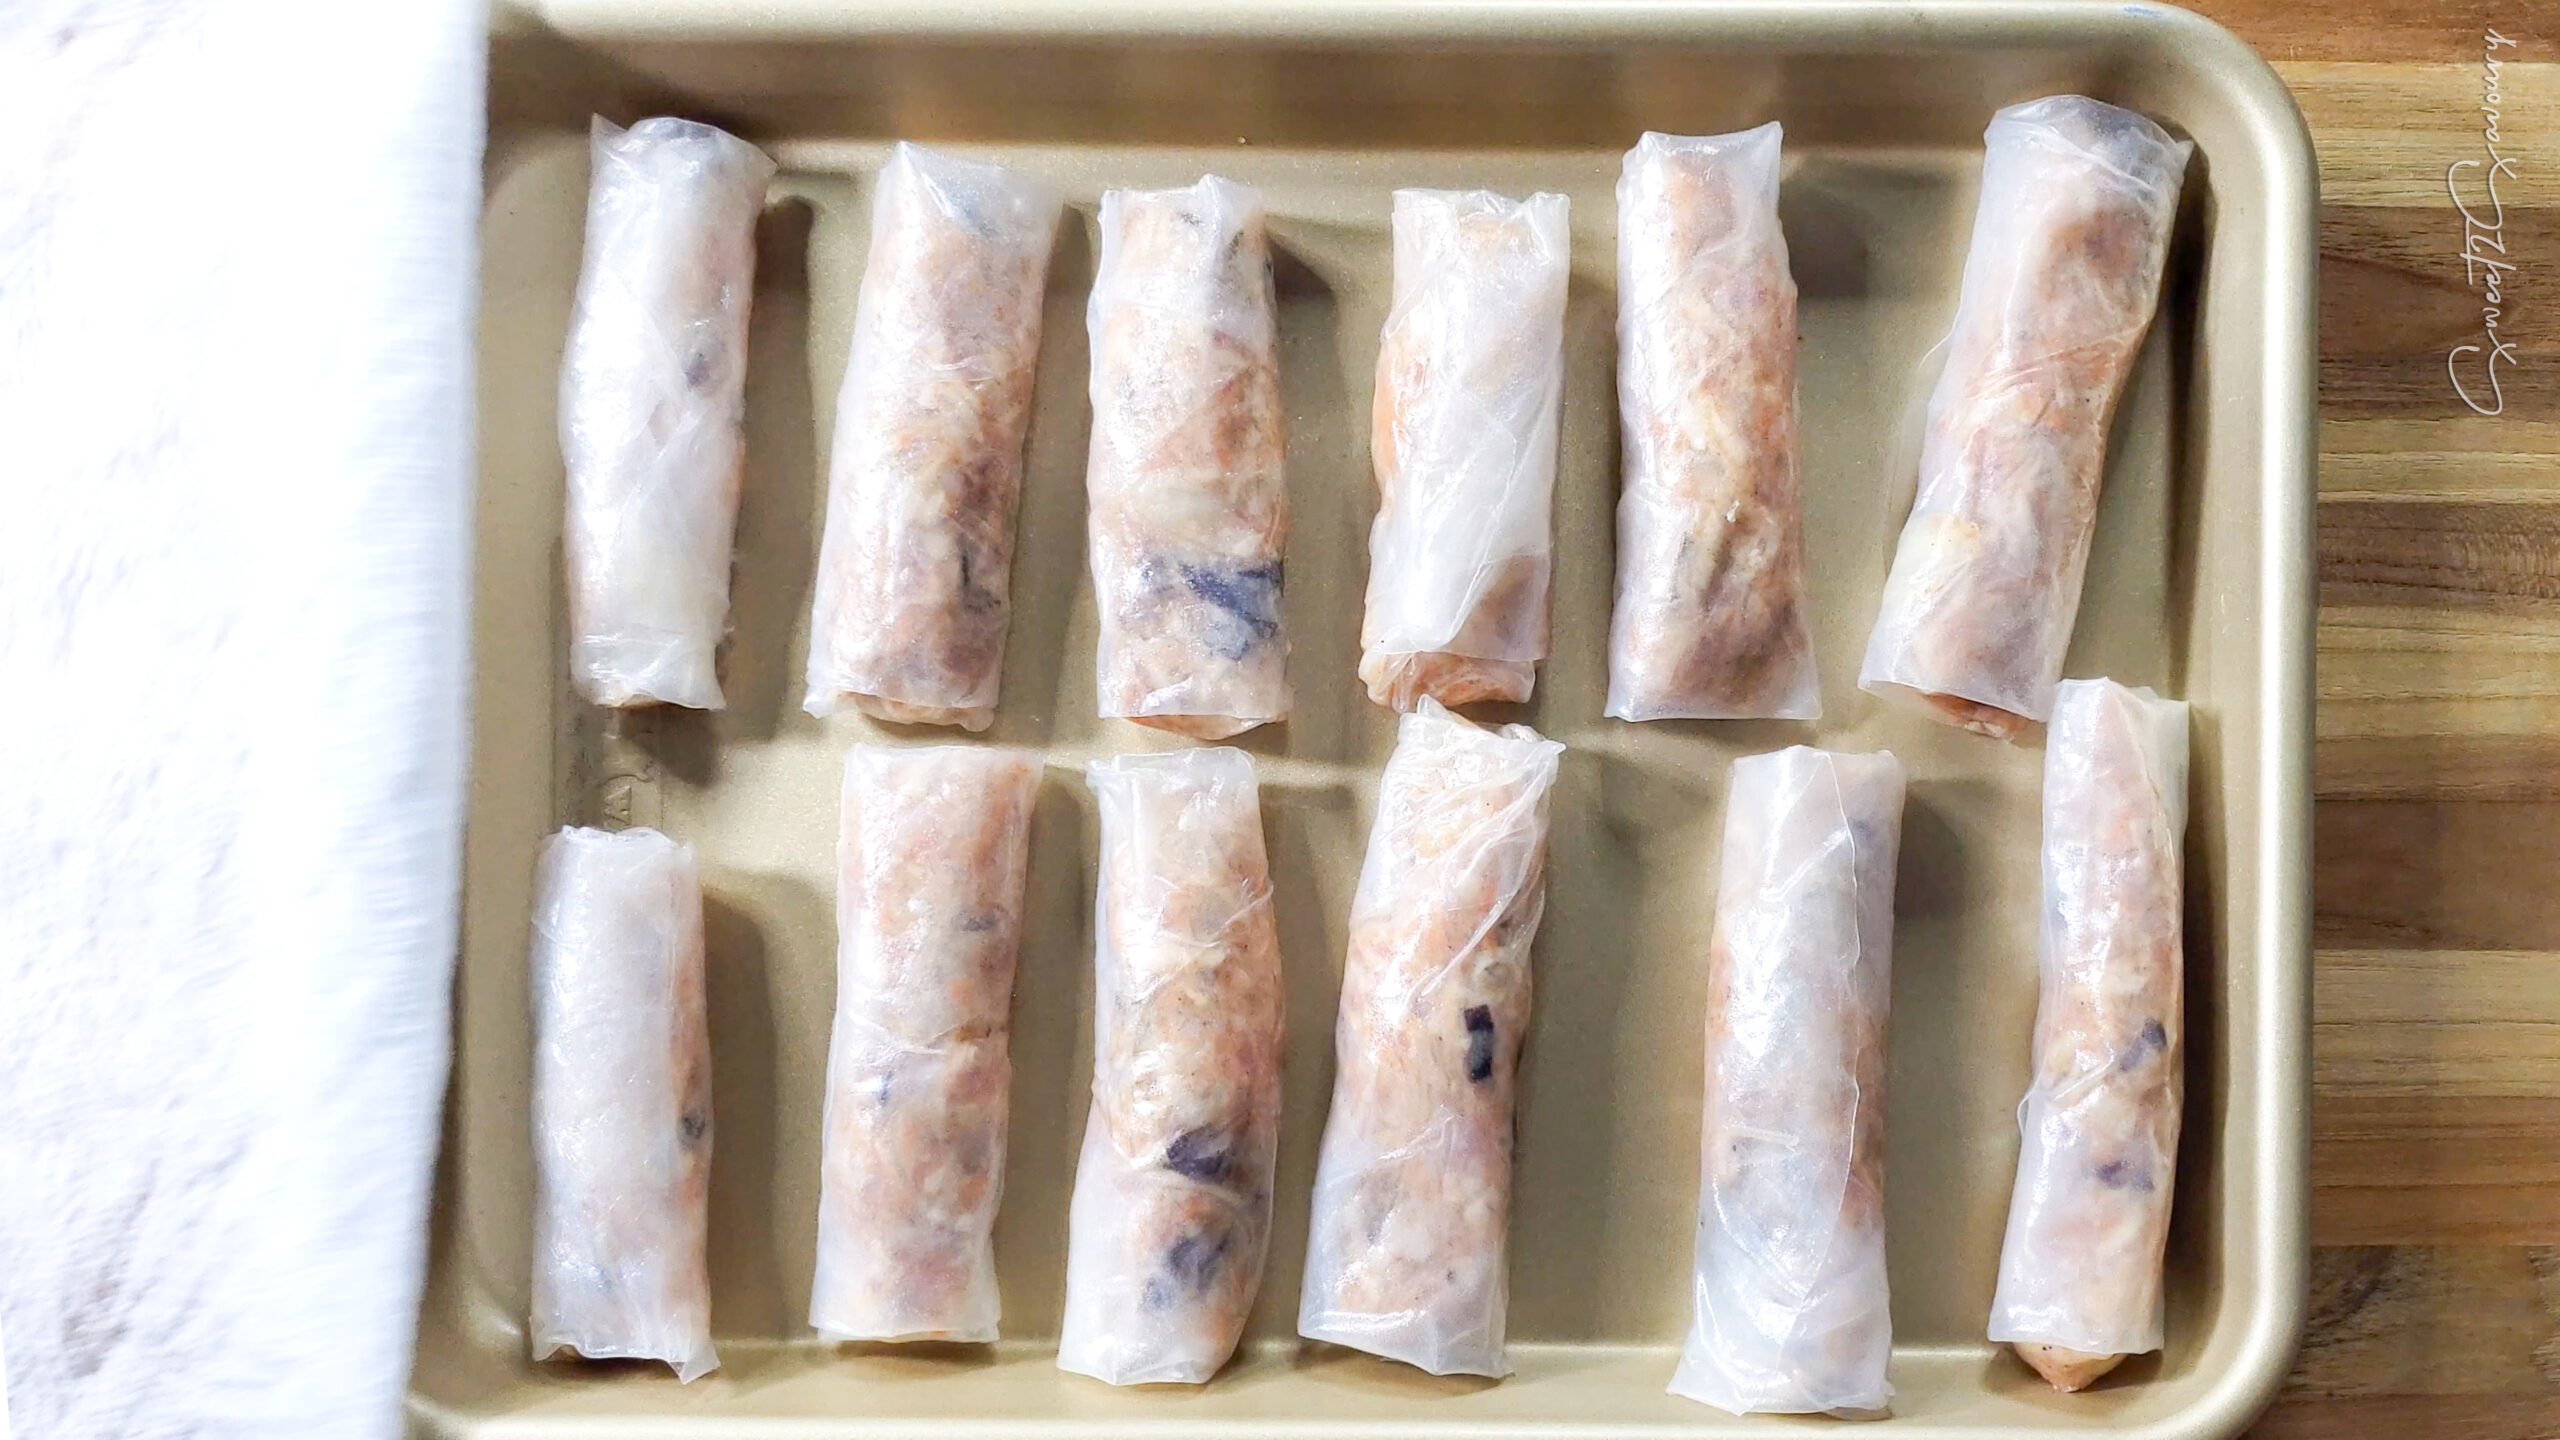
- If you plan to deep-fry the spring rolls immediately, store them in a single layer on a tray covered with a dry hand towel to prevent the rolls from drying out. No need to refrigerate since you'll be deep frying them right away.To freeze your spring rolls for later use, place them on a tray with a 1/2-inch gap in between. Put the tray (uncovered) in your freezer for 20 minutes or until the rolls have started to harden. Take the rolls off the tray and immediately transfer them to a plastic zip-top bag that is freezer-friendly; doing so will help prevent the rolls from sticking together. Lay the bag flat in your freezer.
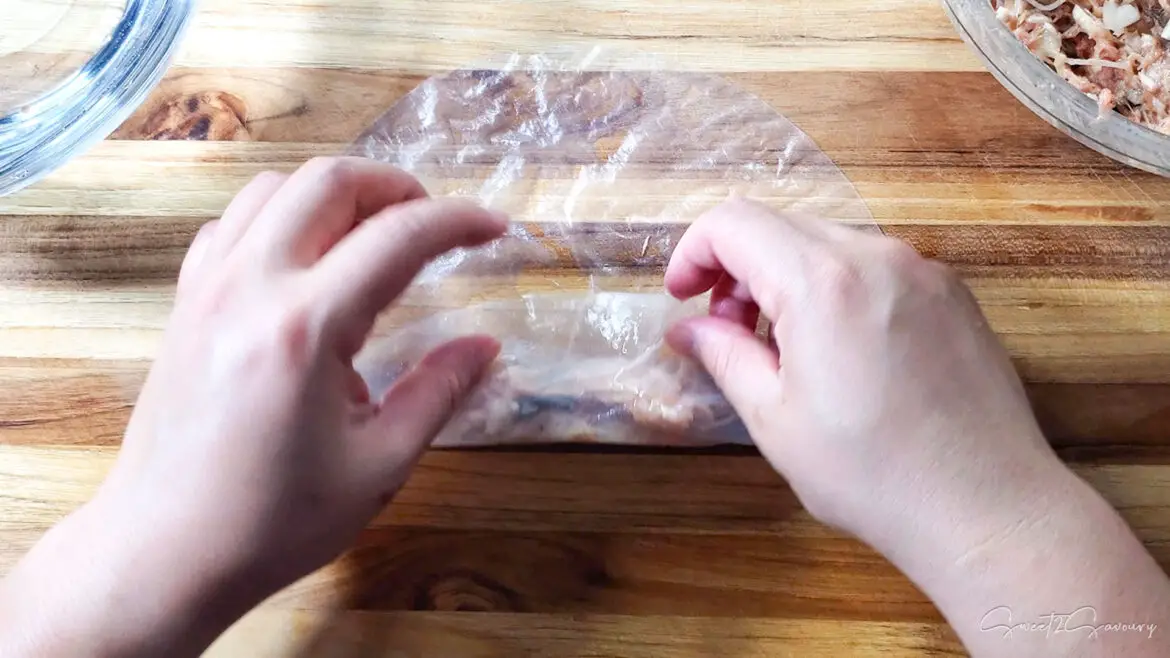
If using RICE PAPER, to roll:
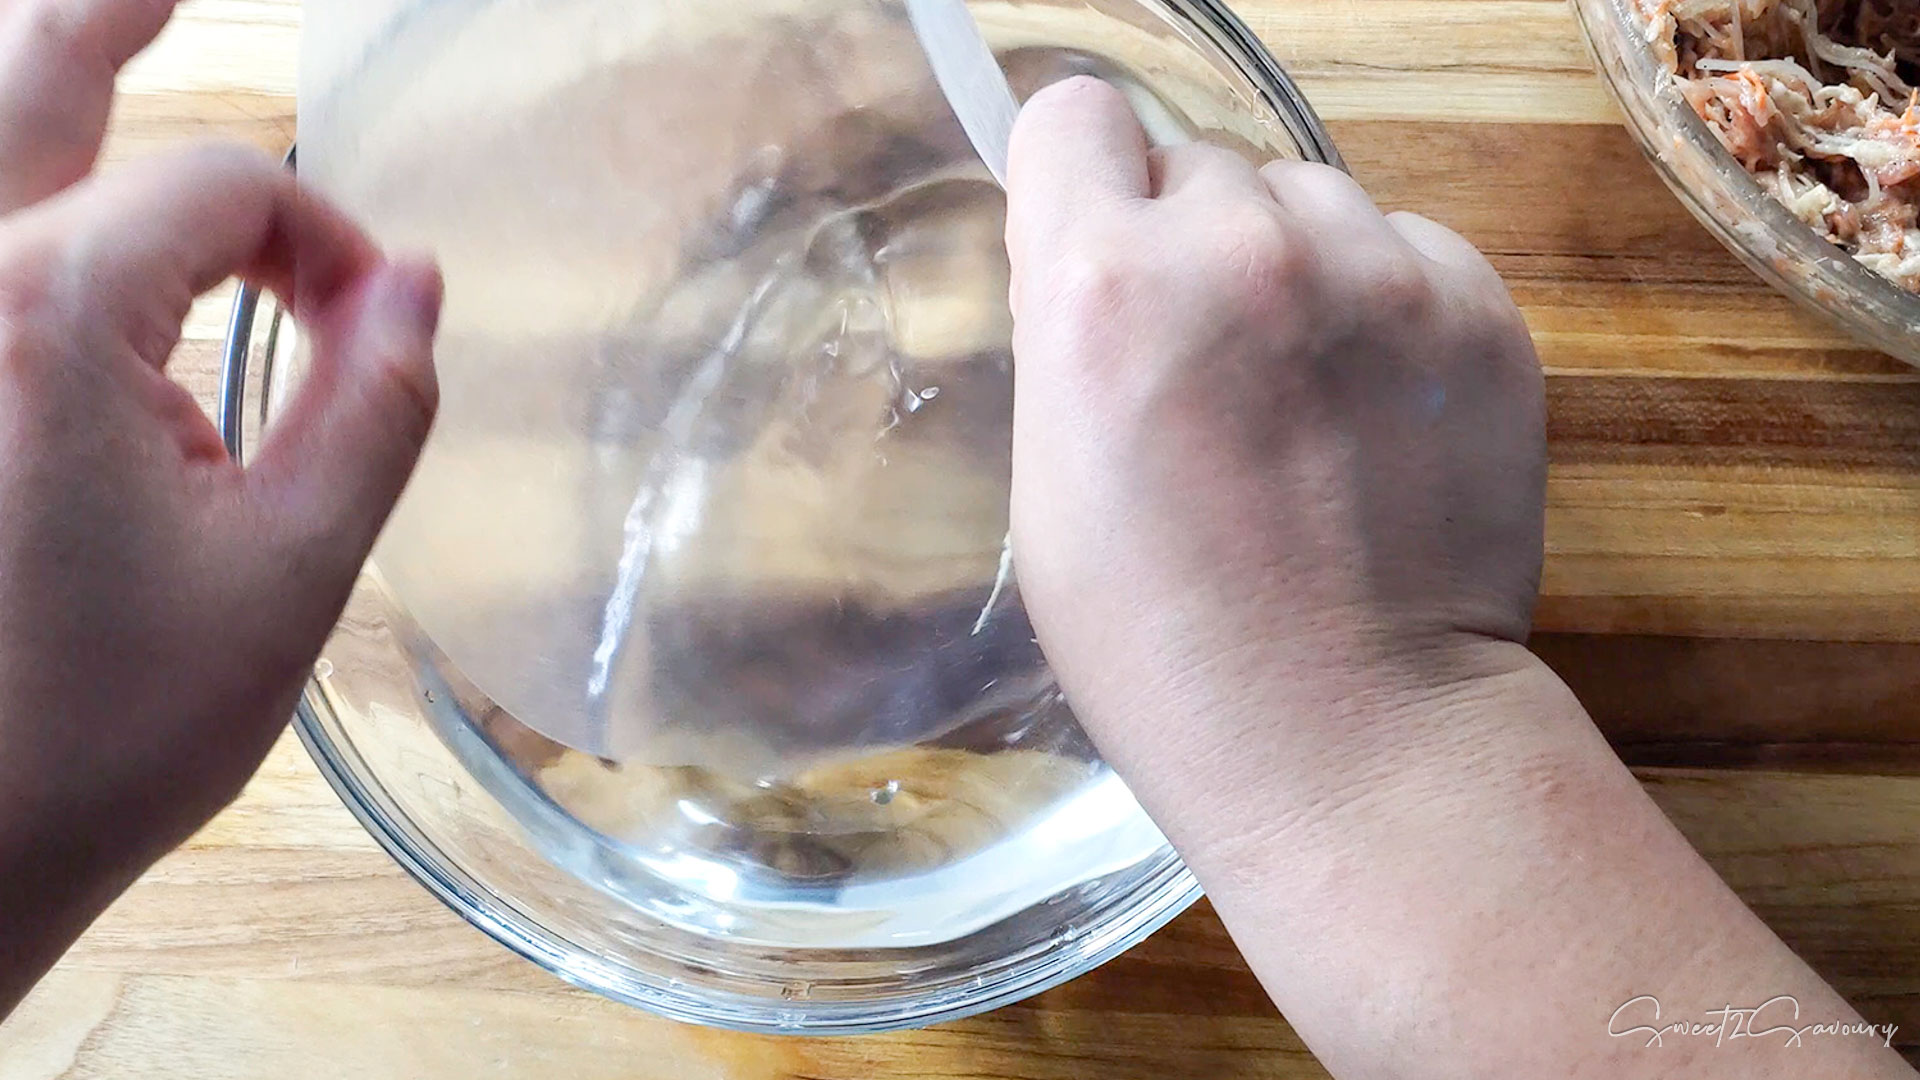
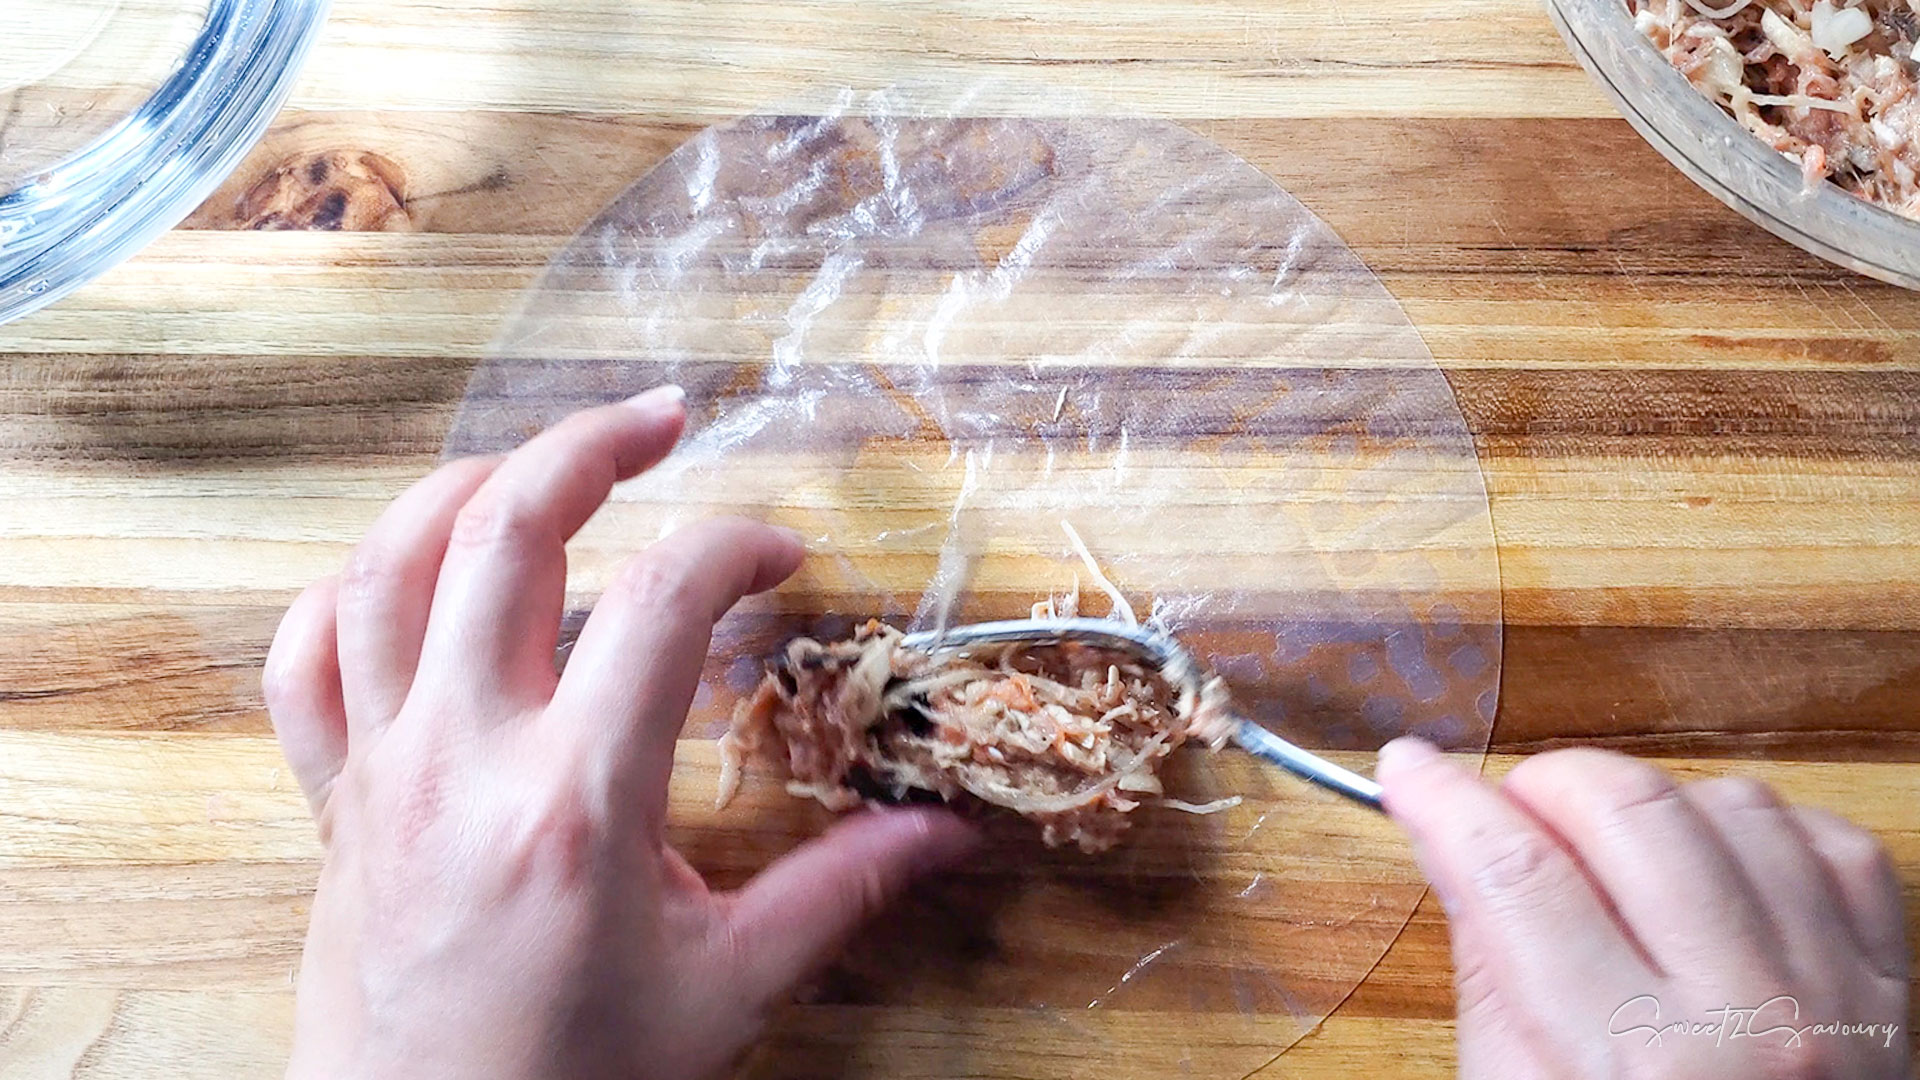
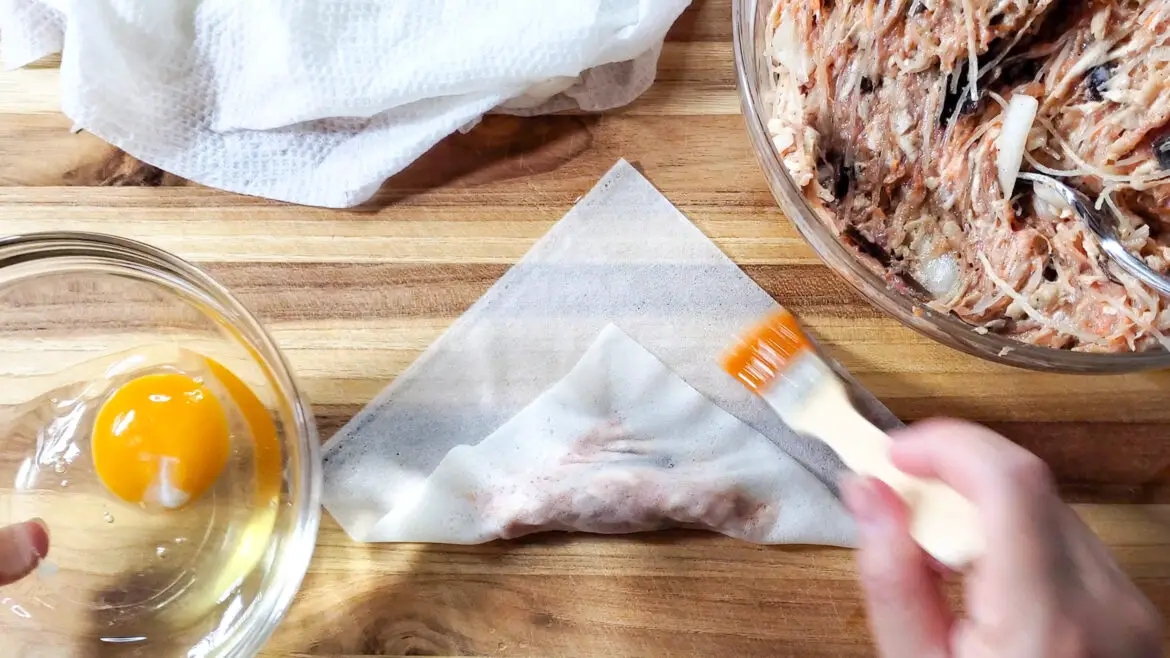
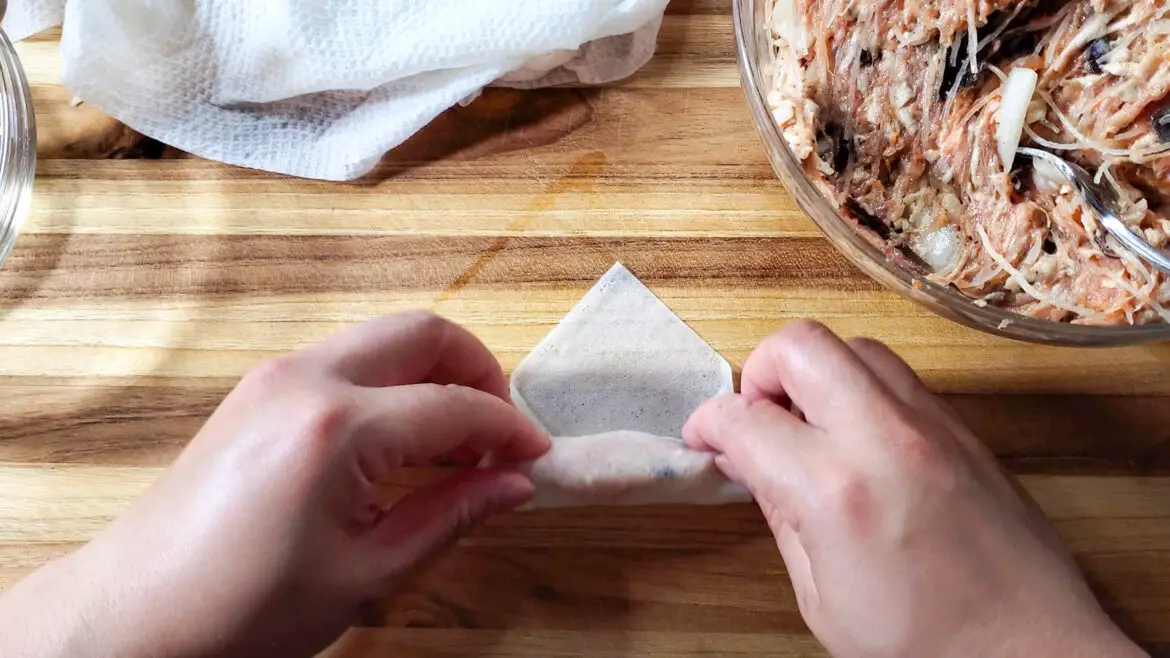
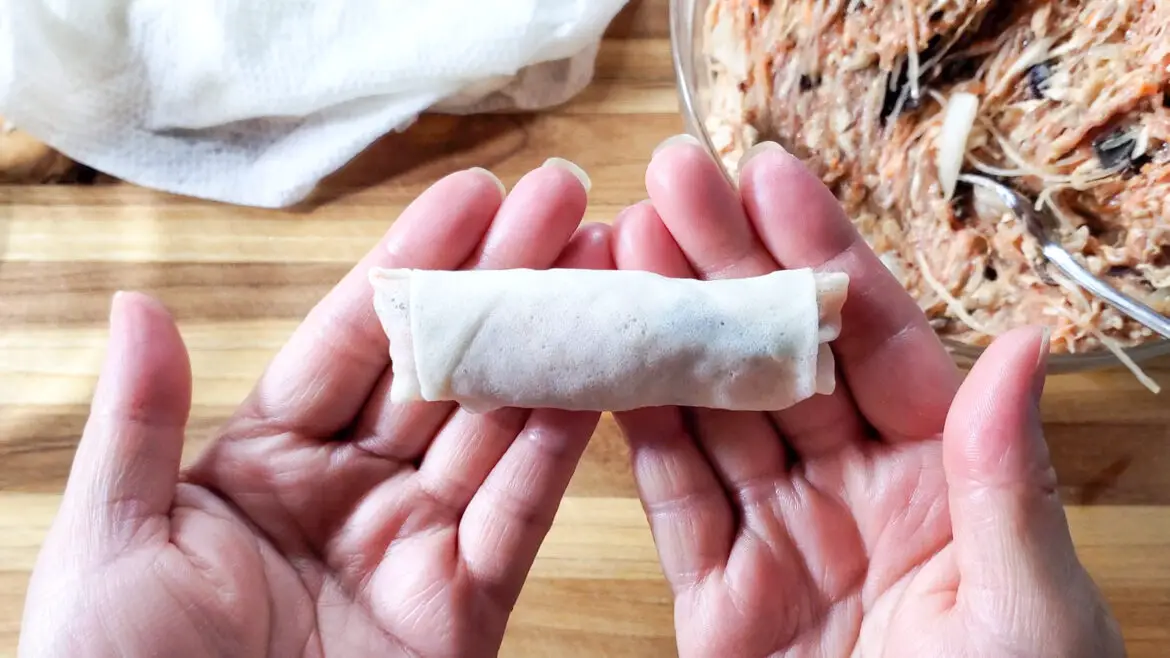
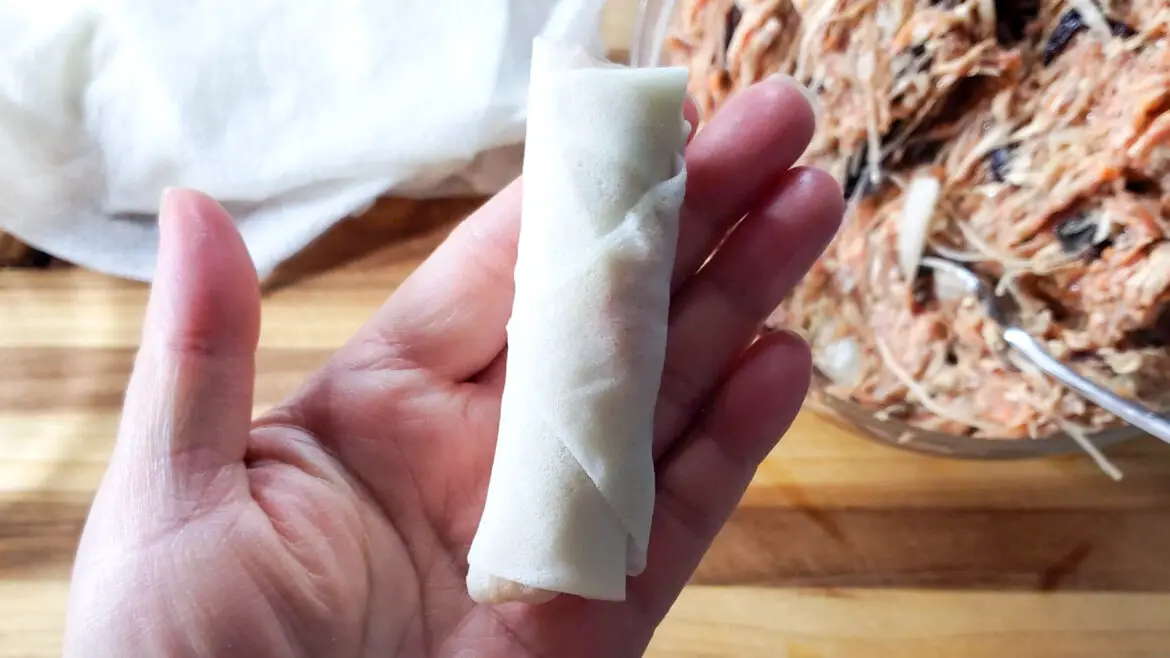
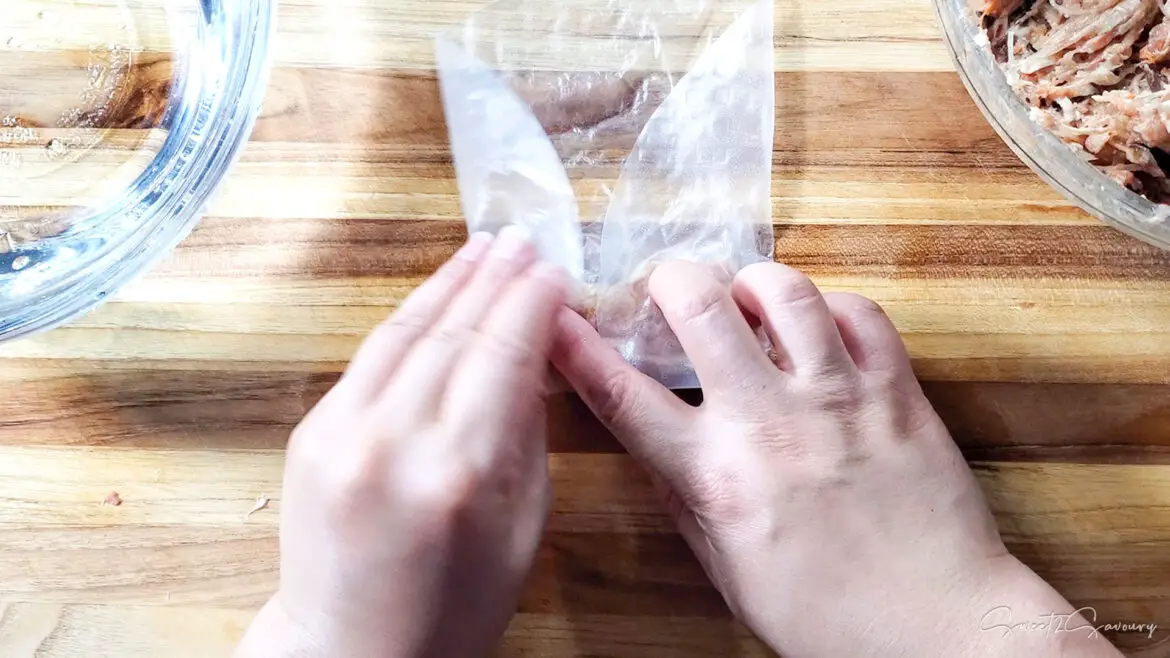
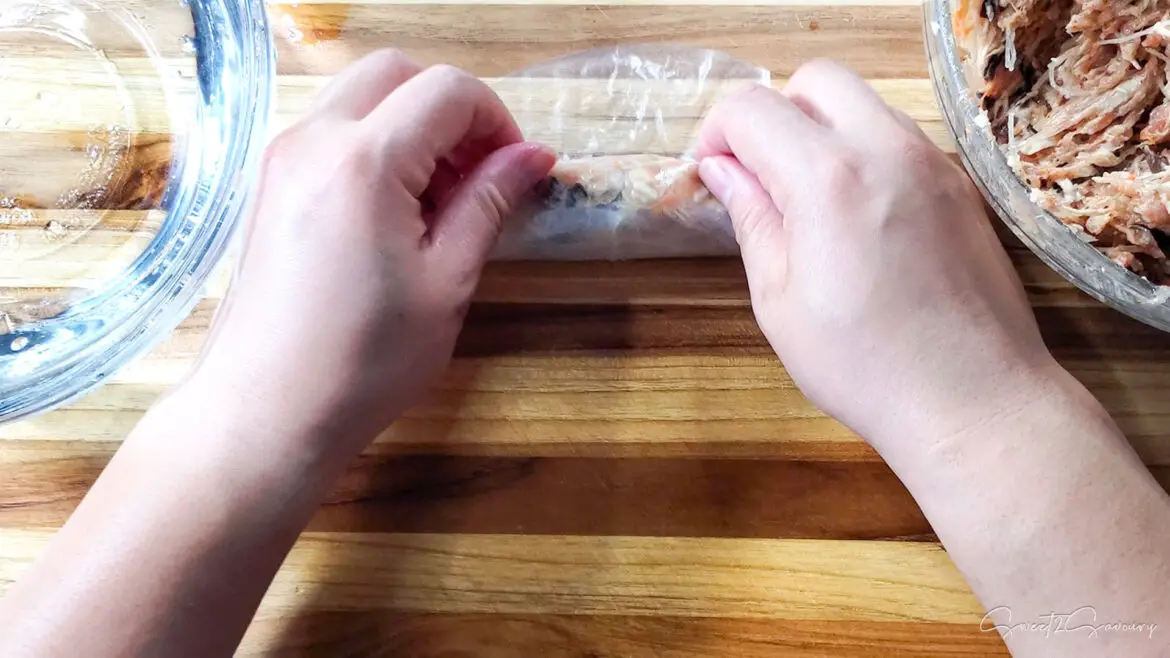
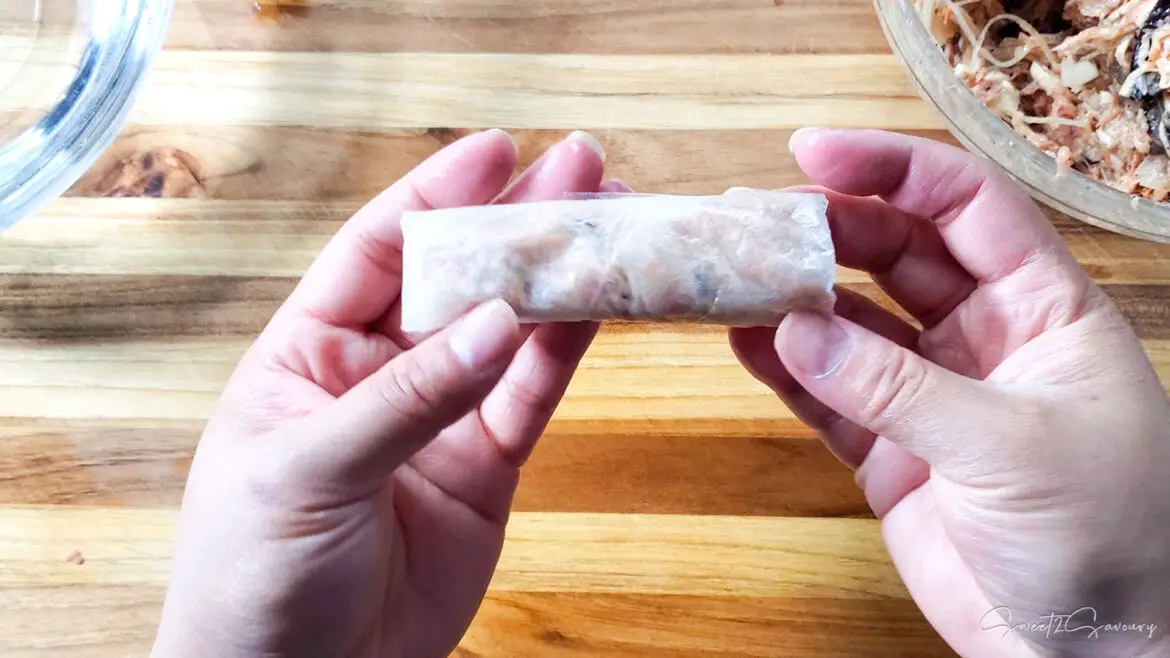
- a) In a shallow dish or bowl, dip the rice paper in cold* water (or cold beer) until fully wet (swirl it around if needed), then lay it flat on a clean work surface like a counter or cutting board.*Hint: To avoid tearing the paper when rolling it together, dipping it in cold water is helpful to slow down the rate at which it softens. If the paper becomes too soft too quickly, there is a higher chance of it tearing.b) Use a fork and add your filling (about 2 Tablespoons) to the center of the wrapper. With your fork and finger, shape the filling into a 4.5-inch log.c) Carefully lift and fold the *rice paper bottom up over the filling. Roll the rice paper away from you one turn, then fold the right and left side towards the center, like an envelope. *Hint: At this point, the paper should be pliable enough so you can fold it. If not, wait a few more seconds for it to soften before folding.d) Gently tuck in the filling (to prevent tearing) while you roll the spring roll upwards to seal the top edge of the wrapper.e) Repeat with the remaining rice paper and filling.
- While you work, to avoid the rolls from sticking, place them on a non-stick tray or lined with plastic wrap and leave a 1/2-inch gap between each roll to prevent them from sticking together. Cover the rolls with a lightly dampened hand or paper towel to prevent the paper from drying before frying.
How to deep-fry spring rolls
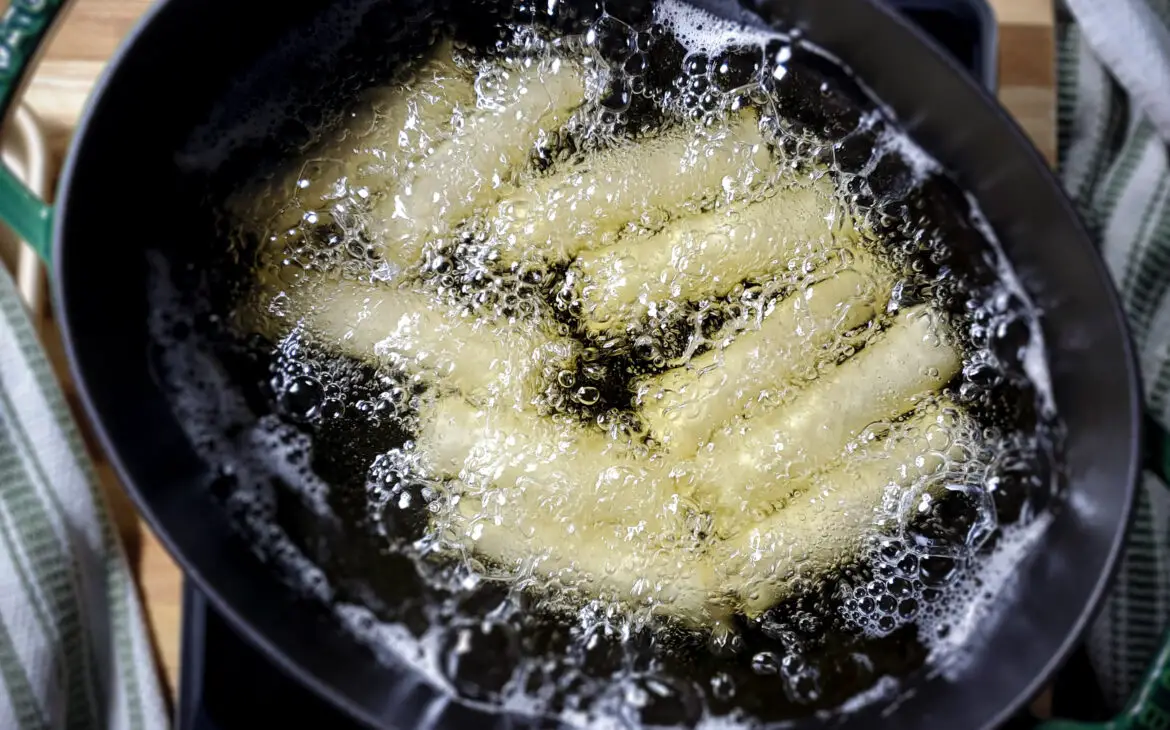
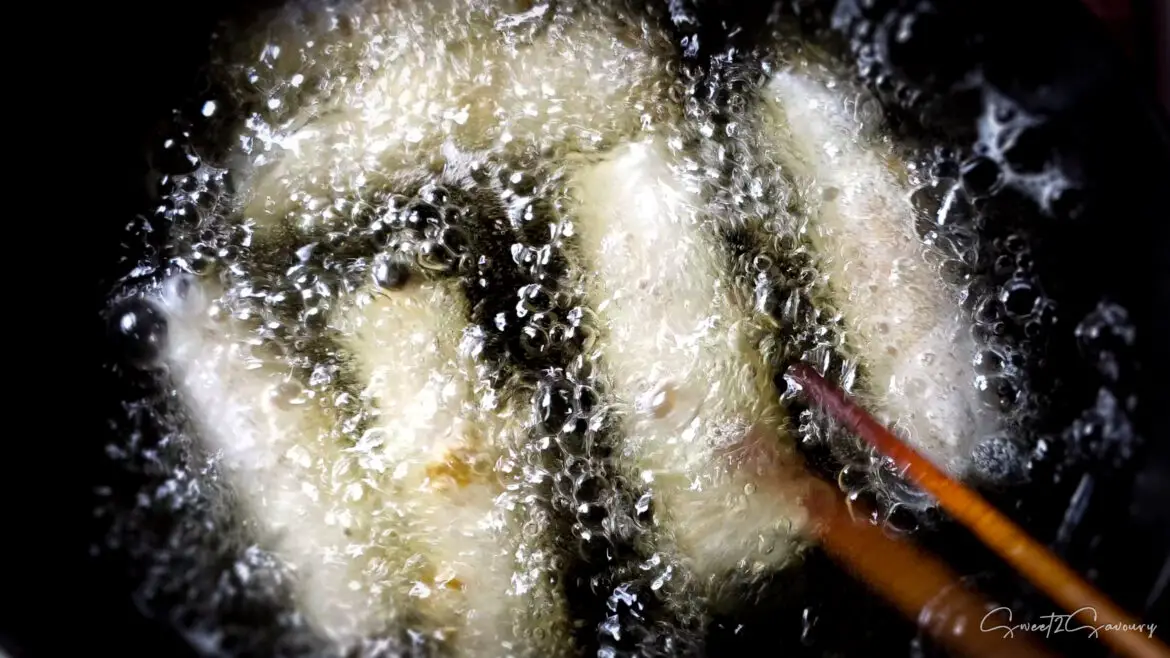
- Add around 2 to 3 inches of cooking oil to your Dutch oven. Heat your oil on medium heat until it reaches *350°F (177°C). *Hint: Checking the temperature of your oil is important for frying by using a food thermometer. If you don’t have a thermometer, you can use a wooden chopstick to check the temperature. Just dip the chopstick into the oil, and if you see bubbles forming around it, your oil is ready. For more information on why the correct frying temperature is important, see the notes section below.
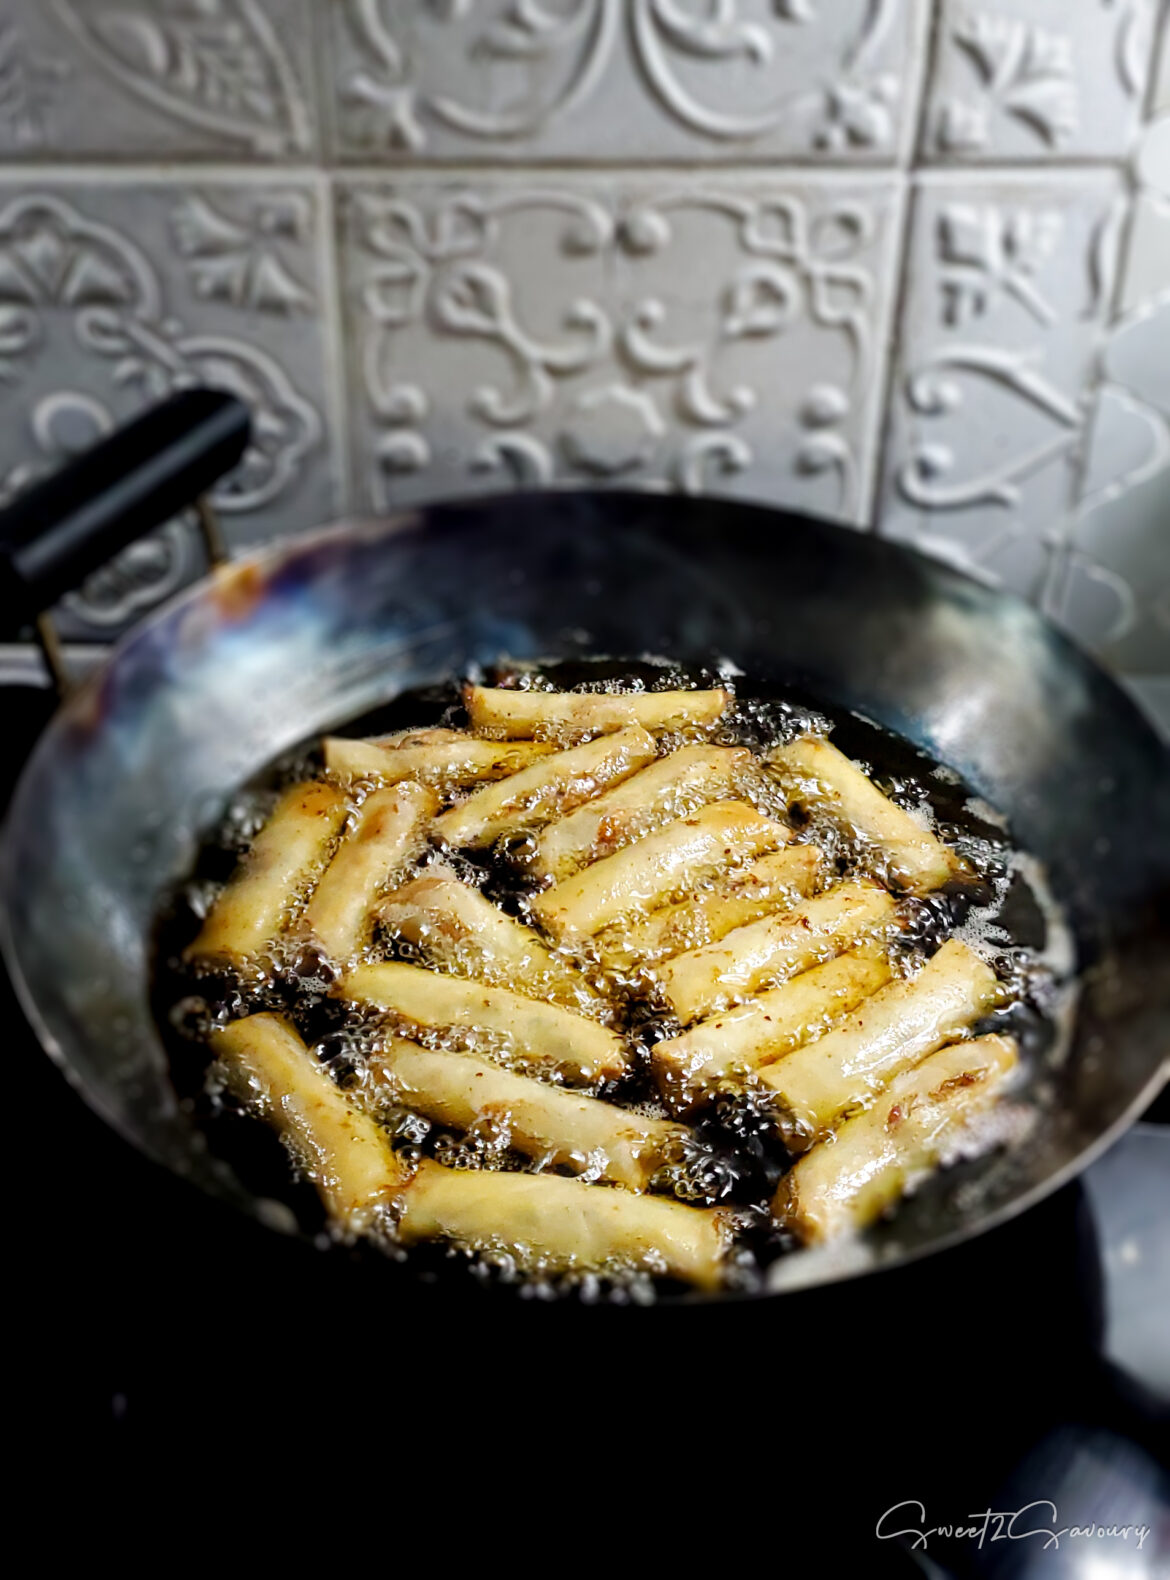
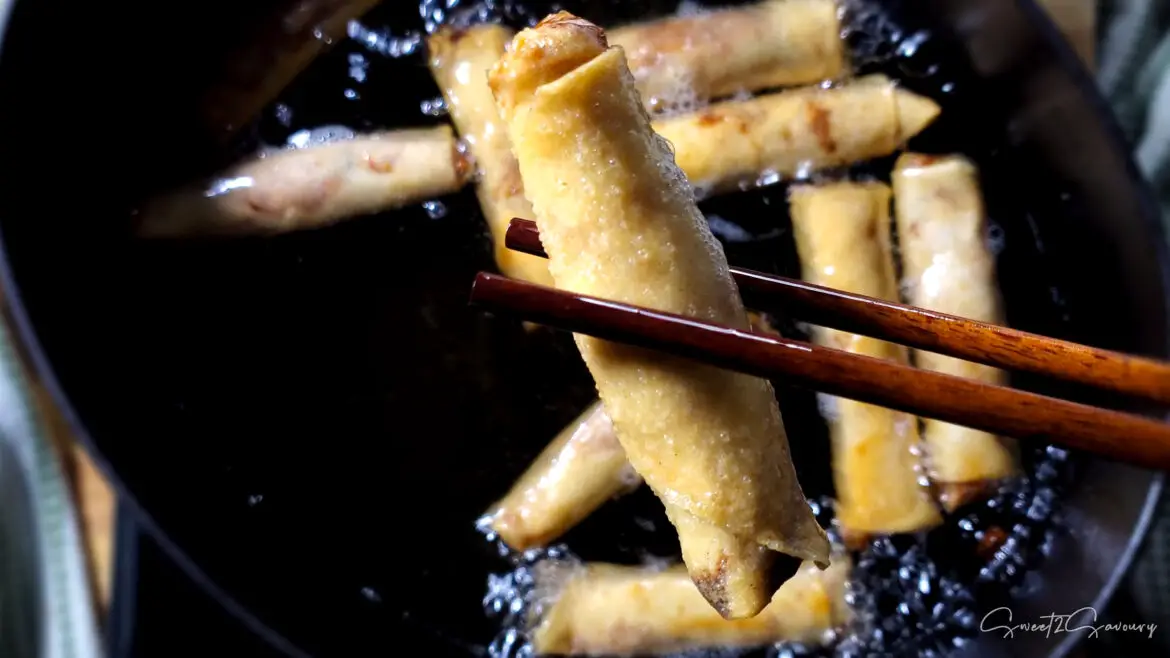
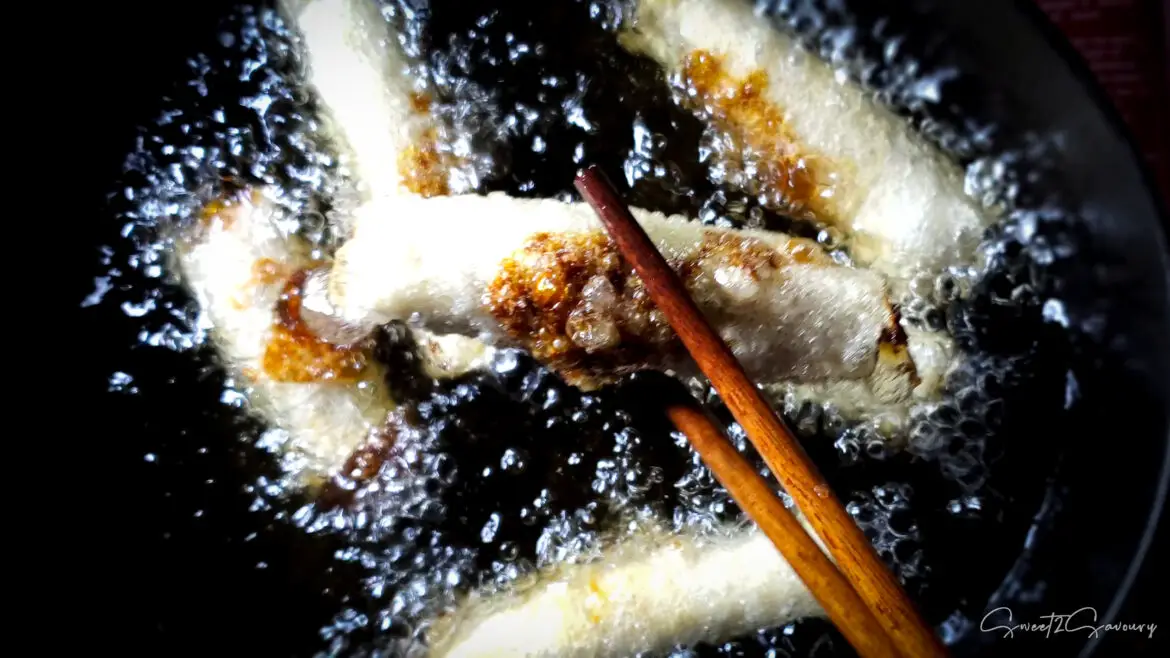
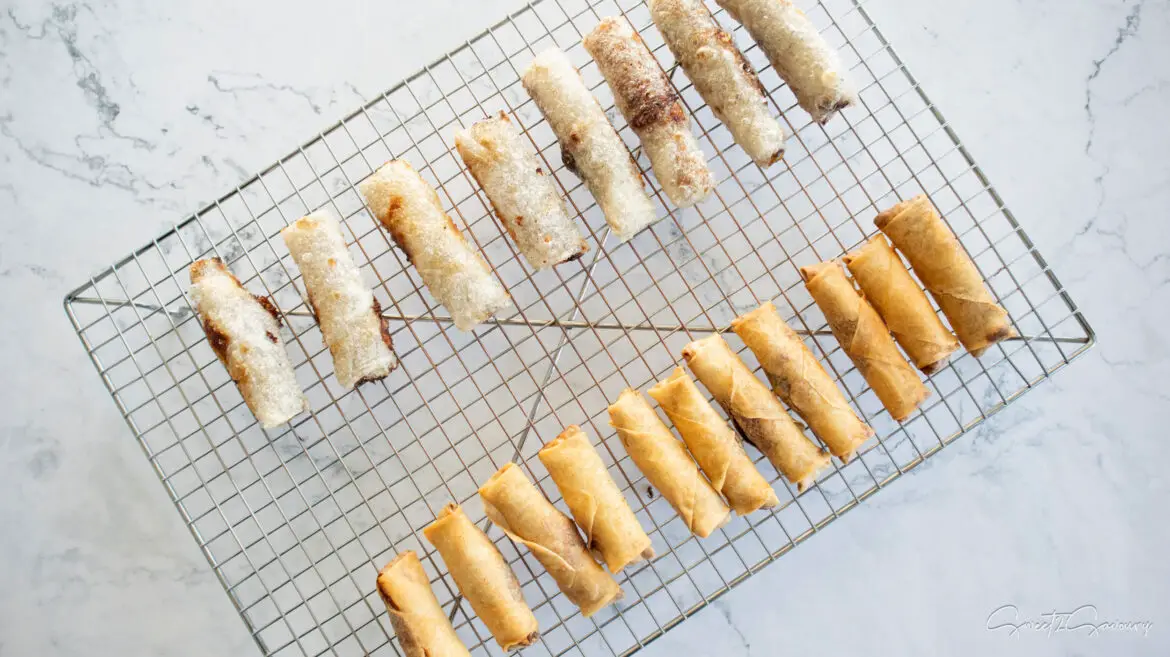
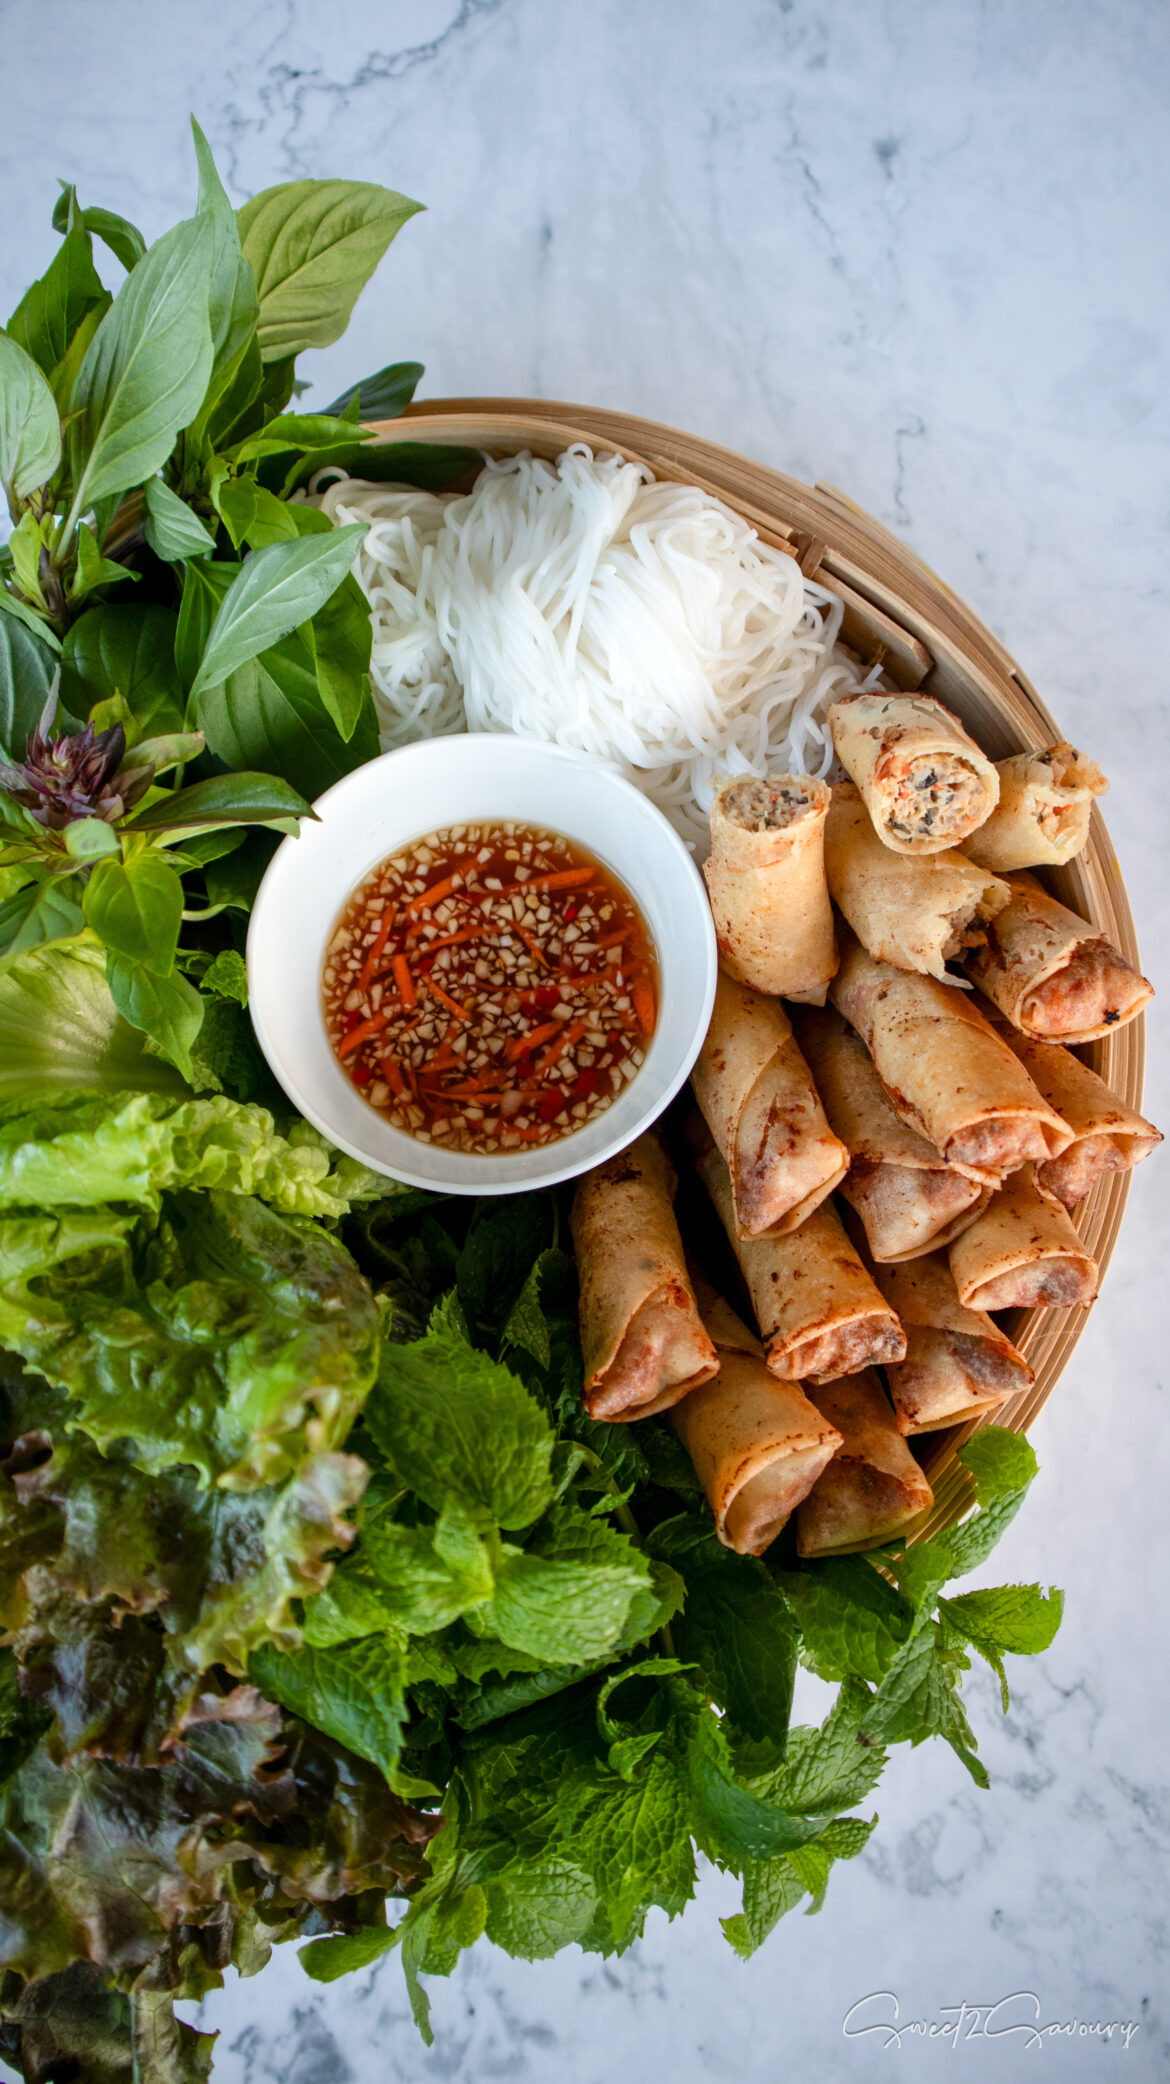
- Flour-wrapped rolls need to be fried until crispy and golden brown. They’re done when you hear less sizzling or bubbling, and the rolls float on the oil’s surface. Do not overcrowd your Dutch oven! Add approx. 10 to 12 rolls (or less if you have a smaller pot) with enough room for the rolls to be flipped. Use a Chinese mesh strainer or wood chopsticks to carefully fish them out of the oil and cool them on a wire rack to help them crisp up. Enjoy with sweet Thai chili dipping sauce or nước chấm.
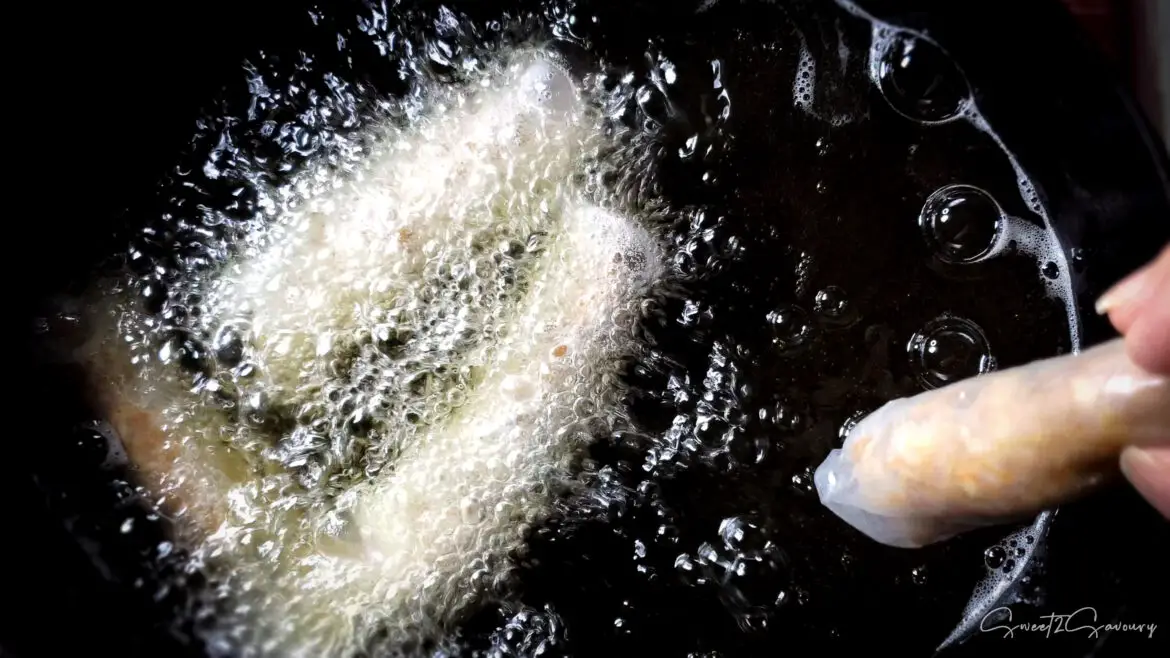
- Cooking rice paper-wrapped rolls? Add one at a time to the oil and use wood chopsticks or a metal tong to separate them after each addition. Do not overcrowd your Dutch oven! Add approx. 10 to 12 rolls (or less if you have a smaller pot) with enough room for the rolls to be flipped. When fully cooked, listen for the sizzling to subside and look for browned spots and crispy bubbles. Use a Chinese mesh strainer or wood chopsticks to carefully remove them and let them cool on a wire rack for maximum crispiness. Let cool for a few minutes, then serve immediately. Enjoy with caution since the filling is still hot!
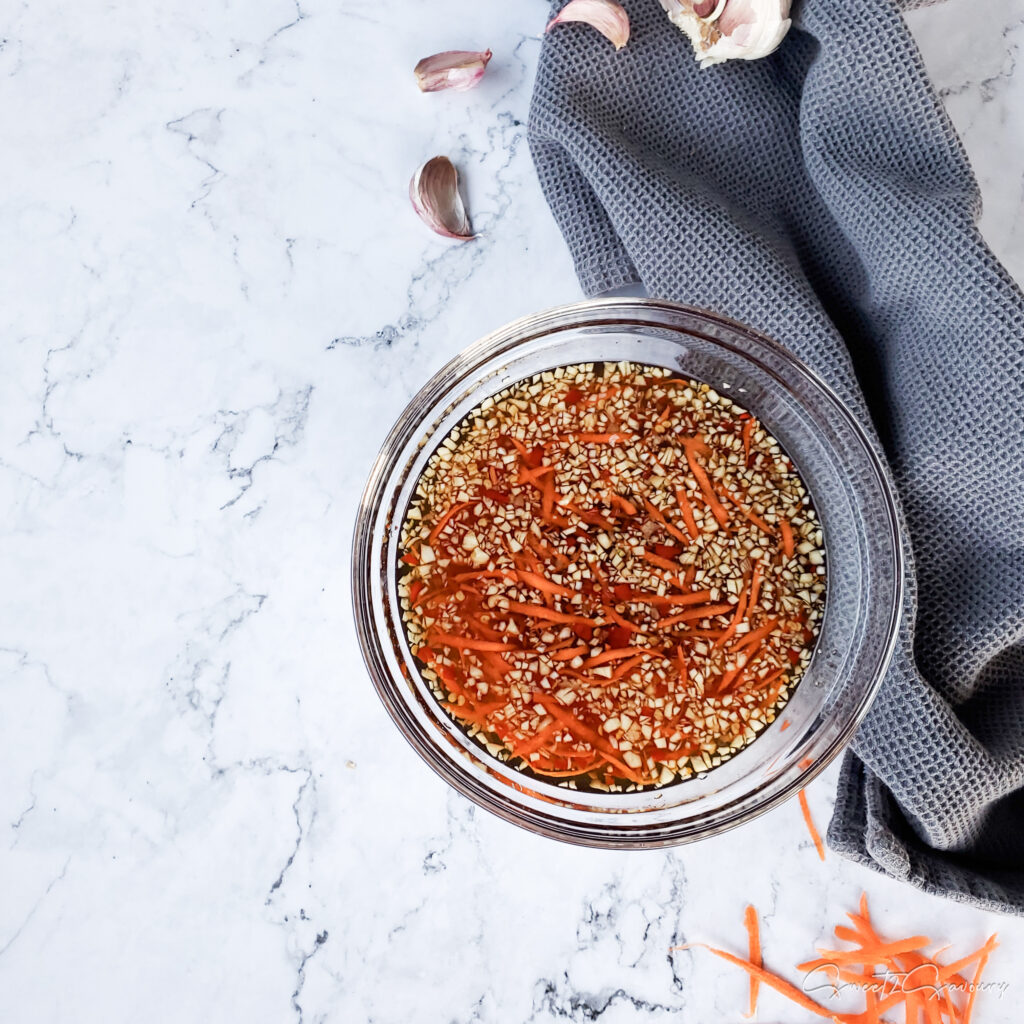
How to make Vietnamese Nước Chấm (dipping sauce)
- To make the sauce, mix *fish sauce, sugar, and lime juice (or vinegar) in a small bowl until the sugar dissolves completely. Add water, garlic, and chilies, and stir everything together. Add finely shredded carrot as a garnish in the sauce if you like. The sauce can be used immediately or placed in an airtight container and refrigerated for up to two weeks.
- *Choose high-quality fish sauce labelled as "first press" for the best flavour (think extra virgin, similar to olive oil), as some cheaper brands may be watered down. Since the salt level in fish sauce varies, adjust your seasoning with sugar, lime, and water as needed to create a balanced sauce between salty, sweet and sour.


Tips
What’s the difference between Flour Wrapper and Rice Paper?
When selecting wrappers, there are two types to consider: Flour wrappers are composed of wheat flour, water, salt, and oil and are available in the frozen section of the store. Once thawed, the wrappers are ready for immediate use. They are ideal for making crispy spring rolls (which have a similar texture to phyllo dough) and are one of my favourites! The crispy texture will last for a few hours, making them perfect to serve at your get-together. Rice paper (Bánh Tráng) is made from a mixture of rice flour, tapioca flour, water, and salt (no oil) and can be found in the dry goods section of the store. The paper must be soaked in water to become pliable before use. Typically, these are used for creating fresh rolls. When fried, they have a crispy texture with a light chew. For ultimate enjoyment, these rolls should be consumed immediately to maintain their crispiness. Ultimately, it’s all about personal choice – both options are great!How long can you freeze uncooked spring rolls?
The only version of spring rolls I recommend freezing uncooked for up to 6 months is the flour-wrapped variety, as long as they are stored in an airtight bag or container. I don’t recommend freezing rice paper wrapped rolls as their texture may change when thawed due to the water content in the wrapper and filling.Can I add shrimp to the filling?
Yes, you can add shrimp to your filling to enhance the flavour. However, I prefer to keep my filling simple with just pork due to some of my guests having a seafood allergy. I recommend adding about 10 oz (284 g) of peeled, deveined and finely chopped raw shrimp while you prepare your filling.What can I substitute for the ground pork?
If you’re looking for a substitute, ground chicken is a great option. Ground beef and turkey are also good alternatives. I use medium ground pork with a 70/30 meat/fat ratio, so if you’re using lean meat, make sure to add chicken or beef fat to balance the ratio (or 2 – 3 Tablespoons neutral oil). This will help keep the filling juicy instead of dry.If I can’t find the root vegetable listed, what can I substitute it with?
It’s possible that your location and access to Asian ingredients may differ. Here are some replacement options for the root vegetables:a) Taro root usually has low water content. If you can’t find it, you can substitute it with yucca root or sweet potato. Note, if you use sweet potato, be sure to adjust the seasoning level of your filling accordingly.
b) In case you don’t have Jicama, you can use water chestnut (typically available in a can) as a viable alternative.